Japanese Katsu Bowls with Crispy Sheet-Pan Chicken

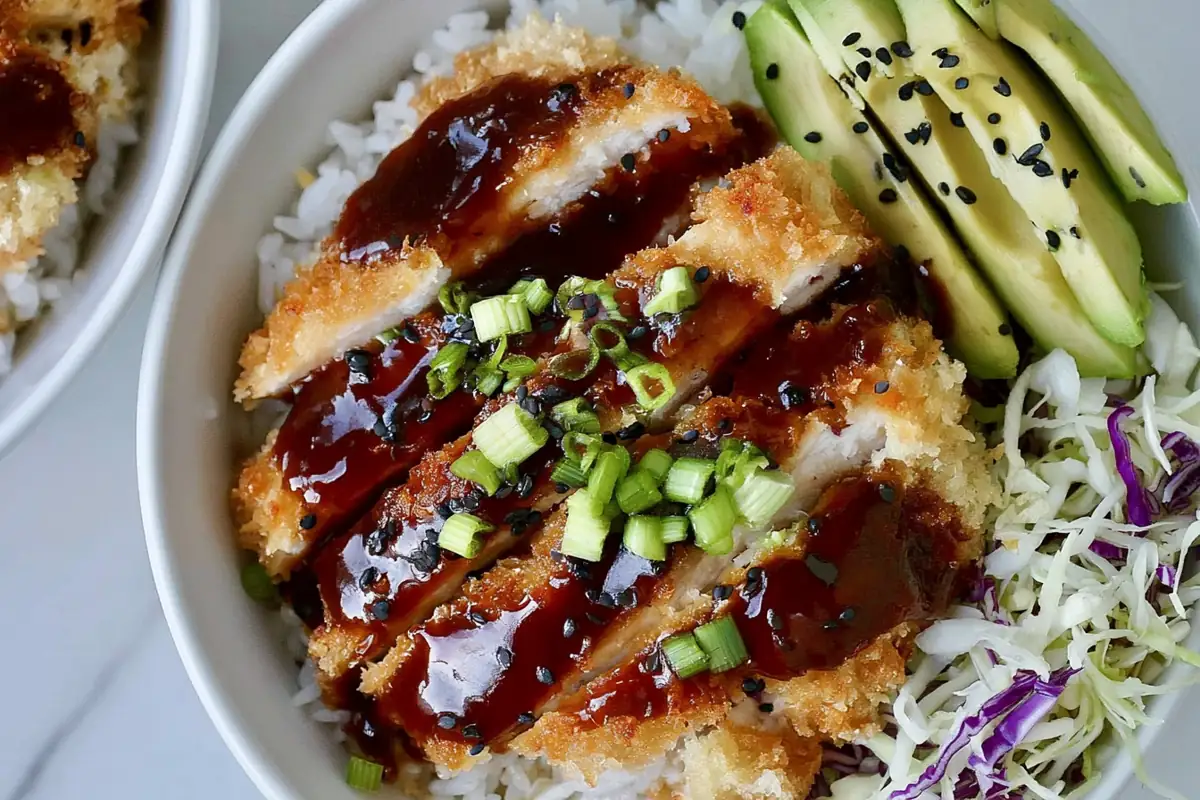
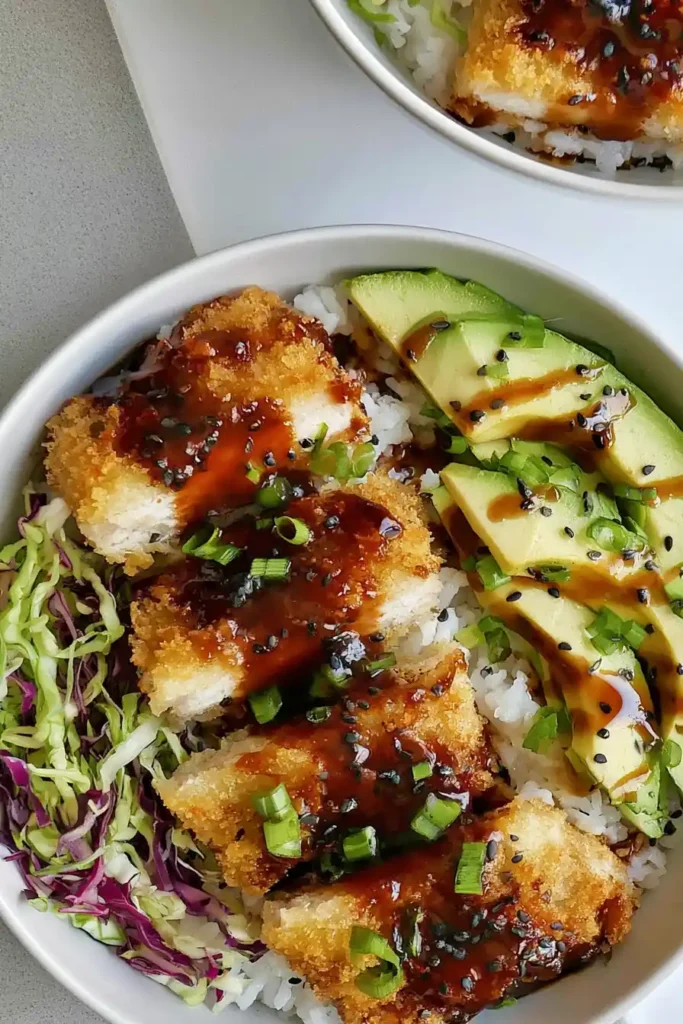
Japanese Katsu Bowls bring together crisp breaded chicken, warm rice, crunchy slaw, and a generous spoonful of tonkatsu sauce. This version skips frying individual cutlets. Instead, seasoned ground chicken is pressed onto a sheet pan, coated, and baked until the edges turn crisp.
It’s a practical way to get those familiar katsu flavors on the table in about 30 minutes, with less cleanup and no pot of hot oil.
Ingredients for Japanese Katsu Bowls
The chicken layer starts with 1 pound of ground chicken seasoned with kosher salt, black pepper, garlic powder, and onion powder. Ground chicken can taste flat when the seasoning only sits on the surface, so mix it through the meat before pressing it onto the pan.
A light coating of all-purpose flour helps the breadcrumbs cling. Japanese panko works especially well here because its larger flakes create a rougher, crisper surface. Drizzle the breadcrumbs with enough avocado oil to darken them slightly and remove any dry, powdery patches.
The bowls are finished with cooked rice, bagged slaw mix, rice vinegar, soy sauce, sesame oil, tonkatsu sauce, sliced scallions, and sesame seeds. I prefer dressing the slaw lightly. Too much liquid can run into the breading and soften it.
Ground turkey can replace the chicken. For a gluten-free version, use gluten-free flour, gluten-free panko, tamari, and a tonkatsu sauce labeled gluten-free.
How to Make Sheet-Pan Chicken Katsu Bowls
Heat the oven to 450°F and line a large sheet pan with parchment paper. A large pan gives the chicken enough room to spread into a thin layer without steaming around the edges.
Mix the ground chicken with the salt, pepper, garlic powder, and onion powder. Press it directly onto the parchment into a rectangle about ½ inch thick. Aim for an even surface, especially around the corners. Thin corners can dry out before the center is done, while thick spots need extra cooking time.
Sprinkle the flour evenly over the chicken and gently press it onto the surface. Add the panko next, covering the entire rectangle from edge to edge. Drizzle avocado oil across the crumbs until they look lightly moistened. Check the surface from the side. Any pale, dusty areas need a few more drops.
Bake for 12–15 minutes. The chicken should feel firm, and the coating should begin to color around the edges. Move the pan under the broiler for another 2–5 minutes, watching closely. Broilers work quickly, and the difference between toasted breadcrumbs and scorched breadcrumbs can be less than a minute.
Let the chicken rest briefly before slicing. That pause allows the juices to settle and helps the slab hold together.
While it rests, cook the rice according to the package directions. Toss the slaw mix with rice vinegar, soy sauce, and sesame oil just before assembling the bowls.
Tips for Crisp, Evenly Cooked Katsu
Thickness matters more than shape. The chicken doesn’t need to form a perfect rectangle, though it should stay close to ½ inch thick throughout. Press down any raised center and reinforce thin edges with a little extra meat.
Dry breadcrumbs are the most common reason sheet-pan katsu turns pale instead of crisp. The oil doesn’t need to soak the coating, but it should touch nearly every patch of panko. Look for a slight sheen rather than puddles.
Use the broiler as a finishing step, not as the main cooking method. Keep the pan close enough to brown the surface, and check it after the first 2 minutes. Rotate the pan if one side colors faster.
For food safety, the center of the chicken should reach 165°F. Check the thickest area with an instant-read thermometer. Avoid cutting into the slab repeatedly, since that releases moisture and can make the surrounding coating softer.
Resting for about 5 minutes also makes cleaner slices. A sharp knife works better than a serrated one, which can pull the crust away from the chicken.
Building and Serving the Bowls
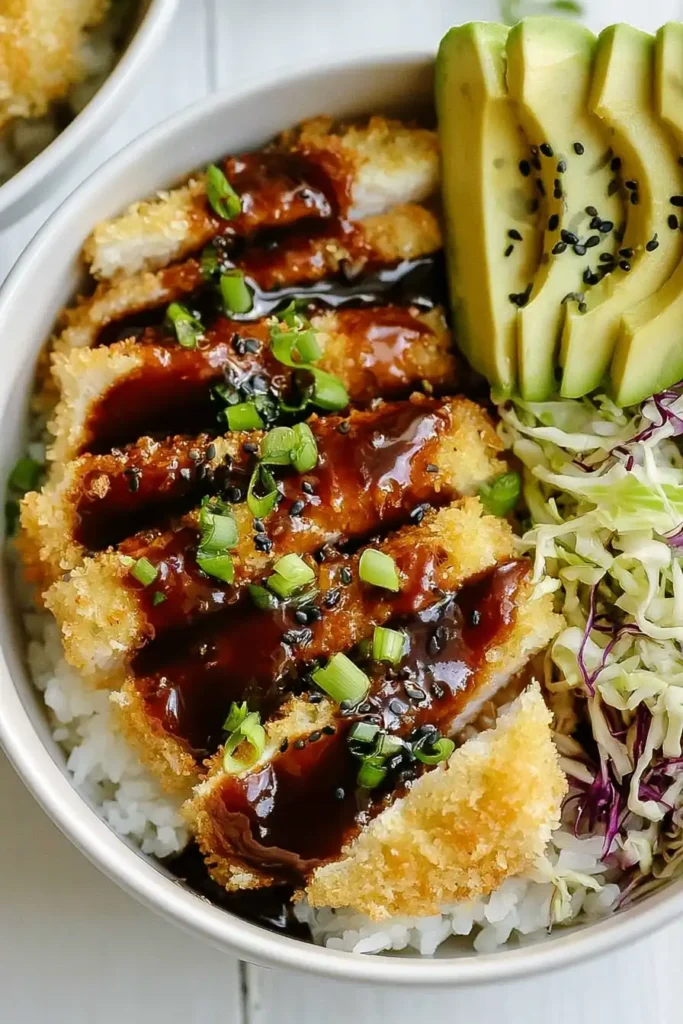
Start with a scoop of hot rice in each bowl, then place the dressed slaw beside it rather than directly underneath the chicken. Keeping the wet slaw separate helps preserve the crisp coating.
Slice the rested katsu into strips and arrange them over the rice. Spoon tonkatsu sauce across the chicken just before serving. I usually leave part of the crust uncovered so every bite isn’t softened by sauce.
Finish with sliced scallions and sesame seeds. The scallions add a fresh, sharp note, while the sesame seeds bring a light nuttiness. Serve extra tonkatsu sauce at the table for anyone who wants more.
Make-Ahead, Storage, and Reheating
These bowls hold up best when the components are stored separately. Keep the cooked chicken, rice, slaw, and tonkatsu sauce in different airtight containers so the breading doesn’t absorb moisture.
The seasoned chicken mixture can be prepared up to 1 day ahead and refrigerated before pressing and breading. You can also mix the slaw dressing in advance, though I’d wait to toss it with the vegetables until shortly before serving. Otherwise, the slaw tends to release water and lose its crunch.
Refrigerate cooked chicken for up to 3 days. Reheat it in a 400°F oven for 8–10 minutes, or in an air fryer at 375°F for 4–6 minutes, until hot and crisp at the edges. The microwave is quicker, though the coating usually softens.
Warm the rice separately with a spoonful of water and cover it while reheating. Add fresh slaw and sauce only after the chicken is hot.
Frequently Asked Questions
Can I make Japanese Katsu Bowls gluten-free?
Yes. Use gluten-free all-purpose flour, gluten-free panko, tamari or gluten-free soy sauce, and a tonkatsu sauce labeled gluten-free. Check every packaged ingredient because formulas can vary by brand.
Can I freeze the breaded chicken before baking?
Yes. Press and bread the chicken on a parchment-lined tray, then freeze it until firm. Wrap it tightly and store it for up to 1 month. Bake from frozen, adding a few extra minutes and checking that the center reaches 165°F.
Why didn’t the breadcrumb coating become crispy?
The panko may not have received enough oil, the chicken may have been pressed too thickly, or the broiling time may have been too short. Drizzle oil over every dry patch and broil only until the coating turns deeply golden.
Can I use ground turkey instead of ground chicken?
Yes. Ground turkey works with the same method. Very lean turkey can cook a little drier, so watch the baking time closely and remove it once the center reaches 165°F.
A Weeknight Bowl Worth Repeating
The key to these Japanese Katsu Bowls is keeping the chicken layer thin and the panko evenly moistened before it goes into the oven. That gives you crisp edges without frying individual cutlets.
Pile everything into bowls while the rice and chicken are hot, then add the slaw and sauce at the last minute. Simple, quick, and satisfying enough for a busy night.
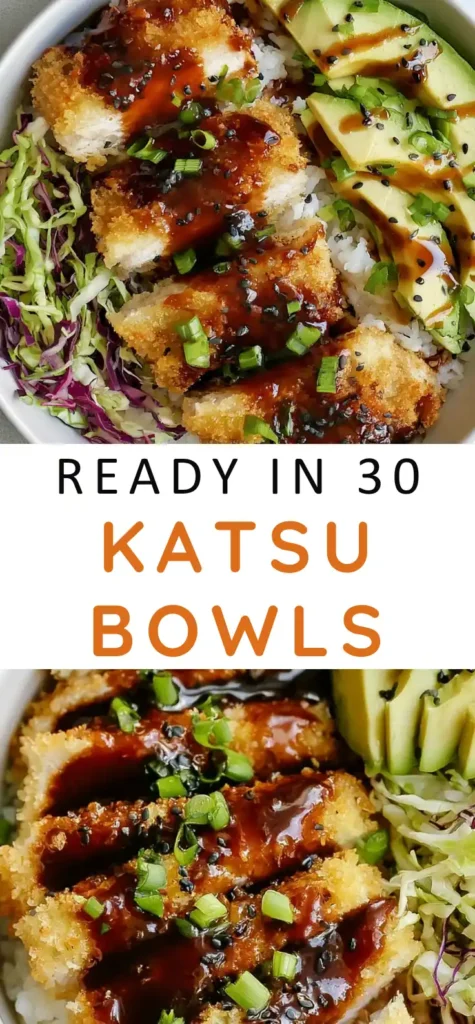
Japanese Katsu Bowls with Crispy Sheet-Pan Chicken
Ingredients
Equipment
Method
- Preheat the oven to 450°F and line a large sheet pan with parchment paper.
- Combine the ground chicken, kosher salt, black pepper, garlic powder, and onion powder in a mixing bowl until the seasonings are evenly distributed.
- Press the seasoned chicken directly onto the prepared sheet pan in an even rectangle about 1/2 inch thick, taking care not to leave thin corners or a raised center.
- Sprinkle the flour evenly over the chicken and gently press it onto the surface.
- Cover the floured chicken evenly with the panko breadcrumbs, pressing lightly so the crumbs adhere.
- Drizzle the avocado oil across the breadcrumbs until the coating is lightly moistened and no dry, powdery patches remain.
- Bake for 12 to 15 minutes, until the chicken feels firm and reaches an internal temperature of 165°F in the thickest area.
- Switch the oven to broil and cook for 2 to 5 minutes, watching closely, until the panko coating is crisp and deeply golden.
- Remove the chicken from the oven and let it rest for 5 minutes before slicing it into strips.
- While the chicken cooks, combine the rice and water in a pot, bring to a boil, cover, reduce the heat to low, and cook according to the package directions until tender.
- Whisk together the rice vinegar, soy sauce, and sesame oil, then toss the dressing with the slaw mix shortly before serving.
- Divide the cooked rice among four bowls and arrange the dressed slaw beside the rice.
- Place the sliced chicken katsu over the rice, spoon tonkatsu sauce across the chicken, and finish with scallions and sesame seeds.
Notes
- Press the chicken into an even 1/2-inch layer so the center and edges finish cooking at the same time.
- Make sure the oil reaches nearly every patch of panko; dry crumbs tend to remain pale instead of crisping.
- Watch the chicken continuously while broiling because the breadcrumbs can darken quickly.
- Store the chicken, rice, slaw, and sauce separately to help preserve the crisp coating.
- For a gluten-free version, use gluten-free flour, gluten-free panko, tamari, and gluten-free tonkatsu sauce.