Melt-in-Your-Mouth Red Velvet Brownies: The Ultimate Guide
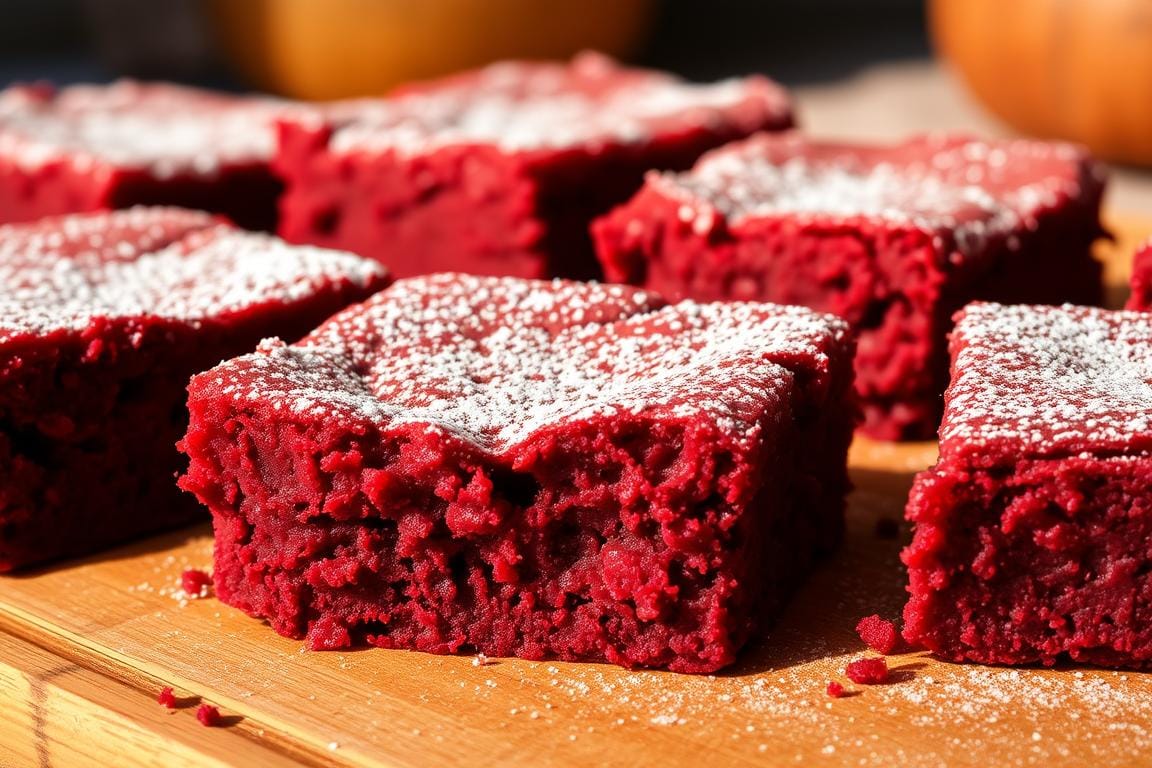
Imagine biting into a soft, velvety red velvet brownie. The taste is rich and slightly sweet. You can make this treat at home with simple ingredients. It’s perfect for any event.
Red velvet brownies mix chocolate’s decadence with red velvet’s tang. This guide will teach you how to make these brownies. You’ll learn the basics and expert tips to impress everyone.
This guide is for both beginners and experienced bakers. You’ll discover red velvet’s history and how it differs from regular brownies. Making red velvet brownies from scratch is easy and quick.
With just 15 minutes of prep and 22-25 minutes of cooking, you’ll have fresh brownies. Each serving has 362 kcal, 48g of carbs, and 19g of fat. They’re a great treat for any time.
Key Takeaways
- Red velvet brownies are a delicious and versatile dessert that can be made with everyday pantry staples.
- Learning how to make red velvet brownies from scratch can be easy and fun with the right guide.
- Red velvet dessert has a rich history and a unique flavor profile that sets it apart from other desserts.
- With a few simple tips and tricks, you can create the perfect red velvet brownies that will impress anyone.
- Red velvet brownies are perfect for any occasion, whether you’re baking for a special event or just a weeknight treat.
- By following this guide, you’ll be able to make delicious red velvet brownies that are sure to become a favorite.
- Red velvet brownies can be stored in an airtight container in the refrigerator for 3-5 days, making them a great make-ahead dessert.
The Magic Behind Red Velvet Brownies
Wondering what makes red velvet brownies special? It’s their red velvet history, which started in the 1920s in the United States. The red velvet color comes from food coloring. The special ingredients and methods used make them stand out from regular brownies.
Red velvet brownies have a richer taste than regular ones. They use cocoa powder, buttermilk, and food coloring. This gives them a unique taste and look. Understanding the red velvet color involves food coloring and baking chemistry.
Here are some key differences between red velvet and regular brownies:
- Unique ingredients: red velvet brownies often include cocoa powder, buttermilk, and food coloring
- Distinctive flavor: red velvet brownies have a richer, more complex flavor profile
- Appearance: the red velvet color is a hallmark of these brownies
Essential Ingredients for Perfect Red Velvet Brownies
To make perfect red velvet brownies, you need the right red velvet ingredients. You’ll need unsalted butter, sugar, eggs, and red food coloring. The quality of these ingredients is key, so choose the best ones.
For the brownies, you’ll need all-purpose flour, unsweetened cocoa powder, and granulated sugar. Baking powder, salt, and vanilla extract are also important. For the cheesecake layer, you’ll need white chocolate, cream cheese, and more granulated sugar.
Here is a list of the essential ingredients you will need:
- Unsalted butter: 6 ounces (170g; 12 tablespoons)
- Granulated sugar: 7 ounces (200g; 1 cup)
- Eggs: 3 large, at room temperature
- Red gel food coloring: 1 teaspoon (optional)
- All-purpose flour: 3 1/4 ounces (94g; 3/4 cup)
- Unsweetened natural cocoa powder: 1 ounce (25g; 1/4 cup)
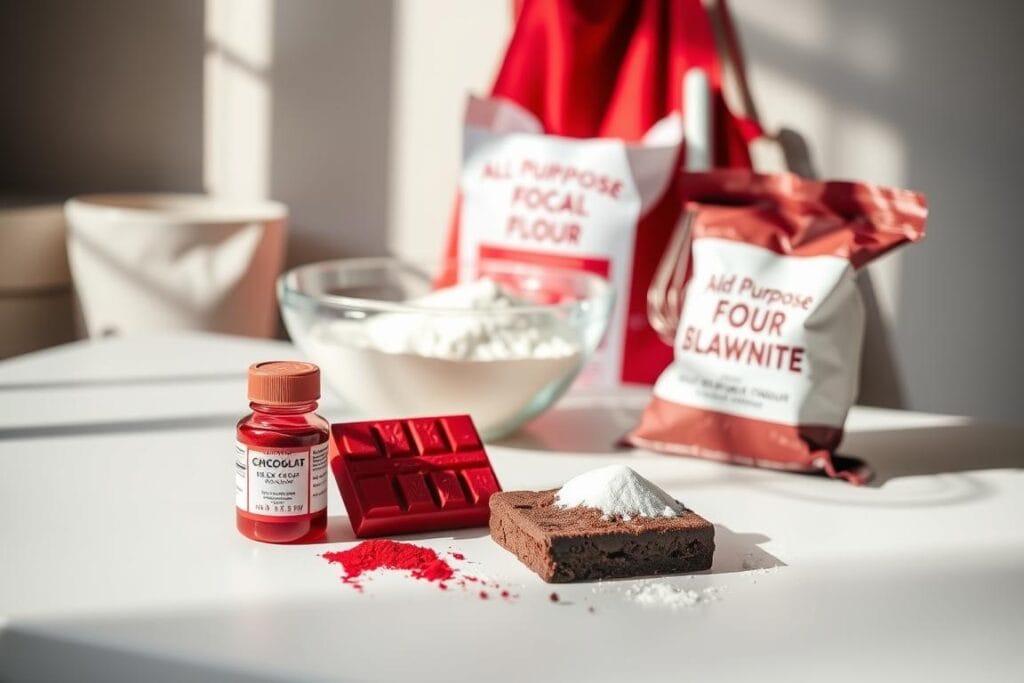
By using these red velvet ingredients and following the right instructions, you can make delicious red velvet brownies. Remember to choose high-quality ingredients and follow the recipe carefully for the best results.
Kitchen Tools and Equipment You’ll Need
To make delicious red velvet brownies, you’ll need the right kitchen tools. Having the right baking equipment is key to perfect brownies. Start by gathering a large bowl, whisk, and spatula for mixing the batter. You’ll also need a 9×13-inch baking pan to bake the brownies.
Accuracy is important when mixing and measuring. Invest in a digital scale and measuring cups for the right amounts. A stand mixer is also helpful for creaming butter and sugar, and mixing eggs and flour.
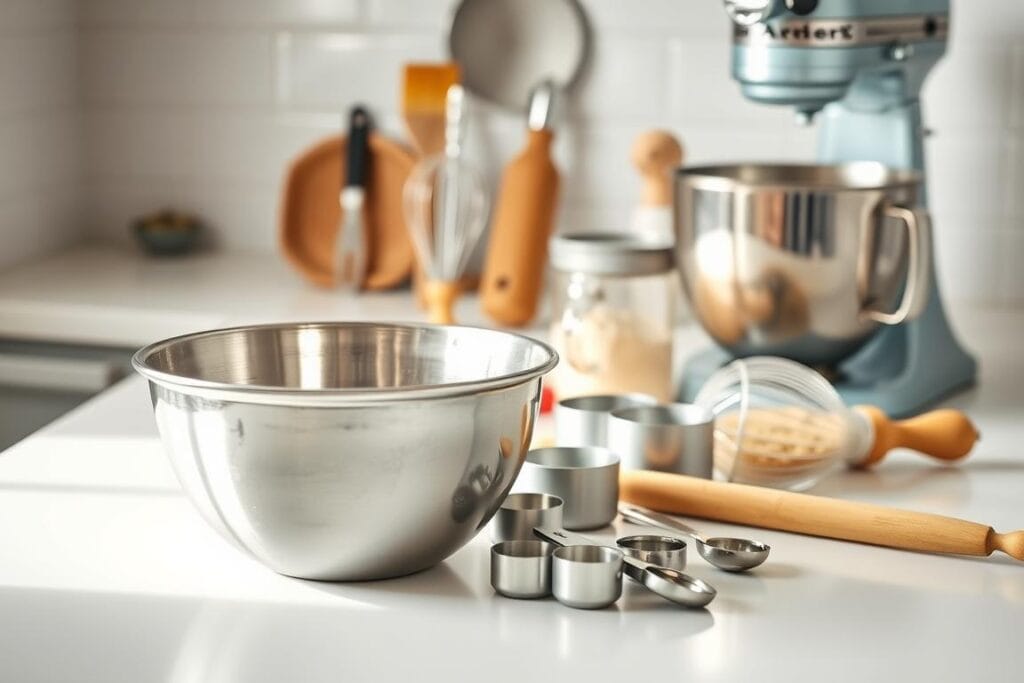
There are optional special tools that can make baking easier. A silicone spatula helps scrape the bowl and fold ingredients. A pastry brush applies egg wash to the brownies before baking.
Other essential tools include a rubber spatula, a whisk, and measuring spoons. With these tools, you’re ready to make delicious red velvet brownies. Always use high-quality baking equipment for the best results.
Making Red Velvet Brownies From Scratch
To make tasty homemade brownies, just follow a few easy steps. When making red velvet brownies from scratch, use the best ingredients and stick to the recipe. First, preheat your oven to 350°F. Then, get an 8×8 or 9×9 inch pan ready.
Here’s what you need to do:
- Melt the butter and chocolate
- Whisk the eggs and sugar
- Combine the flour, cornstarch, and cocoa powder
- Fold in the flour mixture and add the red food coloring
After mixing the batter, put it in the pan. Bake for 30-35 minutes, or until a toothpick is clean. It’s key not to overbake, as it makes the brownies dry. Let them cool down before frosting with your favorite cream cheese frosting.
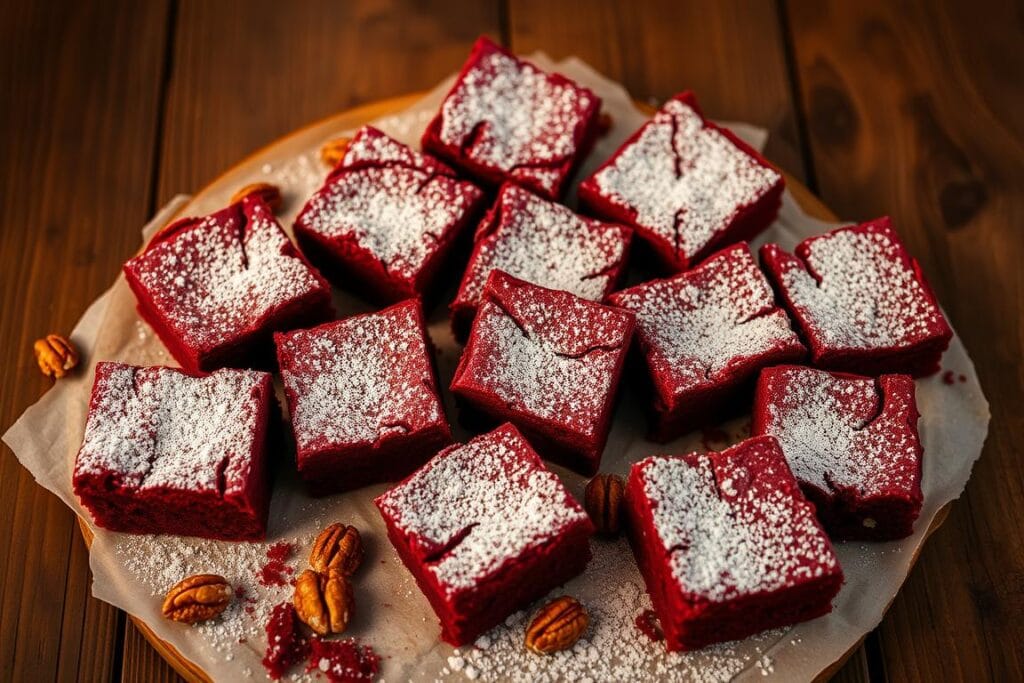
By following these steps, you can make amazing homemade brownies for any event. Always choose top-notch ingredients and follow the recipe well to get the best results when making red velvet brownies from scratch.
| Ingredient | Quantity |
|---|---|
| Unsalted butter | ½ cup (113g) |
| All-purpose flour | ¾ cup (90g) |
| Granulated sugar | 1 ¼ cups (248g) |
| Cocoa powder | ⅓ cup (28g) |
Creating the Perfect Cream Cheese Frosting
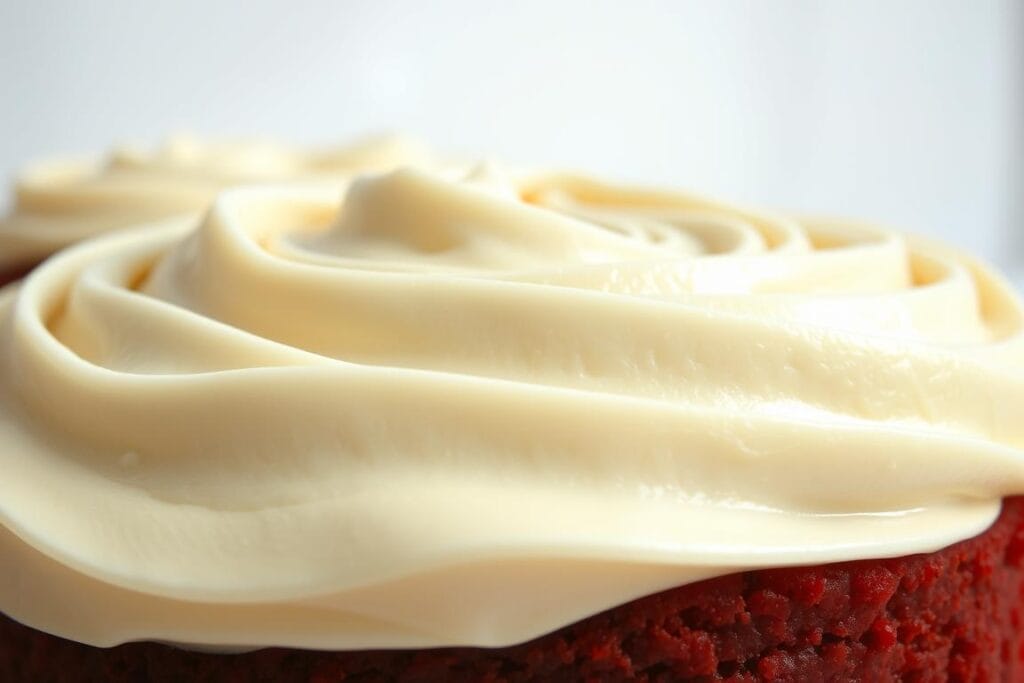
To make a delicious cream cheese frosting, you need the right ingredients. This includes full-fat cream cheese, unsalted butter, and sifted powdered sugar. The quality of these ingredients will affect the taste and texture of your frosting.
When making the frosting, beat the cream cheese and butter until smooth. Then, gradually add the powdered sugar. This is key to a perfect frosting.
Some recipes, like the whipped cream cheese topping, require heavy cream and powdered sugar. Others, like the cream cheese swirl, involve beating cream cheese, egg whites, and sugar. The key is to find the right balance and use the correct techniques.
- Too thin: add more powdered sugar
- Too thick: add a small amount of heavy cream
- Not smooth: beat the frosting for a longer time
By following these tips and using the right ingredients and techniques, you can create a delicious cream cheese frosting. This will take your red velvet brownies to the next level.
Using Red Velvet Brownie Mix: Tips and Tricks
Using a red velvet brownie mix is a quick and easy way to make delicious brownies. While some prefer making them from scratch, a mix can also yield tasty results. To get the best out of your red velvet brownie mix, follow the instructions closely and make a few tweaks to boost flavor and texture.
One advantage of a red velvet brownie mix is it saves time. But, it might have less chocolate than homemade batter, which can change the taste. To fix this, adding extra chocolate chips or cocoa powder can deepen the flavor.
Here are some tips for using a red velvet brownie mix:
- Follow the instructions on the box carefully, and make sure to add the right amount of eggs, oil, and water.
- Add some extra chocolate chips or cocoa powder to enhance the flavor.
- Use a kitchen scale to measure the ingredients accurately, to avoid dryness in the brownies.
- Refrigerate the batter for at least 1 hour to allow the flavors to meld together and the texture to improve.
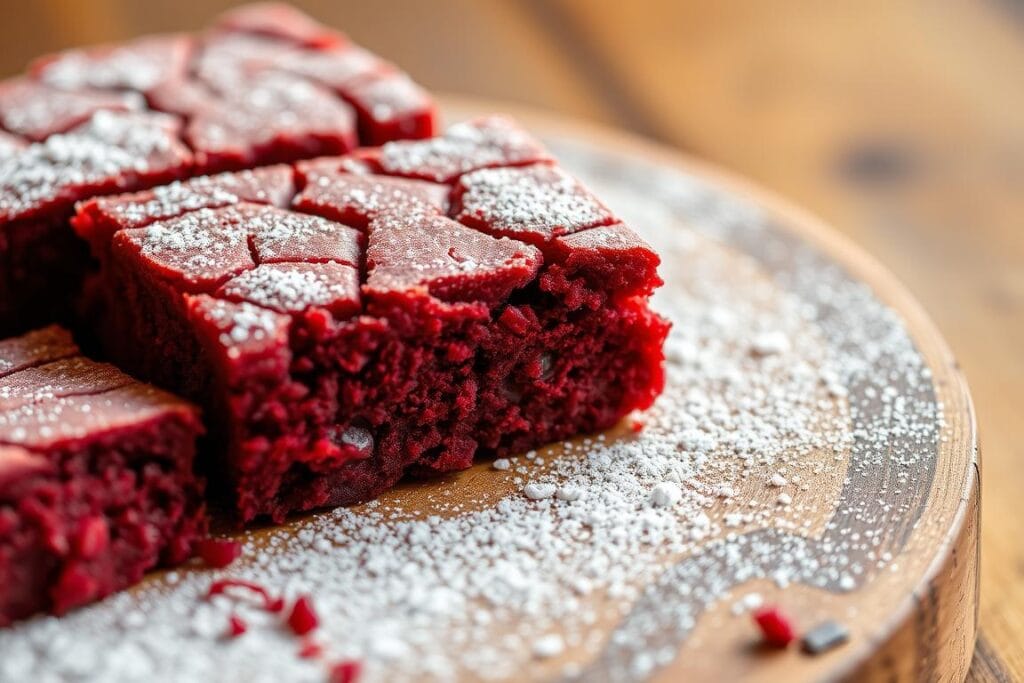
By following these tips and using a red velvet brownie mix, you can make delicious and easy red velvet brownies. They’re perfect for any occasion. Don’t be afraid to try different ingredients and flavors to make the mix your own and create a unique taste experience.
Common Mistakes to Avoid When Baking Red Velvet Brownies
Baking red velvet brownies can be tricky. Common mistakes like temperature issues, mixing problems, and baking time errors can ruin your treats. Knowing how to avoid these mistakes is key to getting the perfect brownies.
Temperature control is critical. Your oven should be around 350°F (175°C) for even baking. Mixing too much can make the brownies tough. And, baking them too long can make them dry and crumbly.

To avoid these mistakes, follow some simple tips. Use the right temperature and baking time. Mix the batter gently to prevent overmixing. And, watch your brownies closely to avoid overcooking. These steps will help you make delicious, moist red velvet brownies.
Remember, using natural cocoa powder and gel food coloring can enhance your brownies. Avoiding common mistakes and following these tips will ensure perfect red velvet brownies every time.
Creative Variations and Add-ins
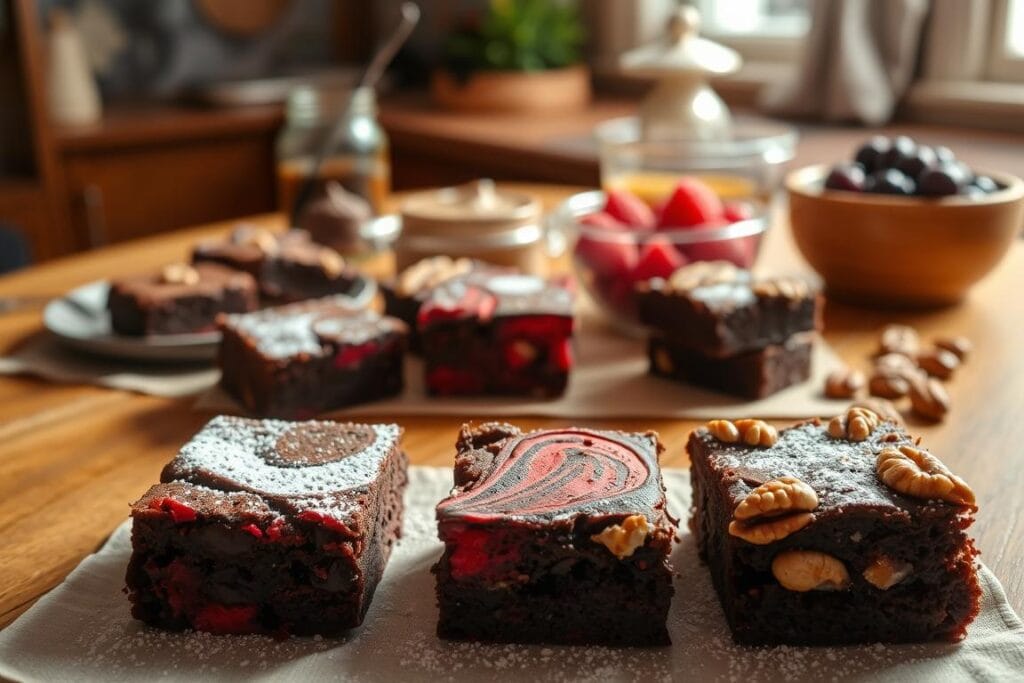
Red velvet brownies offer endless possibilities for creative twists. You can mix in nuts or chocolate chips for unique tastes. Adding chopped walnuts or pecans can enhance both texture and flavor.
Using different chocolates, like white or dark, can change the flavor. Dried fruits like cranberries or cherries add a sweet and tangy twist. The goal is to find the perfect mix that you enjoy.
Some favorite add-ins for brownies include:
- Nuts: walnuts, pecans, hazelnuts
- Chocolate chips: semi-sweet, milk chocolate, white chocolate
- Dried fruit: cranberries, cherries, raisins
- Spices: cinnamon, nutmeg, ginger
Exploring creative brownie variations and add-ins can lead to a unique dessert. It’s a great way to impress your loved ones. So, don’t hesitate to try new things and have fun!
Storage and Serving Suggestions
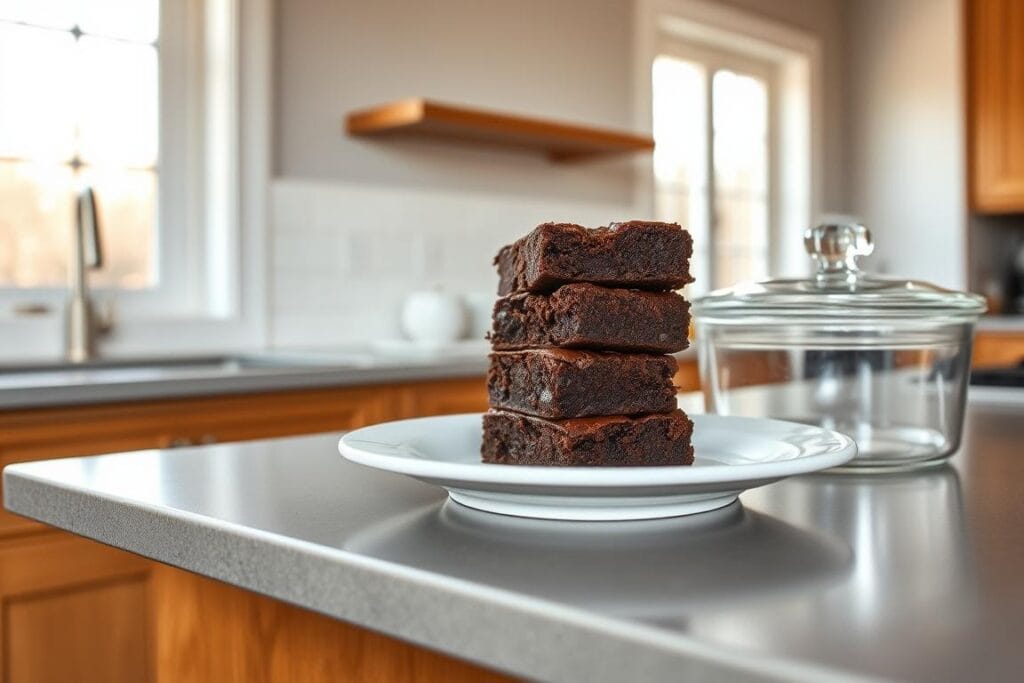
Keeping brownies fresh is key. Store them at room temperature in an airtight container for 3-4 days. Or, refrigerate them for 5-7 days. Freezing is an option for up to 2 months.
To reheat, use the oven at a low temperature. This prevents them from drying out.
How you present brownies matters. You can cut them into fun shapes or serve with ice cream. Adding frosting or powdered sugar is a nice touch.
Here are some tips for storing and reheating brownies:
- Store at room temperature: up to 3-4 days
- Store in the refrigerator: up to 5-7 days
- Freeze: up to 2 months
- Reheat in the oven: at a low temperature
Follow these tips to enjoy your brownies longer. Whether for a party or a quick dessert, these suggestions will help.
Special Occasion Red Velvet Brownie Ideas
For special occasions, you want your dessert to stand out. Red velvet brownies are ideal for holiday brownies or any big event. You can make them unique with special flavors and toppings.
For instance, add festive sprinkles on top for special occasion brownies like Valentine’s Day or Christmas. Try mint or orange flavors for a unique taste.
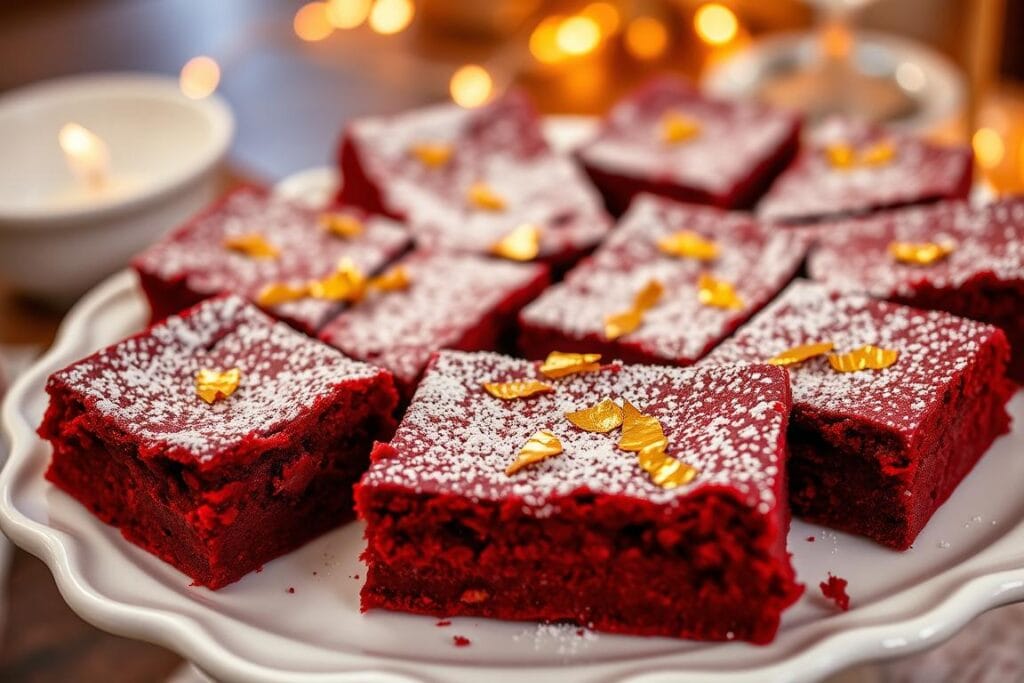
- Heart-shaped brownies for Valentine’s Day
- Red and green sprinkles for Christmas
- Orange or lemon flavor for a summer party
These ideas are just the start. With creativity, you can come up with many more deliciousspecial occasion brownies ideas.
Remember, the secret to amazing holiday brownies is to have fun and be creative. Don’t be afraid to try new things. It’s all about making something special and enjoying the journey.
Conclusion: Mastering Your Red Velvet Brownie Game
As you finish reading this article, you’re one step closer to mastering red velvet brownies. Perfecting brownies takes patience and practice. But with the right techniques and ingredients, you can get the perfect texture and flavor.
Making red velvet brownies is all about paying attention to detail. It starts with the initial mixing and ends with the final baking stage. This process is key to achieving success.
To become a pro at making red velvet brownies, practice and patience are key. With each try, you’ll get better and understand what makes a brownie perfect. By following the tips in this article, you’ll be on your way to making amazing treats.
Remember, mastering red velvet brownies is a journey. Enjoy the process, even when you face setbacks. Use failures as chances to learn and grow. With time and effort, you’ll become a brownie master, and your creations will impress everyone.
FAQ
What is the history of red velvet desserts?
Red velvet desserts started in the 1920s in the United States. They were made with red food coloring and cocoa powder. This gave them a unique red color and flavor.
Over time, these desserts evolved. Now, they include many ingredients and flavors. But the classic recipe is always a favorite.
What makes red velvet brownies different from regular brownies?
Red velvet brownies use red food coloring, cocoa powder, and buttermilk. This gives them a special flavor and texture. They also have cream cheese frosting, which adds a tangy and creamy touch.
This mix of ingredients makes them stand out from regular brownies. They taste rich and decadent.
How do I make the perfect cream cheese frosting for my red velvet brownies?
To make perfect cream cheese frosting, you need cream cheese, butter, vanilla extract, and powdered sugar. Use high-quality ingredients and follow the recipe well.
You can also add flavors like lemon or orange. This gives your frosting a unique twist.
Can I use a red velvet brownie mix to make delicious brownies?
Yes, you can use a red velvet brownie mix. But remember, it might not be as customizable as making them from scratch. You can add your own ingredients, like nuts or chocolate chips, for a unique taste.
What are some common mistakes to avoid when baking red velvet brownies?
Avoid temperature control issues, mixing problems, and baking time errors. Use high-quality ingredients and follow the recipe carefully. This ensures the best results.
You can also fix common problems like overmixing or underbaking. This helps your brownies turn out perfectly.
How do I store and serve my red velvet brownies?
Store your brownies in an airtight container at room temperature for up to 3 days. You can freeze them for up to 2 months and thaw at room temperature when ready.
To serve, reheat in the microwave or oven. Top with cream cheese frosting or whipped cream.
What are some creative variations and add-ins for red velvet brownies?
Try adding nuts, chocolate chips, dried fruit, or espresso powder to your brownies. You can also mix in different flavors, like raspberry or orange. Using different sugars, like brown sugar or turbinado sugar, adds depth to the flavor.
Can I order red velvet brownies online for delivery?
Yes, you can order red velvet brownies online for delivery. This is a convenient way to get your favorite dessert. Check reviews and ratings to ensure quality.
What are some tips for making decadent red velvet brownies?
Use high-quality ingredients like dark cocoa powder and real butter. Follow the recipe carefully for the right consistency and flavor. Add extra ingredients, like chocolate chips or nuts, for a rich taste.
Using a water bath helps cook the brownies evenly. This ensures they are fudgy.
How do I make red velvet brownies from scratch?
Start by preheating your oven and preparing your ingredients. Mix the batter and pour it into a pan. Bake until they are cooked through.
You can customize the recipe by adding your own ingredients. This gives the brownies a unique flavor.
Melt-in-Your-Mouth Red Velvet Brownies: The Ultimate Guide
- Total Time: 40 minutes
- Yield: 16 brownies 1x
- Diet: Vegetarian
Description
These melt-in-your-mouth red velvet brownies offer the perfect blend of rich cocoa, soft texture, and that iconic red hue. Topped with tangy cream cheese frosting, they’re a stunning dessert for holidays, parties, or any day that needs a little sweetness. Simple to prepare and irresistibly delicious.
Ingredients
Brownie Base:
½ cup (113g) unsalted butter
1 ¼ cups (248g) granulated sugar
3 large eggs (room temperature)
¾ cup (90g) all-purpose flour
⅓ cup (28g) unsweetened cocoa powder
1 teaspoon red gel food coloring (optional)
1 teaspoon vanilla extract
¼ teaspoon salt
Optional Cream Cheese Frosting:
8 oz cream cheese (room temperature)
¼ cup (57g) unsalted butter (room temperature)
1 cup (120g) powdered sugar (sifted)
½ teaspoon vanilla extract
1–2 tablespoons heavy cream (to adjust consistency)
Instructions
Preheat and Prep:
Preheat oven to 350°F (175°C). Line an 8×8 or 9×9-inch baking pan with parchment paper or lightly grease it.
Make the Batter:
Melt butter in a saucepan or microwave. Let it cool slightly.
In a bowl, whisk together sugar and eggs until pale and creamy.
Stir in melted butter, food coloring, and vanilla extract.
Sift in cocoa powder, flour, and salt. Fold gently until fully combined.
Bake:
Pour batter into the prepared pan. Spread evenly.
Bake for 22–25 minutes or until a toothpick inserted comes out with a few moist crumbs.
Let cool completely in the pan.
Make Frosting (optional):
Beat cream cheese and butter until smooth.
Add vanilla and powdered sugar. Mix until creamy.
Adjust consistency with heavy cream if needed.
Frost and Serve:
Spread frosting over cooled brownies.
Cut into squares and serve.
Notes
Use gel food coloring for vibrant color without adding too much liquid.
Don’t overbake—edges should be set, center slightly soft.
Store in the refrigerator for 3–5 days. Freeze (unfrosted) for up to 2 months.
- Prep Time: 15 minutes
- Cook Time: 22–25 minutes
- Category: Dessert
- Method: Baking
- Cuisine: American
What Are Our Readers Saying?
There are no reviews yet. Be the first one to write one.

