The Best Marshmallow Fluff Fudge: Smooth, Creamy, and Foolproof Every Time
If you grew up making holiday candy with your family, you probably remember the smell of chocolate and sugar bubbling away on the stove. That’s exactly what Marshmallow Fluff fudge brings back for me — a little nostalgia wrapped in sweetness. The recipe is simple, forgiving, and turns out silky-smooth fudge every single time. Whether you’re whipping up gifts for friends or satisfying a chocolate craving, this classic treat never disappoints.
Making Marshmallow Fluff fudge is one of those kitchen traditions that instantly feels comforting. It’s rich but not heavy, creamy without being cloying, and best of all, you don’t need to be a candy expert to nail it. Once you understand the basics, you’ll have a no-fail fudge recipe to keep forever.
Table of Contents
What Is Marshmallow Fluff Fudge?
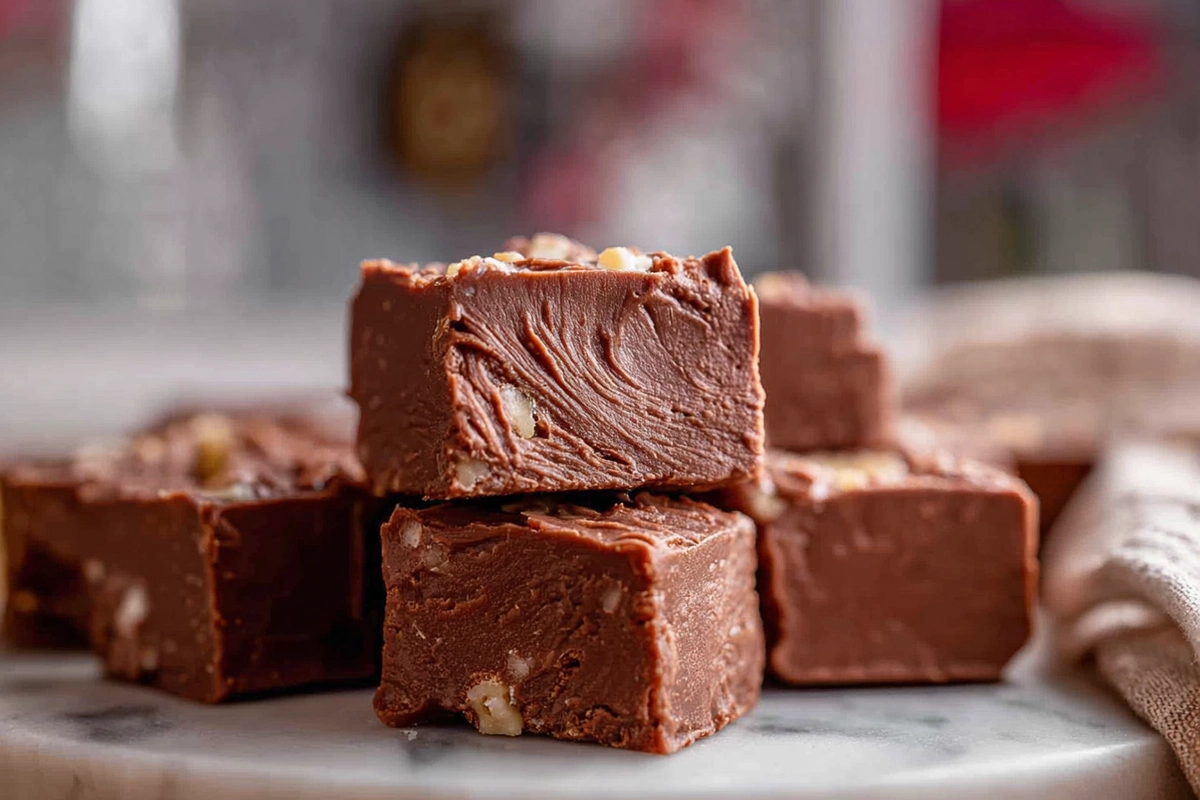
This fudge gets its signature texture from marshmallow creme, often known by the brand name Marshmallow Fluff. Instead of relying on hours of stirring or precise candy chemistry, this shortcut ensures a smooth, creamy finish every time. Traditional fudge can sometimes turn grainy if the sugar isn’t cooked just right, but the marshmallow fluff prevents that by stabilizing the mixture.
In the U.S., this style of fudge has been a holiday staple since the mid-20th century, especially known as “Fantasy Fudge” on the back of marshmallow creme jars. The recipe is quick, rich, and versatile — perfect for Christmas cookie boxes, bake sales, or a cozy movie night with a cup of hot cocoa.
Print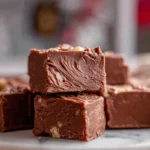
Marshmallow Fluff Fudge
- Total Time: PT25M
- Yield: 24 pieces 1x
- Diet: Vegetarian
Description
This creamy Marshmallow Fluff fudge delivers a smooth, rich chocolate texture with ribbons of marshmallow and a perfect melt-in-your-mouth bite — a no-fail favorite for holidays and homemade desserts.
Ingredients
3 cups granulated sugar
¾ cup unsalted butter (1½ sticks)
⅔ cup evaporated milk
12 oz semi-sweet chocolate chips
7 oz jar marshmallow fluff or marshmallow creme
1 teaspoon vanilla extract
1 cup chopped walnuts or pecans (optional)
Pinch of salt
Instructions
1. Line a 9×9-inch baking pan with parchment paper, leaving some overhang for easy lifting.
2. In a heavy saucepan, combine sugar, butter, and evaporated milk over medium heat. Stir until the butter melts and the sugar fully dissolves.
3. Bring the mixture to a full rolling boil and cook for about five minutes, stirring constantly, or until the temperature reaches 234°F.
4. Remove from heat and stir in the chocolate chips until fully melted and smooth.
5. Add marshmallow fluff, vanilla extract, and nuts if using. Stir quickly until everything is blended and silky.
6. Pour the fudge into the prepared pan, spreading evenly. Let it cool at room temperature for 2 hours or refrigerate to speed up setting.
7. Once firm, lift the fudge out of the pan, cut into squares, and store in an airtight container.
Notes
For best texture, avoid over-boiling or undercooking the mixture. Use good-quality chocolate for a rich, glossy finish. The fudge can be frozen for up to 3 months when wrapped tightly.
- Prep Time: PT15M
- Cook Time: PT10M
- Category: Dessert
- Method: Stovetop
- Cuisine: American
Nutrition
- Serving Size: 1 piece
- Calories: 150
- Sugar: 18g
- Sodium: 45mg
- Fat: 7g
- Saturated Fat: 4g
- Unsaturated Fat: 2g
- Trans Fat: 0g
- Carbohydrates: 20g
- Fiber: 1g
- Protein: 1g
- Cholesterol: 10mg
Ingredients and Equipment You’ll Need
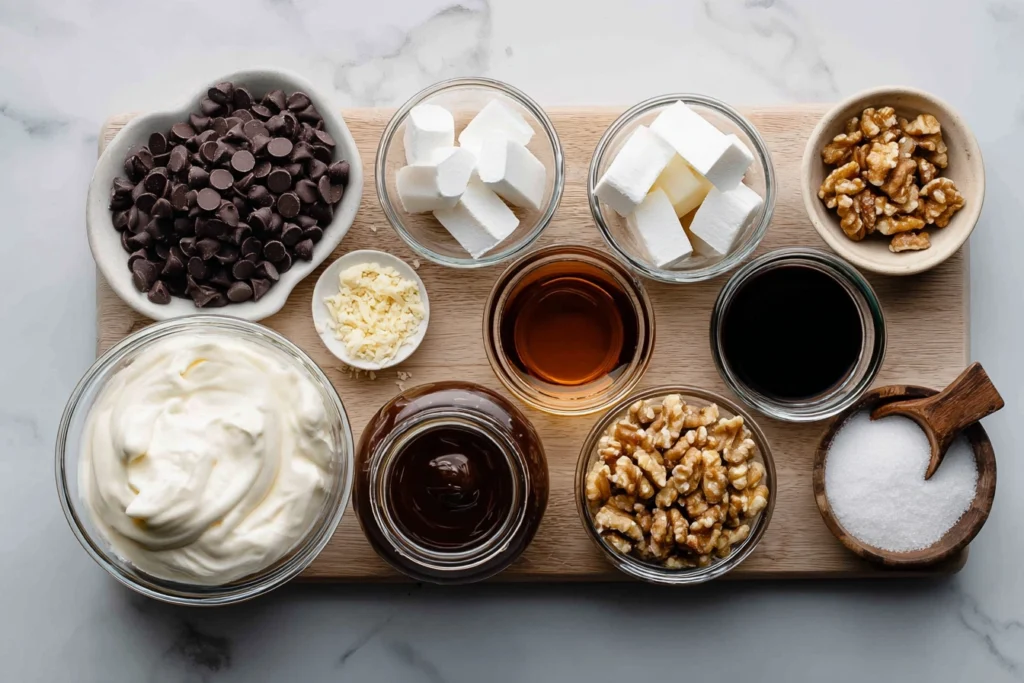
Here’s everything you’ll need to make your own batch of smooth and creamy fudge:
Ingredients
- 3 cups granulated sugar
- ¾ cup unsalted butter (1½ sticks)
- ⅔ cup evaporated milk
- 12 oz semi-sweet chocolate chips
- 7 oz jar marshmallow fluff or marshmallow creme
- 1 teaspoon vanilla extract
- 1 cup chopped walnuts or pecans (optional)
- Pinch of salt
Equipment
- Heavy-bottom saucepan
- Wooden spoon or heat-resistant spatula
- Candy thermometer (optional but helpful)
- 9×9-inch baking pan lined with parchment paper
- Measuring cups and spoons
Having your ingredients measured before you start is essential — once the mixture starts boiling, things move fast. A sturdy saucepan ensures even heating, preventing sugar from burning at the bottom.
Step-by-Step Preparation & Cooking Instructions
Step 1: Prep Your Pan and Ingredients
Line your baking pan with parchment paper, leaving enough overhang to lift the fudge later. Measure everything ahead — fudge waits for no one.
Step 2: Make the Base
In a heavy saucepan, combine sugar, butter, and evaporated milk over medium heat. Stir constantly until the butter melts and the sugar dissolves completely. When you can no longer feel any sugar grains on the spoon, you’re ready to move to the next step.
Step 3: Boil to Perfection
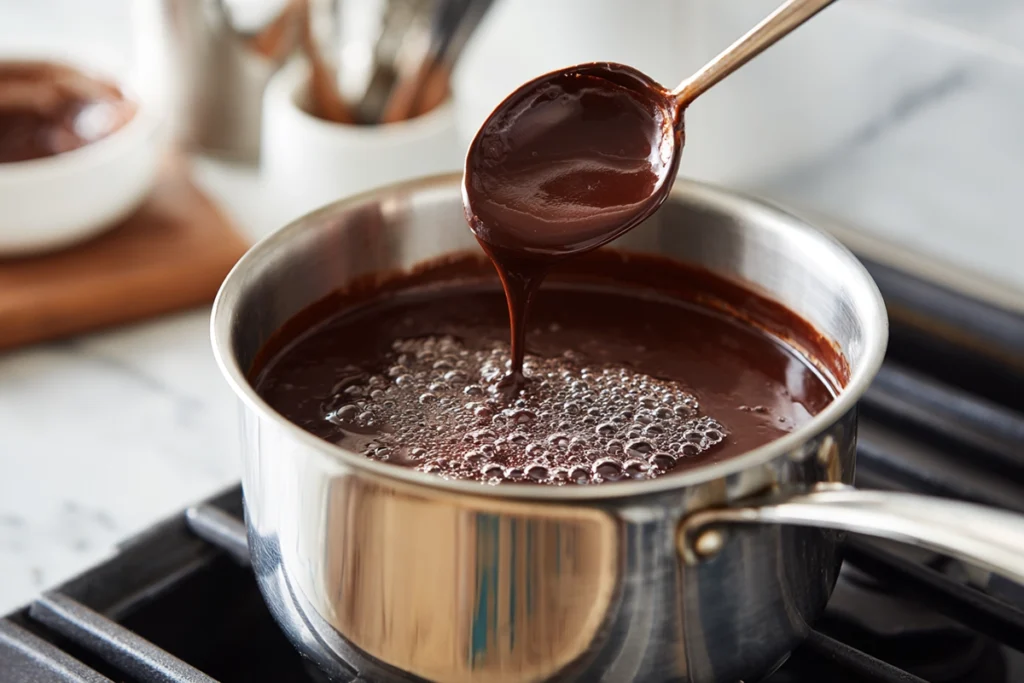
Increase the heat slightly and bring the mixture to a full rolling boil. Stir continuously for about five minutes or until the temperature reaches 234°F on a candy thermometer (the soft-ball stage). You’ll notice the mixture thickening and bubbling steadily — that’s exactly what you want.
Step 4: Add the Chocolate
Remove the pan from heat and immediately stir in the chocolate chips. Keep stirring until the chocolate is fully melted and the mixture looks glossy and uniform.
Step 5: Fold in the Fluff
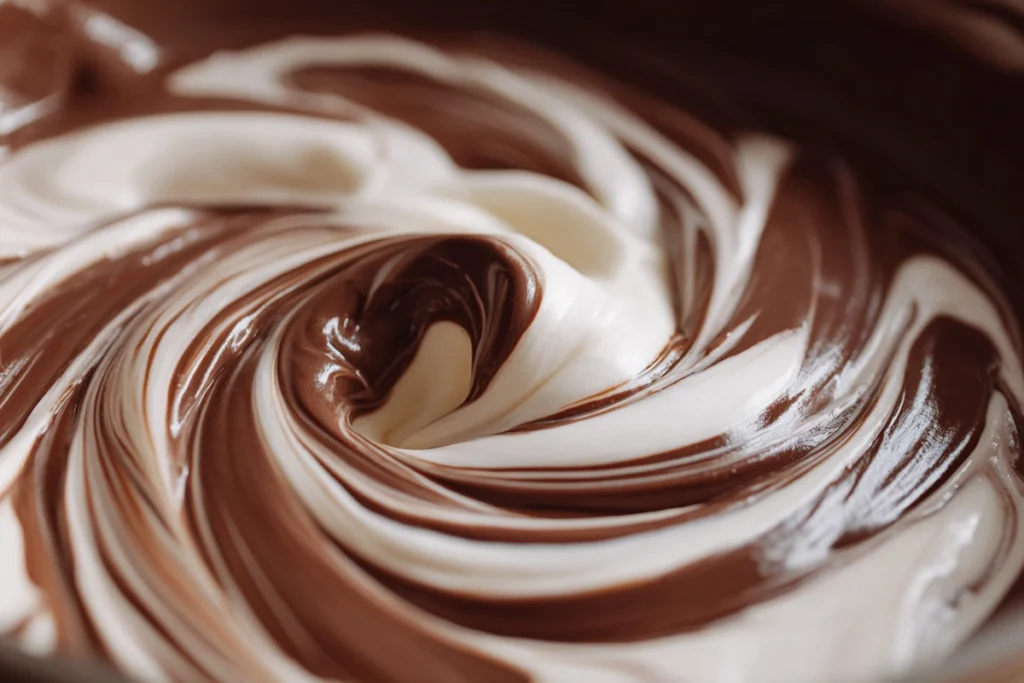
Add the marshmallow fluff, vanilla, and nuts if using. Stir vigorously until everything is smooth. The mixture will be thick and silky — that’s your cue to pour it into the prepared pan.
Step 6: Set and Slice
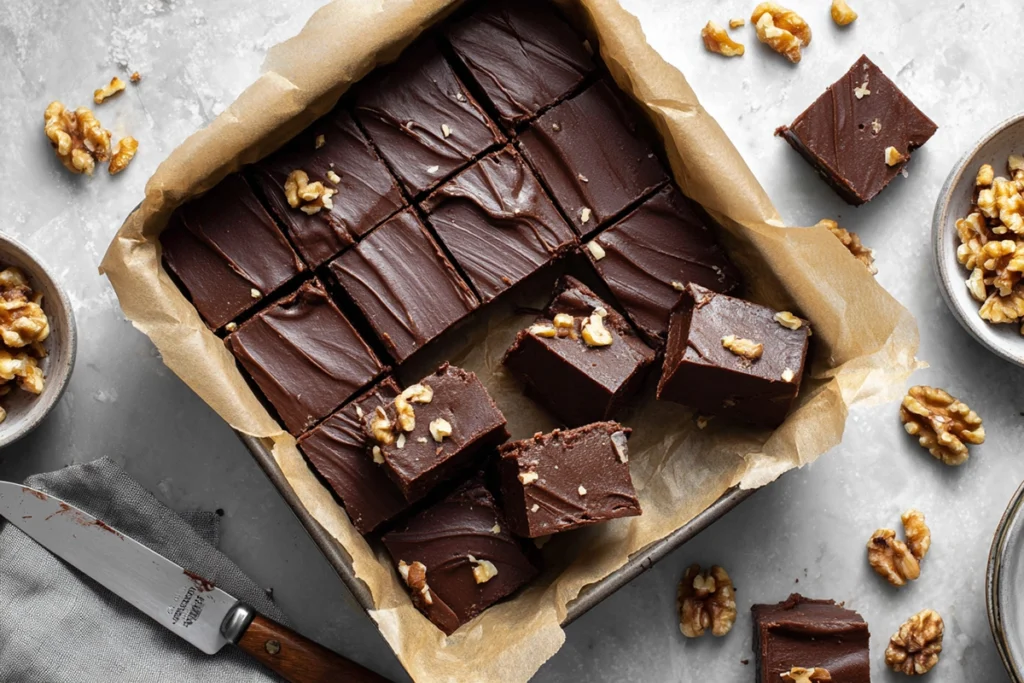
Spread the fudge evenly with a spatula. Let it cool at room temperature for about two hours, or refrigerate for faster setting. Once firm, lift the parchment out of the pan and cut the fudge into squares. Store in an airtight container to keep that creamy texture intact.
Variations and Flavor Twists
The beauty of Marshmallow Fluff fudge is how easy it is to adapt. You can change the flavor or add fun textures without losing the smooth base.
Classic Twists
- White Chocolate Peppermint Fudge: Swap chocolate chips for white chocolate and stir in crushed peppermint candies.
- Peanut Butter Swirl: Drop spoonfuls of peanut butter into the warm fudge and swirl with a knife before setting.
- Rocky Road: Add mini marshmallows and chopped almonds for extra crunch.
Creative Flavors
- Salted Caramel: Drizzle caramel sauce on top and sprinkle with flaky sea salt.
- Mocha Fudge: Add a teaspoon of instant coffee for a subtle espresso kick.
- S’mores Fudge: Layer graham cracker crumbs on the bottom before pouring in the mixture, then top with mini marshmallows.
Each twist adds a new personality to the same creamy foundation, so you’ll never get bored making it.
Dietary Variations
If you or someone you’re cooking for follows a specific diet, you can easily adjust this recipe without losing its charm.
Vegan
Use plant-based butter, dairy-free chocolate chips, and vegan marshmallow fluff (brands like Dandies or Freedom make good substitutes). Coconut cream can replace evaporated milk for a luscious, dairy-free texture.
Gluten-Free
Most of the base ingredients are naturally gluten-free, but always double-check labels — especially for marshmallow fluff and chocolate chips. A certified gluten-free brand guarantees safety for sensitive eaters.
Low-Calorie or Low-Sugar
You can replace part of the sugar with a granulated sugar substitute designed for baking. Choose semi-sweet chocolate with a high cocoa percentage to reduce added sugars and cut smaller squares for portion control.
Halal or Kosher
Stick with certified halal or kosher brands for chocolate and marshmallow fluff. Many commercial marshmallow cremes already meet these standards, so it’s an easy swap.
Even with substitutions, the fudge stays rich and satisfying — proof that indulgence can still fit your lifestyle.
Storage, Serving & Gift Ideas
Once your fudge has cooled, cut it into neat squares. Store them in an airtight container at room temperature for up to a week or in the fridge for up to three weeks. For longer storage, freeze it — just wrap each layer in wax paper and seal in a freezer-safe bag. Thaw in the refrigerator before serving.
Fudge makes a thoughtful gift, especially during the holidays. Pack small squares in parchment-lined tins or kraft boxes with a ribbon for a homemade touch. For parties, stack pieces on a dessert tray alongside cookies and truffles for an irresistible display.
Whether you’re making it for yourself or sharing it with loved ones, Marshmallow Fluff fudge proves that the best sweets don’t have to be complicated. It’s a recipe you’ll come back to again and again — a timeless treat that captures the heart of homemade candy.
Frequently Asked Questions
What makes marshmallow fluff fudge different from regular fudge?
The key difference comes down to incorporating marshmallow fluff (or marshmallow creme) into the mixture. Adding it keeps the texture smoother and reduces the chance of sugar crystallising, which means your fudge ends up creamy instead of grainy. It also simplifies the cooking process compared to more traditional fudge recipes.
Can you use mini marshmallows instead of marshmallow fluff in this fudge?
Yes, you can, but you’ll probably notice a slightly different texture. Mini marshmallows melt and behave differently than the whipped marshmallow fluff. If you substitute, melt them fully and be extra careful about stirring and boil time so your fudge still sets properly.
How long will this fudge stay fresh and how should I store it?
Once it’s fully cooled and set, store your fudge in an airtight container. At room temperature it’s good for about a week; in the fridge it’ll last up to around three weeks. If you want to keep it even longer, freeze it (wrapped in wax paper and foil) for up to three months, then thaw in the fridge before serving.
Get inspired with more mouthwatering recipes! Follow me on Facebook, Pinterest, and subscribe to YouTube for new cooking ideas every week.
What Are Our Readers Saying?
There are no reviews yet. Be the first one to write one.

