Potato and Cheese Pierogi – A Comforting Classic You’ll Want to Make Again and Again
If you’ve ever bitten into a soft dumpling filled with creamy potatoes and melted cheese, you already know how comforting Potato and Cheese Pierogi can be. For many, it’s more than just food — it’s a taste of family, tradition, and Sunday dinners that linger long after the plates are cleared. Whether you grew up with a Polish grandmother rolling out dough at the kitchen table or you’re discovering these golden gems for the first time, making pierogi from scratch is one of those simple pleasures that brings warmth straight to your table.
What makes Potato and Cheese Pierogi special isn’t just the rich filling or buttery finish — it’s the process. The soft dough, the creamy texture inside, the little sizzling sound when they hit the skillet — it’s pure homemade comfort food that you can make anytime you need a cozy meal.
Origins & What Makes Potato and Cheese Pierogi Special
Pierogi have humble roots that go back centuries in Eastern Europe, most famously in Poland. Traditionally called “Pierogi Ruskie,” they were made with mashed potatoes, onions, and farmer’s cheese — a filling both hearty and affordable. Over time, as families emigrated to the United States, these dumplings became a staple in American kitchens, especially in Midwest towns with Polish and Ukrainian heritage.
What’s beautiful about this dish is how adaptable it is. In Poland, pierogi are often served boiled and topped with buttered onions. In American homes, they’re frequently pan-fried after boiling for that irresistible crisp edge. Some cooks even add a sharp cheddar twist or a dollop of sour cream into the filling for extra creaminess. The balance between soft dough, savory filling, and golden-brown texture is what makes this dish timeless — a bridge between old-world tradition and modern comfort.
Print
Potato and Cheese Pierogi
- Total Time: 50 minutes
- Yield: 4 servings 1x
- Diet: Vegetarian
Description
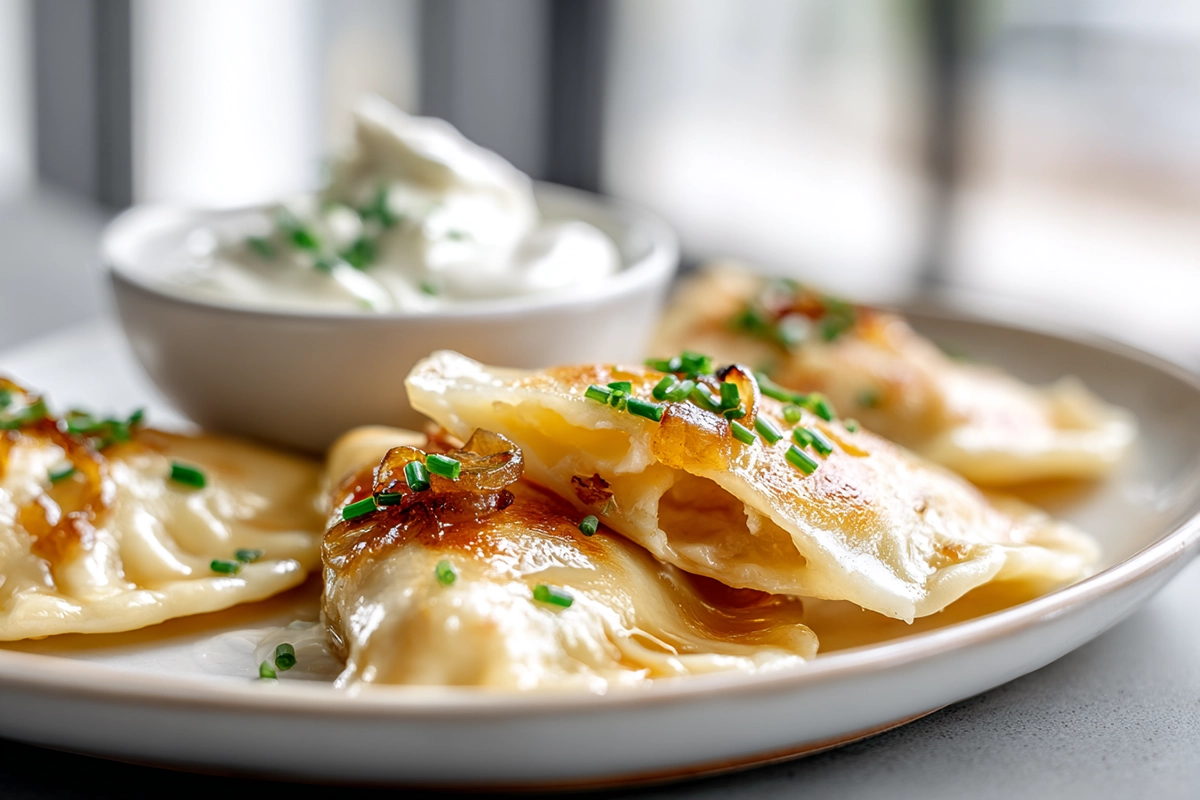
These Potato and Cheese Pierogi are tender, handmade dumplings filled with creamy mashed potatoes, buttery onions, and rich cheese. Lightly pan-fried for golden edges, they deliver a comforting blend of texture and flavor that feels like home in every bite.
Ingredients
For the dough:
2 cups all-purpose flour (plus extra for dusting)
1 large egg
½ cup warm water
1 tablespoon sour cream
½ teaspoon salt
For the filling:
1 ½ pounds russet or Yukon Gold potatoes, peeled and cut into chunks
1 cup farmer’s cheese (or ricotta or dry cottage cheese)
½ cup shredded sharp cheddar cheese
1 small onion, finely chopped and sautéed in butter
2 tablespoons unsalted butter
Salt and black pepper to taste
For serving:
2 tablespoons butter
½ small onion, sliced and caramelized
Sour cream or chives for garnish
Instructions
Prepare the filling: Boil potatoes in salted water until fork-tender, about 10–12 minutes. Drain and let them steam dry for a few minutes. Mash until smooth, then stir in farmer’s cheese, cheddar, sautéed onions, butter, salt, and pepper. Mix well and set aside to cool.
Make the dough: In a large bowl, mix flour and salt. Add egg and sour cream, then slowly pour in warm water while mixing until a soft dough forms. Knead for 5 minutes until smooth and elastic. Cover and rest for 30 minutes.
Assemble the pierogi: Divide dough in half and roll out to ⅛-inch thickness. Cut circles with a 3-inch cutter. Place a small spoonful of filling in the center, fold, and seal edges tightly.
Cook the pierogi: Bring salted water to a gentle boil. Drop pierogi in batches; when they float to the top, cook for 1 more minute. Remove with a slotted spoon.
Pan-fry (optional): Melt butter in a skillet and sauté boiled pierogi until golden brown on both sides. Serve with caramelized onions and sour cream.
Notes
Resting the dough helps prevent tearing during sealing.
Avoid overstuffing to keep the pierogi from leaking.
Freeze uncooked pierogi on a tray before transferring to bags for long-term storage.
For extra flavor, add crispy bacon or herbs to the filling.
- Prep Time: 30 minutes
- Cook Time: 20 minutes
- Category: Main Dish
- Method: Boiled and Pan-Fried
- Cuisine: Polish / Eastern European
Nutrition
- Serving Size: 4 pierogi (approx.)
- Calories: 370 kcal
- Sugar: 2 g
- Sodium: 380 mg
- Fat: 15 g
- Saturated Fat: 8 g
- Unsaturated Fat: 6 g
- Trans Fat: 0 g
- Carbohydrates: 45 g
- Fiber: 3 g
- Protein: 12 g
- Cholesterol: 75 mg
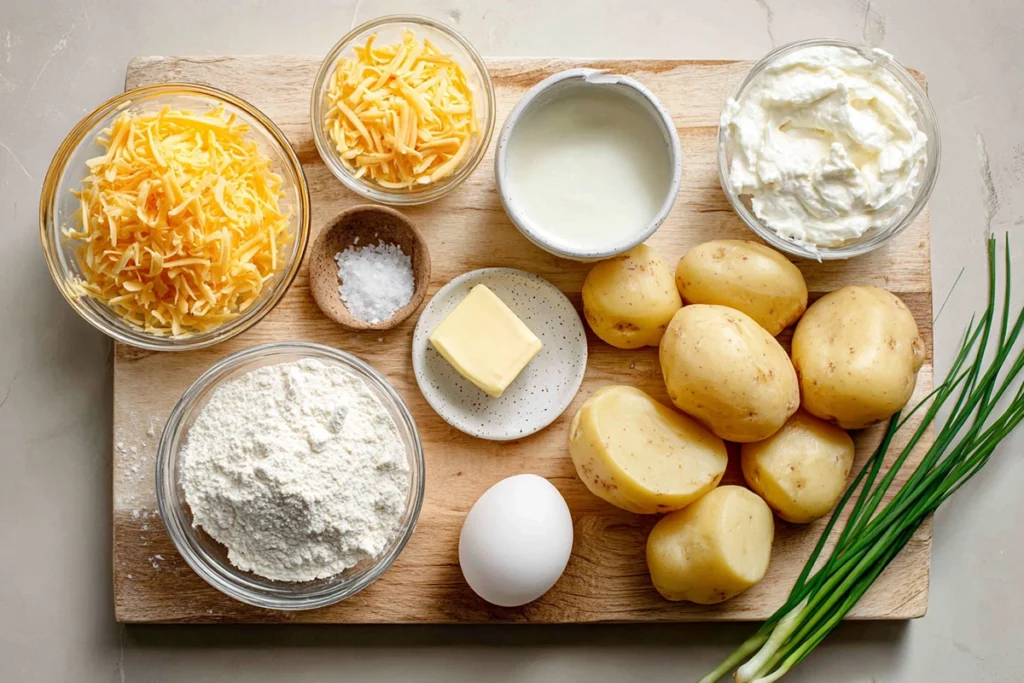
Ingredients & Tools You’ll Need
Before diving in, make sure you have everything ready. Fresh ingredients and a simple setup make all the difference.
For the dough:
- 2 cups all-purpose flour (plus extra for dusting)
- 1 large egg
- ½ cup warm water
- 1 tablespoon sour cream
- ½ teaspoon salt
For the filling:
- 1 ½ pounds russet or Yukon Gold potatoes, peeled and cut into chunks
- 1 cup farmer’s cheese (or substitute with ricotta or dry cottage cheese)
- ½ cup shredded sharp cheddar cheese
- 1 small onion, finely chopped and sautéed in butter
- 2 tablespoons unsalted butter
- Salt and black pepper to taste
For serving:
- 2 tablespoons butter
- ½ small onion, sliced and caramelized
- Sour cream or chives for garnish
Essential tools: mixing bowls, rolling pin, large pot, slotted spoon, and a skillet for pan-frying.
If you want the filling to be silky smooth, a potato ricer or masher will help. And don’t skip resting the dough — it’s what makes the pierogi tender instead of tough.
Step-by-Step Preparation
Prepare the Filling
Start by boiling your potatoes in salted water until fork-tender, about 10 to 12 minutes. Drain them well and let them sit for a few minutes to release steam — excess moisture can make the filling watery. Mash the potatoes until smooth, then stir in the farmer’s cheese, cheddar, sautéed onions, butter, salt, and pepper. The mixture should be creamy but thick enough to hold its shape when scooped.
Make the Dough
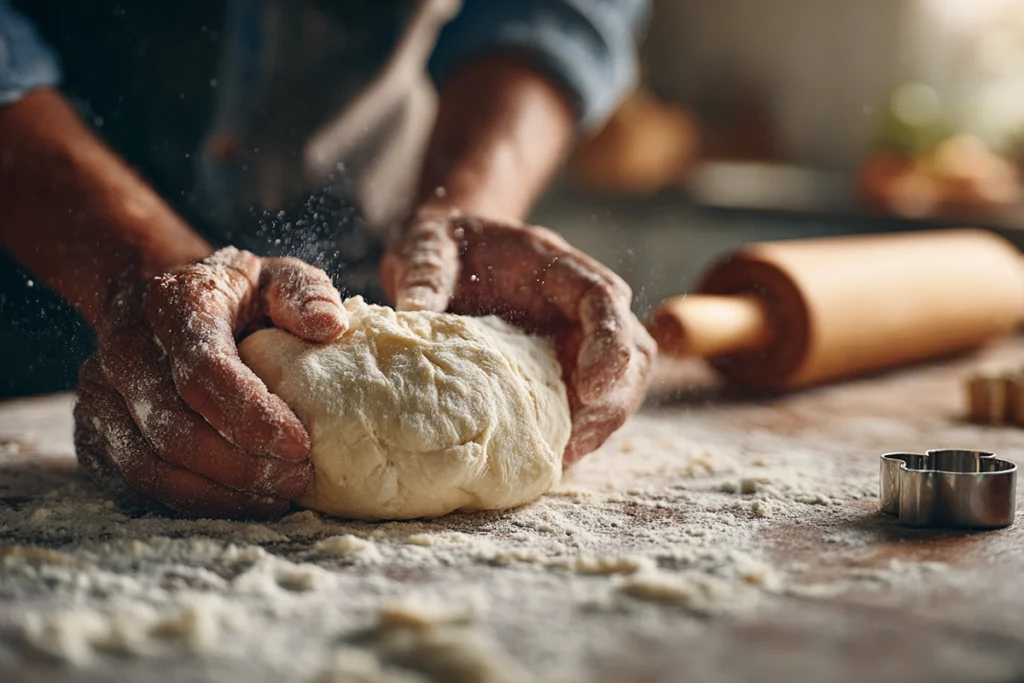
In a large bowl, combine flour and salt. Add the egg and sour cream, then gradually pour in the warm water as you mix with your hands or a wooden spoon. Knead for about five minutes until smooth and elastic. If it feels sticky, sprinkle in a bit more flour. Cover the dough with plastic wrap and let it rest for 30 minutes at room temperature. This resting period helps relax the gluten, making it easier to roll.
Assemble the Pierogi
Once rested, divide the dough in half. Roll one portion out on a floured surface until it’s about ⅛ inch thick. Use a 3-inch round cutter or glass to make circles. Place a spoonful of filling in the center of each circle, fold over to form a half-moon, and press the edges firmly to seal. You can crimp them with a fork for a decorative touch — just make sure they’re sealed tight to prevent leaks.
Cook the Pierogi
Bring a large pot of salted water to a gentle boil. Drop in a few pierogi at a time, stirring occasionally to prevent sticking. When they float to the top, give them another minute to cook through, then lift them out with a slotted spoon. You can stop here for tender, classic pierogi — or take it a step further.
Pan-Fry for Crisp Perfection
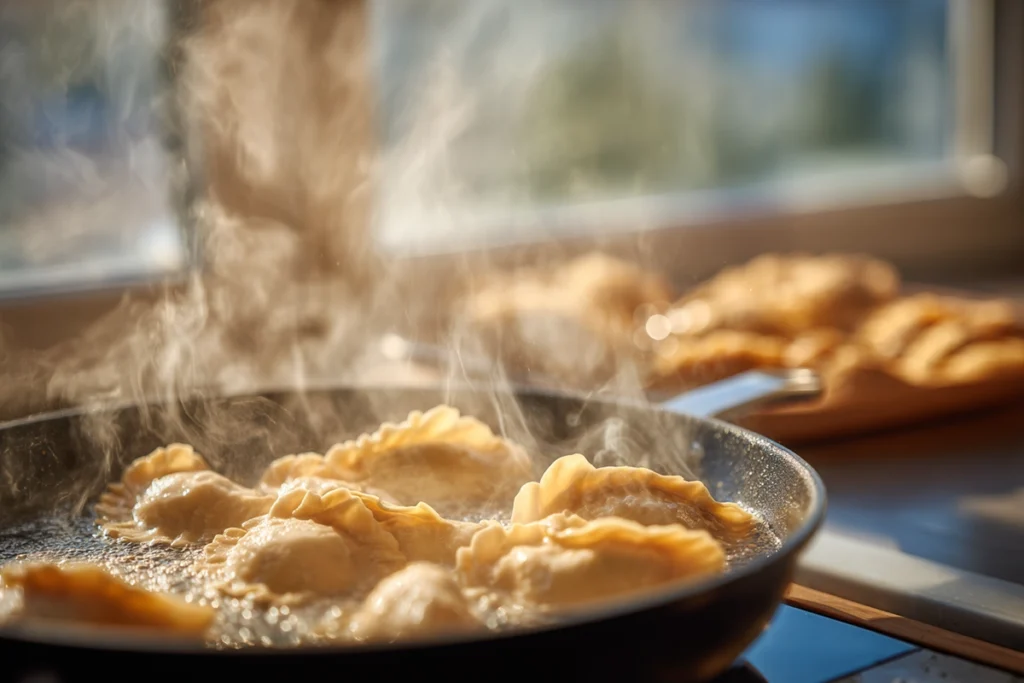
In a skillet, melt butter over medium heat. Add the cooked pierogi and sauté until golden brown on both sides. Toss in caramelized onions for extra flavor. This double-cook method — boil then pan-fry — creates that perfect contrast between soft and crispy that makes Potato and Cheese Pierogi so irresistible.
Dietary Variations & Substitutions
Vegan Pierogi
Replace the egg with 2 tablespoons of aquafaba (the liquid from canned chickpeas) or a flaxseed mixture (1 tablespoon flaxseed + 3 tablespoons water). Use dairy-free cheese or mashed seasoned tofu in the filling, and vegan butter for frying. The flavor stays rich while keeping everything plant-based.
Gluten-Free Pierogi
Use a gluten-free flour blend suitable for baking and add 1 teaspoon of xanthan gum to help the dough hold together. Because gluten-free dough can dry quickly, keep it covered and roll it gently with extra flour to prevent sticking.
Low-Calorie or Lighter Version
Swap half of the potatoes with mashed cauliflower and use part-skim ricotta or light cream cheese. Skip the pan-frying step and serve them straight from the boil with a drizzle of olive oil or yogurt sauce instead of butter.
Halal and Kosher Adaptations
Simply ensure all dairy products used are certified halal or kosher. Avoid bacon toppings or non-certified cheese, and the dish remains fully compliant without sacrificing taste.
Each of these adaptations maintains the heart of the dish while making it accessible to different lifestyles and dietary needs — another reason Potato and Cheese Pierogi continues to be loved around the world.
Storage, Freezing & Reheating Tips
Once you’ve made a batch, you’ll be glad to know that pierogi freeze beautifully. For short-term storage, keep cooked pierogi in an airtight container in the fridge for up to three days. To freeze, arrange them in a single layer on a baking sheet until firm, then transfer to a freezer bag. They’ll last up to three months.
When you’re ready to enjoy them again, you can boil them directly from frozen or reheat in a skillet with a little butter for that crisp bite. For a quick lunch, microwave reheating works fine — just cover them with a damp paper towel to keep them moist.

A plate of Potato and Cheese Pierogi is more than just comfort food — it’s a small act of care. Every fold and seal tells a story, and every bite brings that mix of soft dough and creamy filling that’s impossible to forget. Whether you serve them on a cozy weeknight or at a festive gathering, these golden dumplings will always feel like home.
FAQ
What types of cheese are best in Potato and Cheese Pierogi?
You’ll want a cheese that melts well but isn’t too watery. Farmer’s cheese (or dry curd cheese) is traditional. Sharp cheddar or part-skim ricotta also works nicely. If using cottage cheese, strain out excess liquid first so the filling stays thick.
Can I use leftover mashed potatoes for the filling?
Yes — leftover mashed potatoes can be a great base. Just make sure they’re fairly dry (resting in the fridge uncovered helps) so your pierogi filling doesn’t become watery when boiled.
How do I know when pierogi are cooked through?
Once you drop them into gently boiling, salted water, they’ll sink and then float to the surface. After they float, let them simmer an extra 1 minute before removing. That’s a good indicator they’re fully cooked.
Can I freeze pierogi before cooking?
Absolutely. Lay them in a single layer on a baking sheet until firm, then transfer to freezer bags. You can boil or pan-fry them directly from frozen — no need to thaw.
How do I reheat pierogi without them getting soggy?
Reheat in a skillet with a touch of butter or oil over medium heat, turning once, to crisp the exterior. If you microwave, cover with a damp paper towel and heat briefly to avoid drying them out.
What Are Our Readers Saying?
There are no reviews yet. Be the first one to write one.

