Garlic Butter Cheeseburger Rollups – The Ultimate Twist on a Classic Favorite
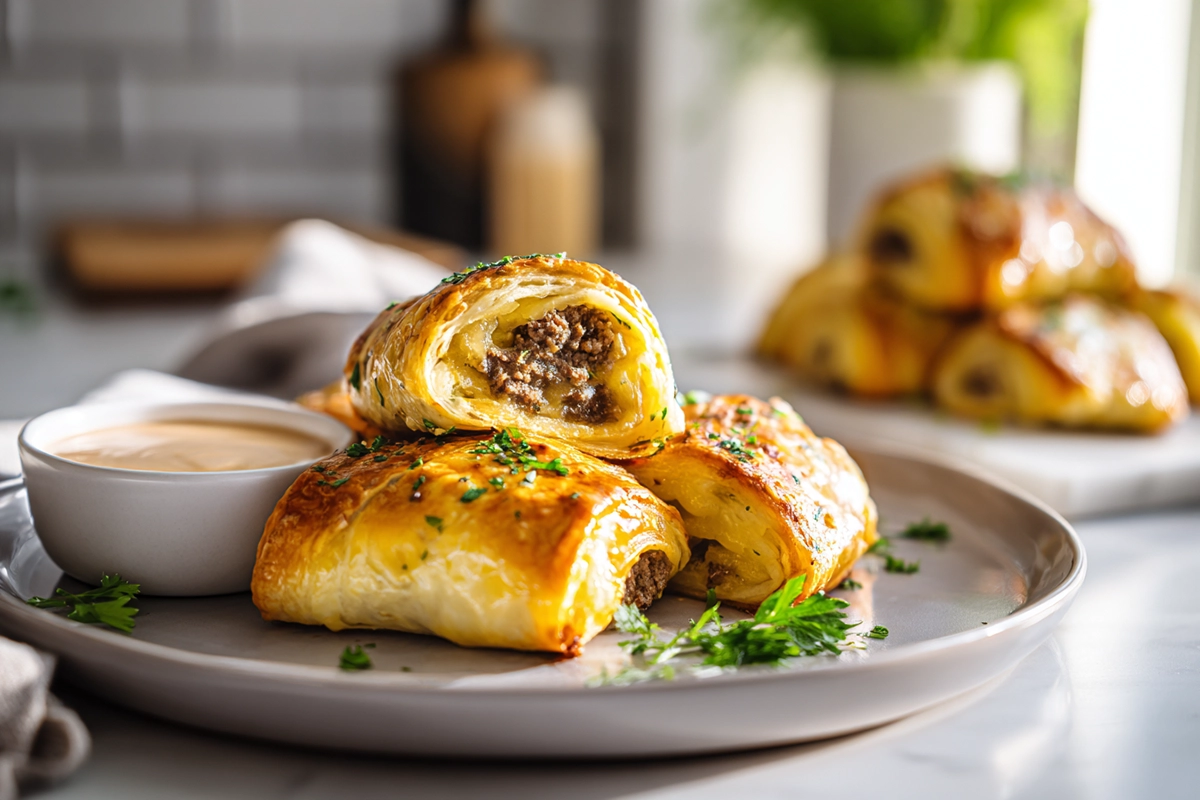
There’s something magical about combining the comforting taste of a juicy cheeseburger with the buttery flakiness of warm bread. The first time I made Garlic Butter Cheeseburger Rollups, it wasn’t for a party or fancy dinner—it was a lazy Sunday night experiment that turned into an instant family favorite. Imagine biting into a golden roll stuffed with seasoned beef, melted cheese, and brushed with a rich garlic butter glaze. It’s everything you love about a classic burger, but rolled up into a fun, hand-held version that’s easy, mess-free, and irresistibly good.
If you’re looking for a quick dinner or crowd-pleasing appetizer that delivers comfort in every bite, these Garlic Butter Cheeseburger Rollups are about to steal the show.
What Are Garlic Butter Cheeseburger Rollups?
Think of them as the love child between your favorite cheeseburger and a buttery crescent roll. Instead of piling everything onto a bun, you wrap juicy ground beef and gooey cheese inside soft dough, brush it with garlicky melted butter, and bake until golden and crisp. The result? A cheesy, buttery bite that practically melts in your mouth.
What makes this version stand out is that buttery garlic finish. It adds a rich depth of flavor that balances perfectly with the savory beef and melted cheese. Whether you’re serving them at game night, packing them for lunch, or making a quick family dinner, these rollups are both fun and satisfying.
And let’s be honest—there’s something about finger food that just makes everything taste better.
Print
Garlic Butter Cheeseburger Rollups
- Total Time: 30 minutes
- Yield: 8 rollups (serves 4) 1x
Description
These Garlic Butter Cheeseburger Rollups are a fun twist on the classic burger—flaky golden dough wrapped around juicy seasoned beef, melted cheese, and brushed with rich garlic butter. Perfect for quick dinners, party snacks, or freezer-friendly meal prep, they deliver buttery, cheesy flavor in every bite.
Ingredients
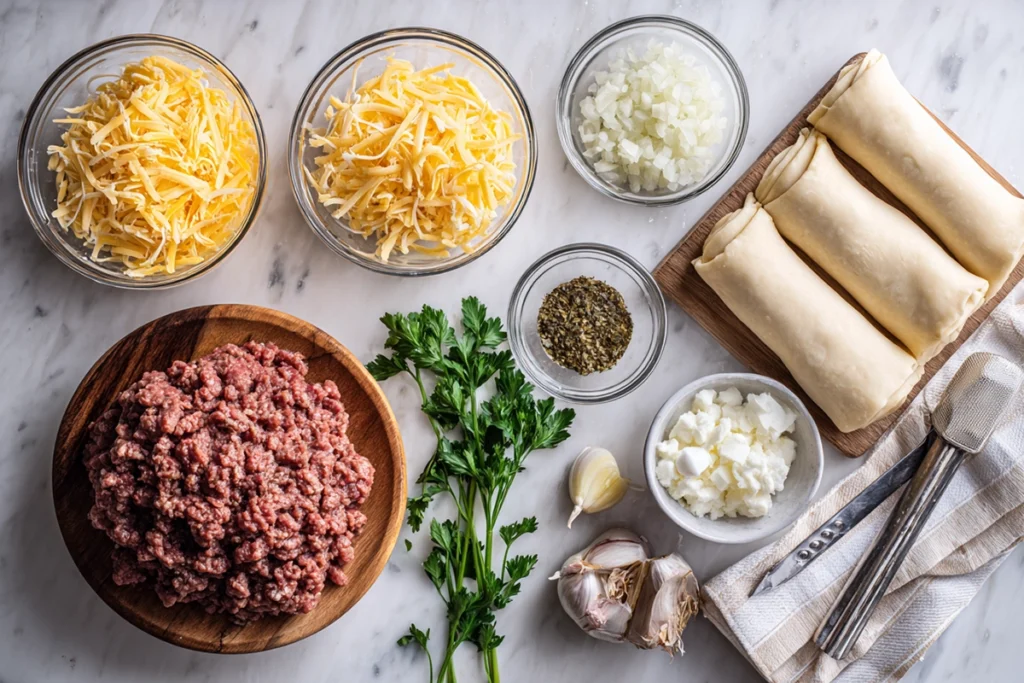
1 pound ground beef (80/20)
1 tablespoon olive oil or butter
½ small onion, finely diced
2 cloves garlic, minced
½ teaspoon salt
¼ teaspoon black pepper
1 teaspoon Worcestershire sauce
1 tube refrigerated crescent roll dough or pizza dough
1 cup shredded cheddar or American cheese
2 tablespoons melted butter
1 clove garlic, grated (for garlic butter topping)
1 teaspoon dried parsley or fresh chopped herbs
Instructions
-
Preheat oven to 375°F (190°C) and line a baking sheet with parchment paper.
-
Heat olive oil in a skillet over medium-high heat. Add diced onions and cook until translucent.
-
Stir in minced garlic, then add the ground beef. Cook until browned and crumbly. Drain any excess grease.
-
Season with salt, pepper, and Worcestershire sauce. Mix well, then let cool slightly.
-
Unroll the dough and cut into rectangles or triangles. Place a spoonful of beef mixture and cheese on one end.
-
Roll tightly, sealing the edges to prevent leakage.
-
In a small bowl, mix melted butter with grated garlic and parsley. Brush the tops of each roll.
-
Bake for 12–15 minutes, or until golden brown.
-
Brush again with the remaining garlic butter after baking. Serve warm with your favorite dipping sauce.
Notes
For a crispier finish, bake on a wire rack placed over the baking sheet.
Add cooked bacon, pickles, or jalapeños inside for extra flavor.
Store leftovers in an airtight container for up to 3 days or freeze unbaked rollups for future use.
- Prep Time: 15 minutes
- Cook Time: 15 minutes
- Category: Main Dish / Appetizer
- Method: Baking
- Cuisine: American
Nutrition
- Serving Size: 2 rollups
- Calories: 420
- Sugar: 2 g
- Sodium: 590 mg
- Fat: 27 g
- Saturated Fat: 12 g
- Unsaturated Fat: 13 g
- Trans Fat: 0 g
- Carbohydrates: 25 g
- Fiber: 1 g
- Protein: 18 g
- Cholesterol: 85 mg
Ingredients & How to Choose Them
To make these rollups shine, it’s worth choosing fresh, flavorful ingredients that bring out the best textures and aromas.
Core Ingredients
- 1 pound ground beef (80/20 for the best flavor balance)
- 1 tablespoon olive oil or butter
- ½ small onion, finely diced
- 2 cloves garlic, minced
- ½ teaspoon salt
- ¼ teaspoon black pepper
- 1 teaspoon Worcestershire sauce
- 1 tube refrigerated crescent roll dough or pizza dough
- 1 cup shredded cheddar or American cheese
- 2 tablespoons melted butter
- 1 clove garlic, grated (for the garlic butter topping)
- 1 teaspoon dried parsley or fresh chopped herbs
Ingredient Tips
- Ground beef: Go for an 80/20 blend. The little bit of fat keeps the filling juicy and flavorful.
- Cheese: Cheddar melts beautifully, but American gives that creamy, diner-style texture. You can even mix the two.
- Dough: Crescent rolls bake up soft and flaky, while pizza dough makes thicker, more bread-like rollups.
- Butter and garlic: Fresh garlic sautéed in butter adds that irresistible aroma—don’t skip this part!
For a fun twist, you can throw in extras like cooked bacon, caramelized onions, or even a slice of dill pickle inside the roll for that true cheeseburger bite.
Step-by-Step Instructions
Prepare the Filling
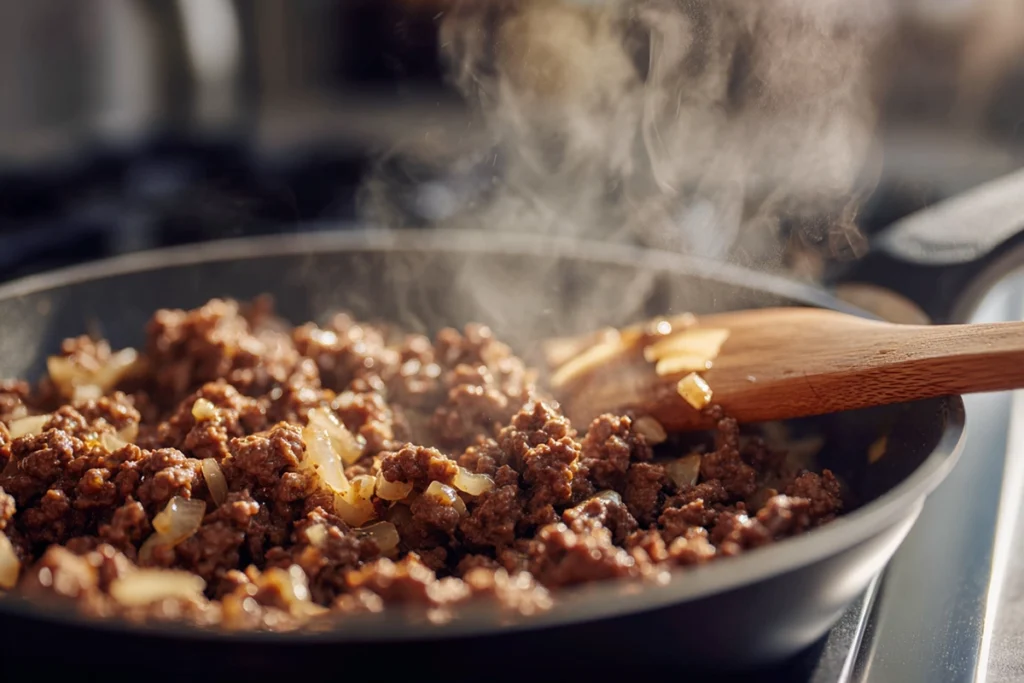
Start by heating a skillet over medium-high heat. Add olive oil or butter, then toss in your onions and sauté until translucent. Stir in minced garlic, cooking for just a few seconds until fragrant. Add the ground beef, breaking it apart as it browns. Once cooked through, drain any excess grease, then mix in salt, pepper, and Worcestershire sauce. Let the filling cool slightly before assembling.
Assemble the Rollups
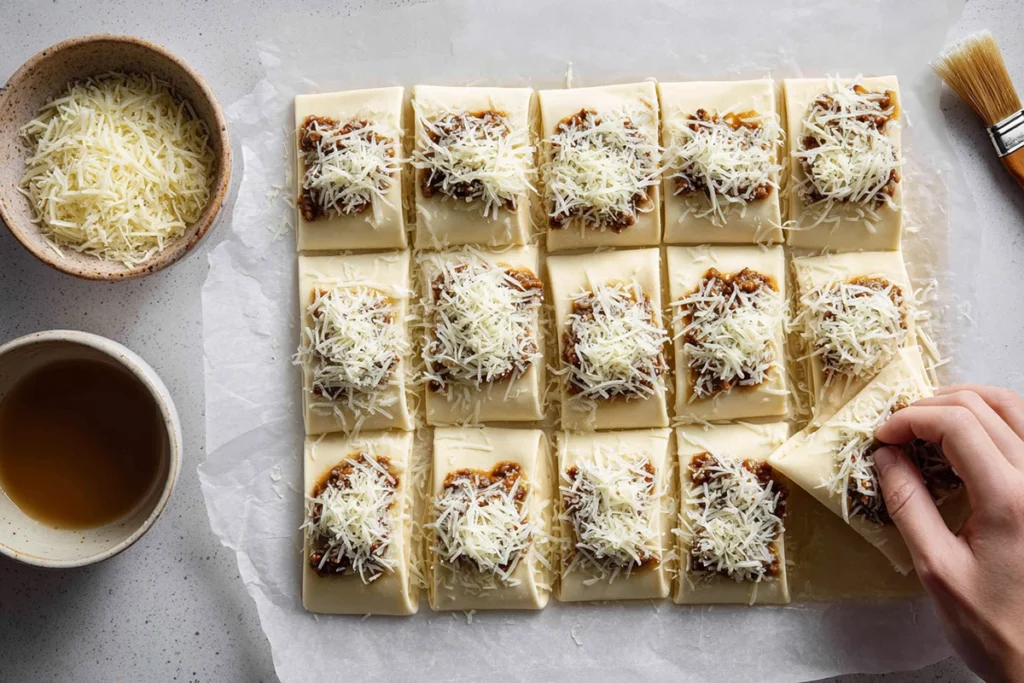
Unroll the dough onto a lightly floured surface and cut it into rectangles or triangles, depending on the type of dough. Place a spoonful of the beef mixture and a sprinkle of cheese on one edge, then roll it up tightly, sealing the edges as you go.
Add the Garlic Butter
In a small bowl, mix melted butter with grated garlic and parsley. Brush the tops of each roll generously with this mixture—this step gives your roll-ups their signature golden crust and irresistible flavor.
Bake to Perfection
Place the rollups on a parchment-lined baking sheet and bake at 375°F (190°C) for 12–15 minutes, or until puffed and golden brown. You’ll know they’re ready when your kitchen smells like a cozy burger joint.
When they come out of the oven, brush on one last layer of garlic butter for that glossy finish. Let them cool for a couple of minutes before serving—if you can resist!

Dietary Variations & Substitutions
What’s great about Garlic Butter Cheeseburger Rollups is how easily they adapt to different diets without losing their signature flavor.
Gluten-Free
Use gluten-free pizza dough or almond flour tortillas as the base. Just make sure to use gluten-free Worcestershire sauce as well.
Vegan
Swap ground beef for plant-based crumbles, dairy cheese for vegan cheddar shreds, and butter for a dairy-free spread. Brush with garlic-infused olive oil for an aromatic finish.
Low-Calorie
Opt for lean ground turkey or chicken instead of beef, skip the extra butter layer, and use reduced-fat cheese. You’ll still get that cheesy, garlicky goodness without the guilt.
Halal or Kosher
Use halal-certified ground beef or turkey, and check that your cheese and butter meet the appropriate standards.
These swaps don’t just make the recipe inclusive—they open the door to creative twists you can enjoy anytime, no matter your dietary preferences.
Serving Suggestions, Side Dishes & Pairings
These rollups are incredibly versatile, so you can serve them in countless ways.
- Dipping sauces: Pair them with ketchup, ranch, chipotle mayo, or a homemade burger sauce for an extra burst of flavor.
- Sides: A crisp garden salad, sweet potato fries, or even air-fried onion rings balance the richness perfectly.
- Presentation: Arrange them on a platter, sprinkle with sesame seeds, and serve warm for parties or family dinners. They also make a great lunchbox surprise—just wrap them in foil, and they stay delicious even at room temperature.
Storage, Reheating & Freezing Tips
If you somehow end up with leftovers, these reheat beautifully.
- Refrigerate: Store in an airtight container for up to 3 days.
- Reheat: Use an air fryer or oven at 350°F for about 5 minutes to restore the crispness. The microwave works in a pinch, but it might soften the dough.
- Freeze: Assemble the rollups before baking, then freeze on a tray until solid. Transfer to a freezer bag and bake straight from frozen—just add 3–5 minutes to the baking time.
The secret to keeping them fresh is to avoid moisture buildup—make sure they’re completely cool before storing.
When you’re craving that homemade burger taste but don’t want the hassle of grilling or flipping patties, Garlic Butter Cheeseburger Rollups are the perfect solution. They’re buttery, cheesy, and packed with flavor in every bite. Whether you serve them as a game-day snack, a weeknight dinner, or a freezer-friendly meal prep idea, they bring the comfort of a classic cheeseburger into a fun new form you’ll want to make again and again.
FAQ
Can I make Garlic Butter Cheeseburger Rollups ahead of time?
Yes — you can prepare the beef filling and roll up the dough, then refrigerate (covered) for up to 24 hours before baking. When ready, brush with garlic butter and bake as directed (you might add a minute or two to bake time).
What kind of dough works best — crescent, pizza, or puff pastry?
All three work, but they yield different textures. Crescent dough gives a soft, flaky roll; pizza dough produces a heartier, bread-like bite; puff pastry creates a buttery, ultra-flaky crust. Choose based on your preference (and ease).
Can I omit the bacon or use a non-pork substitute?
Absolutely. Just leave out the bacon or replace it with turkey bacon or a vegetarian bacon alternative. Your Garlic Butter Cheeseburger Rollups will still be flavorful and satisfying.
What’s the best way to reheat leftovers so they stay crispy?
Reheat in the oven or an air fryer at about 350 °F (175 °C) for 5–7 minutes until warmed through. Avoid using the microwave alone, since it can soften the crust.
How long will these rollups keep in the fridge or freezer?
In the refrigerator, they stay good for about 3 days in an airtight container. For freezing, assemble but don’t bake; freeze on a tray, then transfer to a freezer bag. Bake from frozen by adding a few extra minutes to the bake time.
What Are Our Readers Saying?
There are no reviews yet. Be the first one to write one.

