Grilled Cheeseburger Wraps: Portable and Packed with Flavor
Ever craved the classic taste of a burger but needed something quick and easy? Imagine all the flavours you love—juicy beef, melted cheese, and your favourite toppings—wrapped in a soft tortilla. That’s the magic of this recipe. It’s perfect for a busy weeknight or a simple lunch that doesn’t skimp on taste.
What makes this dish stand out is its versatility. You can customise it to fit your dietary needs or preferences. Use lean ground beef for a healthier option or swap in plant-based alternatives. The flour tortilla adds a satisfying texture, but you can choose whole wheat or low-carb versions. It’s a meal that adapts to your lifestyle without sacrificing flavour.
This recipe is more than just food—it’s a solution for those hectic days when you need something delicious and fast. Whether you’re meal prepping or cooking for the family, it’s a dish that everyone will love. Ready to dive in? Let’s explore how to make this crowd-pleaser.
Key Takeaways
- Combine classic burger flavours with portable convenience in one delicious wrap.
- Perfect for a quick lunch or weeknight dinner.
- Key ingredients include lean ground beef and quality tortillas.
- Fresh ingredients enhance flavour and texture.
- Grilling adds a crisp finish for a unique twist.
- Adaptable recipe that fits your busy lifestyle.
Introduction: The Appeal of Delicious, Portable Meals
Looking for a quick meal that doesn’t compromise on flavour? Portable meals are the perfect solution for busy lifestyles. They’re easy to prepare, convenient to eat, and packed with the tastes you love. This recipe transforms the classic burger into a handheld delight.
With just 10 minutes of prep and 10 minutes of cooking, you can enjoy a satisfying dinner or lunch in no time. Fresh ingredients like crisp lettuce, tangy pickles, and savoury onions add crunch and flavour. A drizzle of your favourite sauce ties it all together for a meal that’s both quick and delicious.
“It’s the perfect balance of convenience and taste—ideal for those on the go.”
This wrap offers a unique twist on traditional burgers. It’s easier to handle, less messy, and just as flavorful. Whether you’re rushing to work or need a quick family meal, this recipe fits seamlessly into your schedule. Ready to try it? Let’s dive into the details.
Grilled Cheeseburger Wraps: The Ultimate How-To Guide
Craving a handheld meal that’s bursting with flavour? The secret to perfecting this dish lies in the ingredients. Every detail matters, from the quality of the ground beef to the freshness of the toppings. Let’s break it down.
Key Ingredients You’ll Need
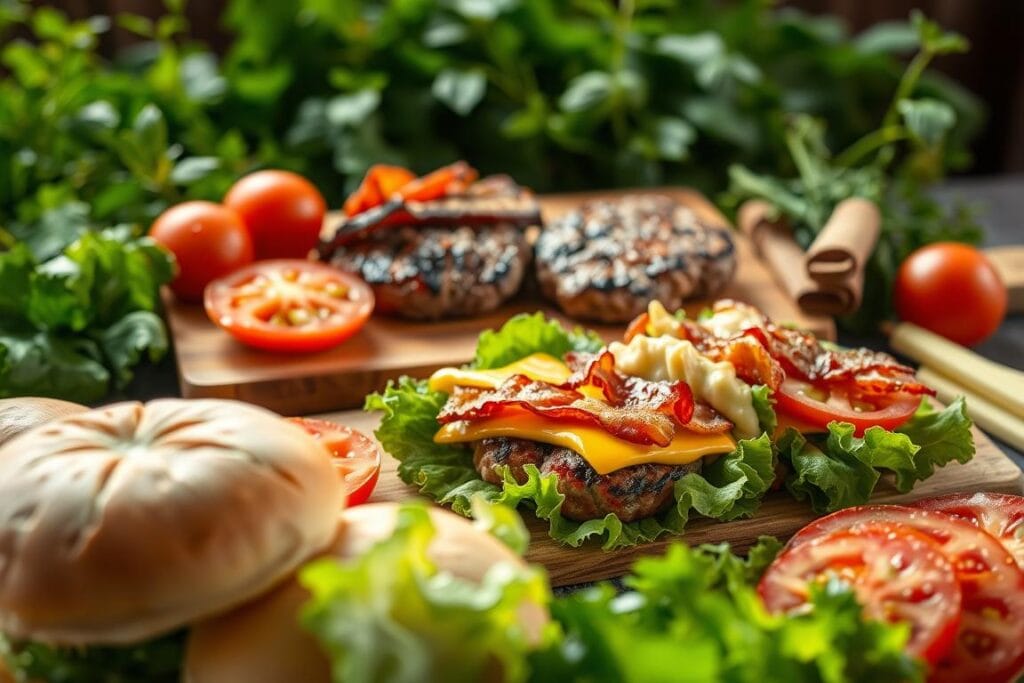
Start with lean ground beef for a healthier option. Mix in Worcestershire sauce, ketchup, and mustard for a robust flavour. Add an iced onion for a savoury kick.
For toppings, fresh lettuce, sliced tomato, and red onion bring crunch and brightness. A sprinkle of shredded cheddar ties it all together.
Selecting the Perfect Tortilla
The right tortilla makes all the difference. A flour tortilla offers a soft, pliable base that’s easy to fold. For a healthier twist, opt for whole wheat or low-carb versions.
Ensure your tortillas are fresh and pliable. Warm them slightly before assembling to prevent cracking. This simple step ensures a smooth, enjoyable eating experience.
You’re set to create a delicious and convenient meal with the right ingredients and a quality tortilla. Are you ready to assemble? Let’s move on to the next steps.
Step-by-Step Assembly and Grilling Techniques
Ready to create a dish that’s as fun to make as it is to eat? Let’s dive into the step-by-step process of assembling and grilling your meal. You’ll always achieve a juicy, flavorful result with the right techniques.
Cooking the Beef to Perfection
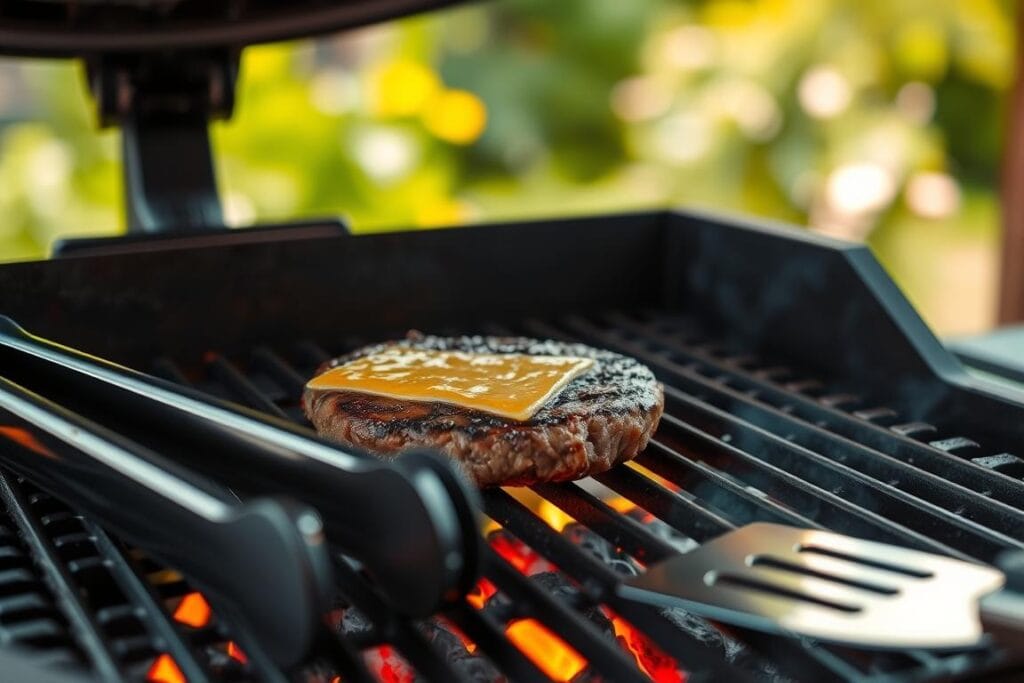
Start by heating a non-stick skillet over medium heat. Add a drizzle of oil to prevent sticking. Once the pan is hot, add your lean ground beef. Break it into small pieces with a spatula as it cooks.
Season the beef with a pinch of salt, a teaspoon of garlic powder, and a tablespoon of Worcestershire sauce. For added flavour, mix in a tablespoon of ketchup and mustard. Cook until the beef is browned and no longer pink, about 4-5 minutes. Drain any excess fat for a healthier option.
Mastering the Wrap Fold
Once your beef is ready, it’s time to assemble. Lay a low-carb or flour tortilla flat on a clean surface. Spoon the beef mixture into the centre, leaving space around the edges. Add your favourite toppings, such as shredded lettuce, diced tomato, and a sprinkle of cheddar cheese.
To fold, start by bringing the bottom edge of the tortilla up over the filling. Fold in the sides, then roll it up tightly like a burrito. Ensure the fold side is secure to prevent the filling from spilling out during grilling.
Heat a clean skillet over medium heat and lightly brush it with oil. Place the wrap seam-side down and cook for 2-3 minutes on each side until golden and crispy. Serve immediately for the best texture.
| Step | Time | Tips |
|---|---|---|
| Cook Beef | 4-5 minutes | Drain excess fat for a healthier option. |
| Assemble Wrap | 2-3 minutes | Leave space around the edges for easy folding. |
| Grill Wrap | 4-6 minutes | Cook seam-side down first to seal the wrap. |
Customising Your Wrap: Toppings, Sauces, and Substitutions
Want to make your meal truly your own? The beauty of this dish lies in its versatility. You can tweak the ingredients to suit your taste or dietary needs. The options, whether adding extra cheese or swapping out the protein, are endless.
Flavor Boosters and Creative Sauces
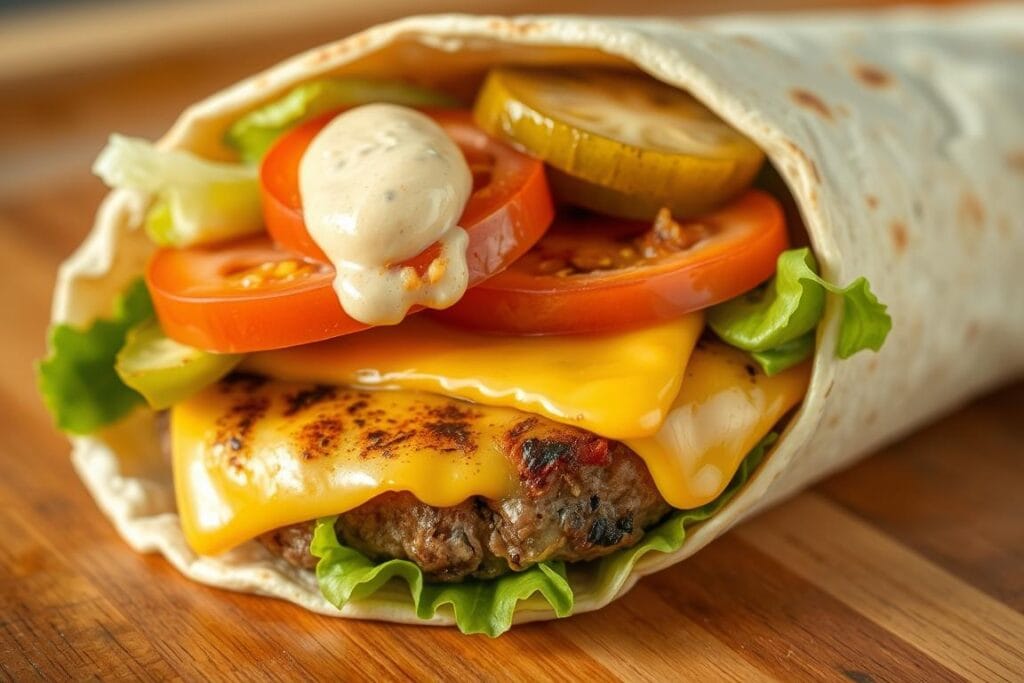
Enhance your wrap with a variety of toppings and sauces. Add tangy pickles for a crunchy bite or drizzle with a creamy sauce for extra richness. Mix mustard and ketchup for a classic burger flavor or try a spicy mayo for a kick.
For a cheesy twist, sprinkle shredded cheddar or mozzarella over the filling. Experiment with fresh herbs like cilantro or basil for a burst of freshness.
Protein Variations and Dietary Swaps
Are you not a fan of ground beef? Swap it for chicken, turkey, or even plant-based crumbles. These alternatives keep the dish flavorful while catering to different diets. To maintain juiciness, ensure your protein has the right fat balance—opt for 80/20 ground beef or add a drizzle of olive oil to leaner options.
For a healthier twist, use whole wheat or low-carb tortillas. You can skip the tortilla and serve the filling over a bed of greens for a lighter meal.
“Customization is the key to making this dish your own. Don’t be afraid to experiment with flavors and ingredients.”
With these tips, you can create a delicious meal tailored to your preferences. The possibilities are endless, whether you stick to the classic burger vibe or try something new.
Essential Tips for a Crisp, Golden Wrap
The secret to a crispy, golden finish lies in a few simple steps. Proper assembly and cooking techniques ensure your tortillas stay firm and flavorful. Overfilling or improper frying can lead to sogginess, but with these tips, you’ll achieve the perfect texture every time.
Mastering Portion Control
Avoid overfilling to keep your wrap intact during cooking. Spoon the filling into the center, leaving space around the edges. This allows for easy folding and prevents spills. For the best results, use about 1/3 cup of filling per tortilla.
For added flavor, lightly sprinkle salt and pepper on the filling. This enhances taste without making the wrap soggy. If you’re adding sauces, use them sparingly to maintain the wrap’s structure.
Perfecting the Frying Technique
Heat your skillet over medium heat and add a thin layer of oil. This ensures even cooking and a golden finish. Place the wrap seam-side down and fry for 2-3 minutes on each side. Ensure the heat isn’t too high, as it can burn the tortilla before the filling heats through.
For extra crispiness, press the wrap gently with a spatula while cooking. This helps seal the edges and ensures even browning. Serve immediately for the best texture and crunch.
- Control portion size to prevent overfilling.
- Use moderate heat and a thin layer of oil for frying.
- Serve immediately to maintain crispiness.
- Add salt and pepper for enhanced flavor.
With these tips, you’ll create a crispy wrap on the outside and packed with flavor on the inside. Pair it with a fresh side salad or crunchy vegetables for a complete meal. Enjoy your perfectly crafted burger wrap every time!
Serving Suggestions for a Complete Meal Experience
Looking to turn your meal into a full dining experience? Pairing your dish with the right sides can elevate it from a quick bite to a satisfying feast. Whether for lunch or dinner, the right accompaniments make all the difference.
Pairing with Fresh Salads and Crispy Sides
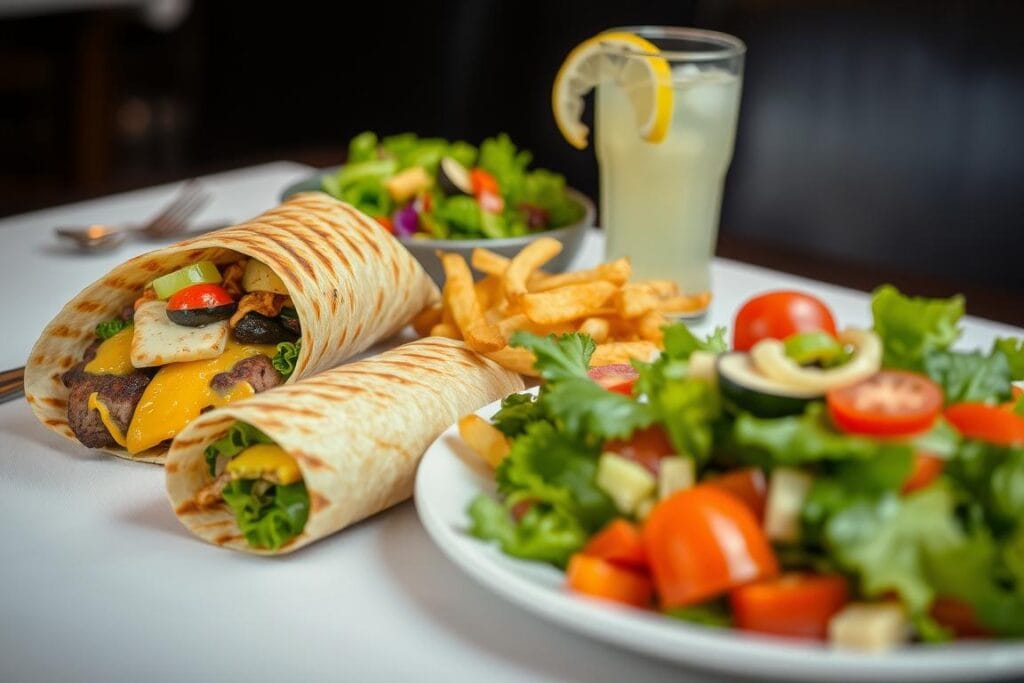
A fresh green salad is a classic side dish that complements the flavors of your dish. For extra crunch, add crisp lettuce, juicy tomato, and tangy pickle slices. For a low-carb option, try a mix of leafy greens with a light vinaigrette.
Baked fries or onion rings are perfect choices if you’re craving something heartier. These crispy sides add texture and make your meal feel more indulgent. Drizzle a bit of oil over the fries for extra crispiness.
For a balanced meal, consider adding a protein-rich side like grilled chicken or a small portion of roasted vegetables. These options keep the meal light while adding variety to your plate.
Experiment with toppings like shredded cheddar cheese or a sprinkle of fresh herbs to highlight the center of flavor in your dish. A light garnish or a sauce drizzle can tie everything together for a memorable meal.
Conclusion
Need a quick, flavorful meal that fits your busy schedule? This wrap recipe delivers the taste of a classic burger in a convenient, handheld form. It’s a satisfying and easy-to-prepare dish with quality ingredients like lean beef, fresh toppings, and a soft tortilla.
Minimal prep time and versatile ingredient choices make this wrap ideal for lunch or dinner. The process is straightforward, whether using a skillet or experimenting with different proteins. Remember to avoid overfilling and fry it just right for a crispy finish.
Ready to try it? Follow the simple steps, and you’ll have a delicious meal quickly. This wrap will become a favorite in your kitchen, perfect for any occasion.
FAQ
What makes a cheeseburger wrap different from a traditional burger?
A cheeseburger wrap uses a tortilla instead of a bun, making it portable and easier to customize. It combines the flavors of a classic burger with the convenience of a wrap.
Can I use ground chicken or turkey instead of beef?
Yes, you can substitute ground beef with chicken, turkey, or even plant-based protein for a lighter or vegetarian option. Adjust cooking times as needed.
What’s the best way to prevent the wrap from getting soggy?
Avoid overfilling the tortilla and ensure the beef is cooked to remove excess fat. Use lettuce or a thin layer of cheese as a barrier between the meat and tortilla.
Are there low-carb options for the tortilla?
Yes, you can use low-carb or lettuce wraps instead of traditional flour tortillas for a healthier, low-carb alternative.
What sauces work well in a cheeseburger wrap?
Classic options include ketchup, mustard, and mayo. For a twist, try barbecue sauce, ranch, or a homemade Worcestershire-based sauce.
How do I fold the wrap to keep it secure?
Place the filling in the center, fold the sides inward, and roll tightly from the bottom. Press lightly to seal the edges.
What sides pair well with cheeseburger wraps?
Serve with fresh salads, crispy fries, or pickles for a complete meal. A side of coleslaw or roasted vegetables also works great.
How long does it take to make a cheeseburger wrap?
From start to finish, it takes about 20-30 minutes, depending on your cooking speed and the number of wraps you’re preparing.
Can I prepare these wraps ahead of time?
While best served fresh, you can prep ingredients in advance. Assemble and grill just before serving to maintain texture and flavor.

Grilled Cheeseburger Wraps: Portable and Packed with Flavor
- Total Time: 20 minutes
- Yield: 4 wraps 1x
Description
Grilled Cheeseburger Wraps bring all the flavors of a classic burger—juicy seasoned beef, melted cheese, and crisp toppings—wrapped in a soft tortilla and grilled to golden perfection. This portable twist on a favorite dish is quick, customizable, and ideal for weeknight dinners or on-the-go meals.
Ingredients
1 lb lean ground beef
1 tbsp Worcestershire sauce
1 tbsp ketchup
1 tsp mustard
1 tsp garlic powder
Salt and pepper to taste
½ cup shredded cheddar cheese
4 large flour tortillas (or whole wheat/low-carb)
1 cup shredded lettuce
1 tomato, diced
¼ red onion, thinly sliced
Instructions
In a skillet over medium heat, cook ground beef until browned, breaking it up as it cooks (about 4–5 minutes).
Stir in Worcestershire sauce, ketchup, mustard, garlic powder, salt, and pepper. Drain any excess fat.
Warm tortillas slightly to make folding easier.
Divide the beef mixture among tortillas. Top with cheddar cheese, lettuce, tomato, and onion.
Fold the bottom of the tortilla over the filling, fold in the sides, then roll tightly.
Heat a clean skillet or grill over medium heat and brush lightly with oil.
Grill wraps seam-side down for 2–3 minutes per side until crisp and golden.
Serve immediately with your favorite sides or dipping sauce.
Notes
Avoid overfilling for easier rolling and better grilling.
Swap beef for turkey, chicken, or plant-based crumbles.
Use low-carb tortillas or lettuce wraps for a lighter version.
Grilled wraps are best served fresh, but ingredients can be prepped ahead.
- Prep Time: 10 minutes
- Cook Time: 10 minutes
- Category: Main Course
- Method: Grilling or Skillet Cooking
- Cuisine: American
What Are Our Readers Saying?
There are no reviews yet. Be the first one to write one.


