Creamy No Bake Blueberry Cheesecake
There’s something magical about desserts that feel indulgent yet effortless. I still remember the first time I served this creamy creation at a backyard gathering – the way friends lingered for seconds told me I’d found something special. Now, it’s my go-to when I want to impress without stress.
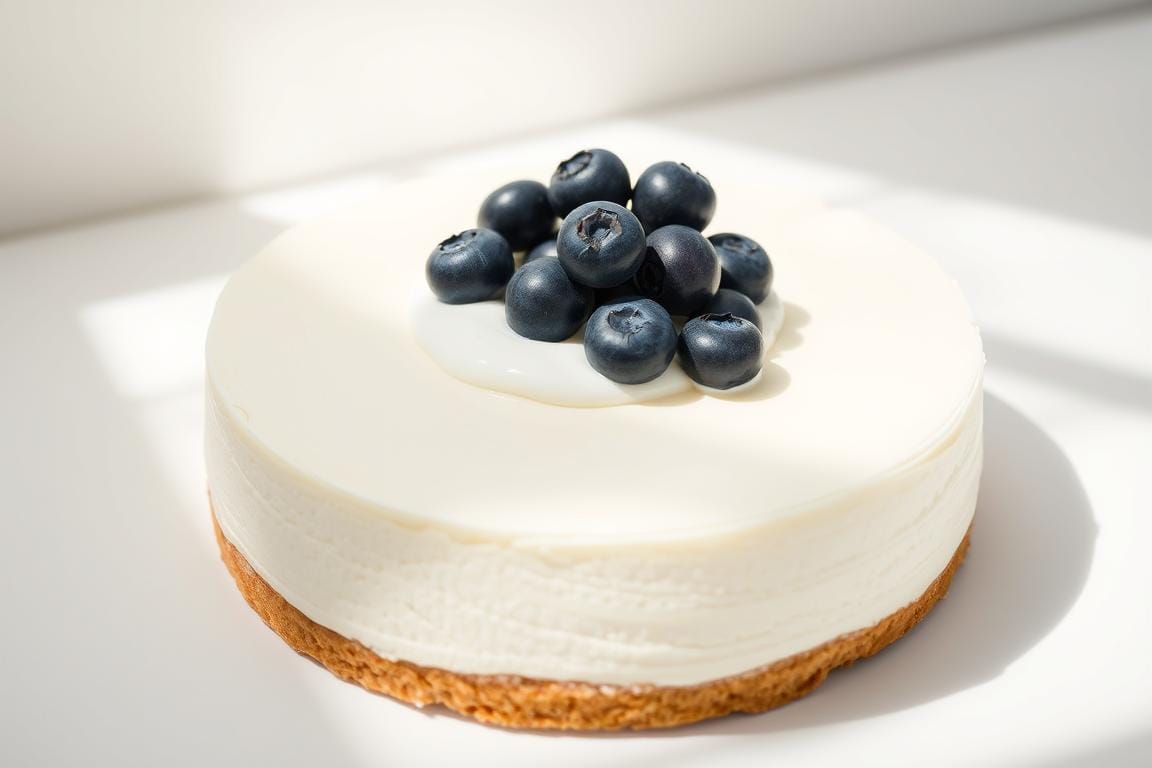
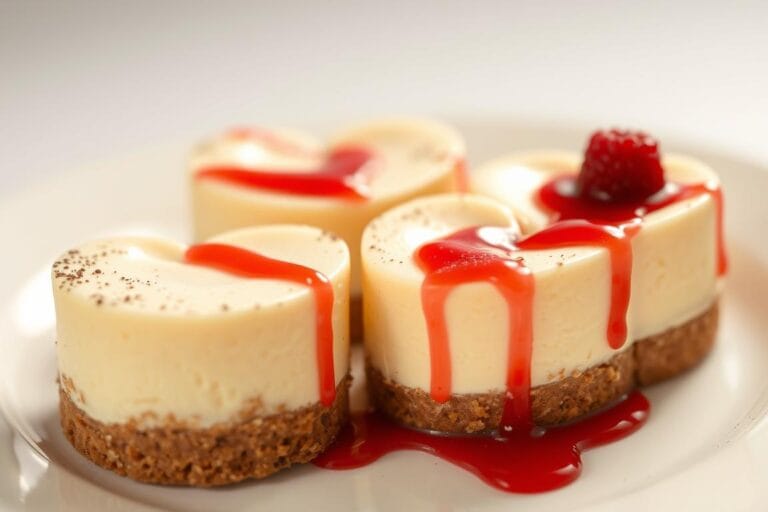
What makes this recipe shine is its three-layer harmony. A buttery graham cracker base gives that satisfying crunch, while the velvety filling – made with rich cream cheese – melts like summer sunshine on your tongue. The crowning glory? A glossy berry topping that balances sweetness with a hint of tartness.
This dessert comes together faster than expected, perfect for sweltering days when oven heat feels unbearable. I’ve stashed prepared slices in the freezer for last-minute guests, and they thaw beautifully. Whether it’s a family reunion or quiet weeknight treat, this crowd-pleaser consistently earns its spotlight.
Key Takeaways
- Requires zero oven time – ideal for hot weather
- Features three distinct textures in every bite
- Freezes exceptionally well for make-ahead convenience
- Uses simple ingredients with gourmet results
- Balances rich creaminess with bright fruit flavors
Introduction to No-Bake Blueberry Cheesecake
The best recipes often require simplifying without sacrificing flavor. My journey with this dessert began during a heatwave when turning on the oven felt like a crime against comfort. I wanted something cool, luxurious, and visually stunning—a treat that could moonlight as a centerpiece.
My Story and Inspiration
I discovered the magic of chilled desserts while hosting a July 4th party. Traditional options left guests sluggish, but this layered marvel kept everyone refreshed. The secret? A cheese mixture blended with whipped cream creates cloud-like lightness. It’s like eating a sweet summer breeze.
Through trial and error, I perfected the balance between tangy and sweet. The graham cracker crust became my canvas—sturdy enough to hold layers yet delicate enough to crumble satisfyingly. Each component works in harmony, proving that simplicity can be spectacular.
Why You’ll Love This Recipe
This dessert shines in three ways. First, it skips complicated techniques. Second, the luscious topping uses fresh berries at their peak. Third, it adapts effortlessly – swap fruits based on what’s seasonal.
| Feature | Traditional Cheesecake | This Recipe |
|---|---|---|
| Texture | Dense | Airy |
| Prep Time | 3+ hours | 25 minutes |
| Kitchen Heat | Oven required | Cool preparation |
| Presentation | Simple | Gallery-worthy |
Friends often ask how something so elegant requires minimal effort. My answer? When quality ingredients meet clever techniques, magic happens. The final product looks like it belongs in a patisserie window, but truly belongs on your weeknight table.
Ingredients and Tools You’ll Need
Great desserts start with quality components and the right gear. I’ve learned that even simple recipes shine brightest when focusing on freshness and proper tools. Let’s break down what makes this treat work so beautifully.
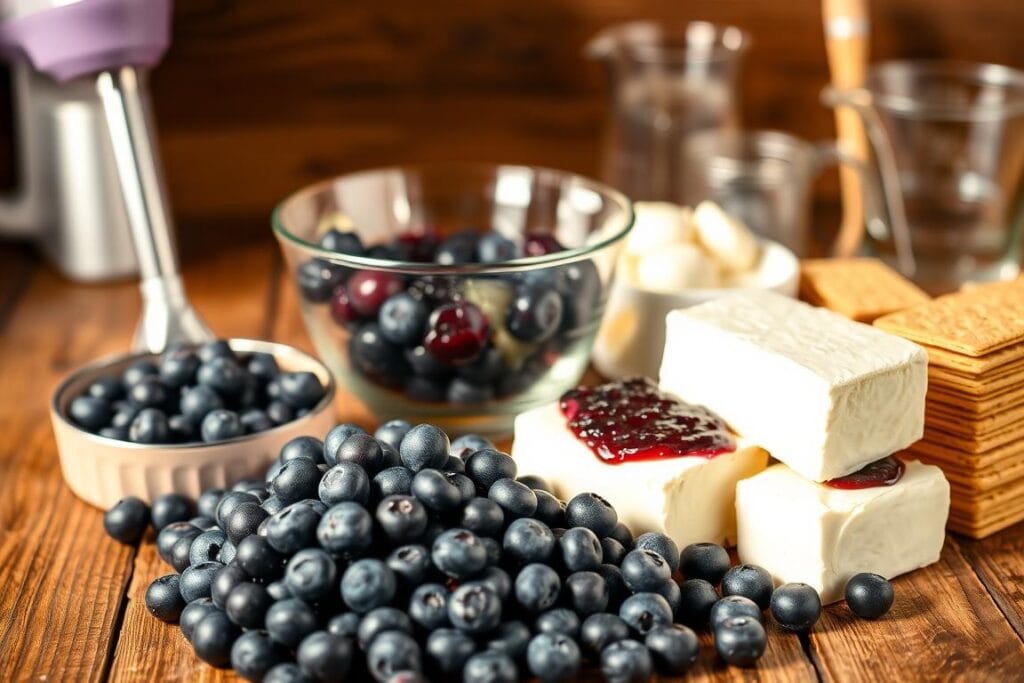
Essential Ingredients for the Crust, Filling, and Topping
The crust needs three stars: graham cracker crumbs, sugar, and melted butter. For the velvety center, use room-temperature cream cheese – it blends smoother than cold. Pair sour cream, lemon juice, and chilled heavy cream to whip into cloud-like fluff.
Your berry topping becomes magic with fresh fruit, sugar, and cornstarch. A splash of lemon brightens the sweetness. I always taste the sauce before cooling—adjust the tartness with a pinch more sugar if needed.
Must-Have Kitchen Tools
A food processor crushes crackers evenly in seconds. For the filling, an electric mixer creates that airy texture we love. You’ll also need:
- A sturdy spatula for folding ingredients gently
- Glass bowls to monitor mixing stages
- Parchment paper for seamless removal later
With these basics, you’ll spend the least time prepping. The cheesecake recipe thrives on simplicity—no fancy gadgets required. Just measure, mix, and let the fridge do the rest!
Step-by-Step Preparation Guide
Successful desserts begin before you mix the first ingredient. I learned this truth during a chaotic dinner party where I forgot to soften my cream cheese – let’s say lumps aren’t charming. I treat prep work like a strategic game where every move counts.
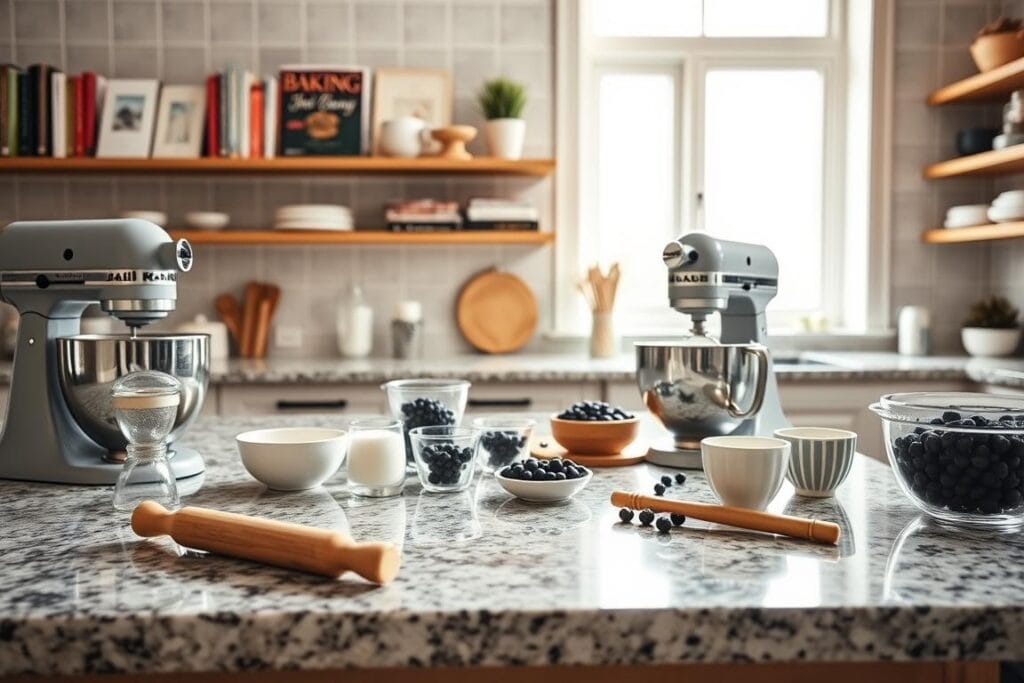
Workspace Setup for Success
Clear counter space becomes your command center. Gather tools on your left and ingredients on your right—this mise en place method prevents frantic searches mid-recipe. I keep a damp cloth nearby for quick cleanups because sticky fingers happen.
Temperature matters more than you’d think. Wrap the cream cheese in plastic and leave it on the counter for 90 minutes—it should dent slightly when pressed. First, chill your mixing bowl in the freezer for 15 minutes for whipped cream that holds peaks.
| Step | Traditional Approach | Streamlined Method |
|---|---|---|
| Ingredient Prep | Measure while mixing | Pre-portion everything |
| Tool Gathering | Search cabinets mid-task | Lay out equipment first |
| Cream Cheese Softening | Microwave (risk of overheating) | Room temperature thaw |
| Bowl Chilling | Skip this step | Freezer prep = better texture |
| Workspace | Cluttered surface | Zoned stations |
Pre-measuring transforms chaos into calm. Use small bowls or ramekins for each component – seeing everything ready builds confidence. Trust me, you’ll thank your organized past self when your hands are covered in crumbs.
Crafting the Perfect Graham Cracker Crust
That satisfying crunch under creamy layers? It starts here. I ruined pans with soggy bases before discovering the golden ratio: 1 ¾ cups crumbs, 3 tablespoons sugar, and ½ cups melted butter. The secret lies in texture—too coarse, and it crumbles, too fine, and it becomes sandy.
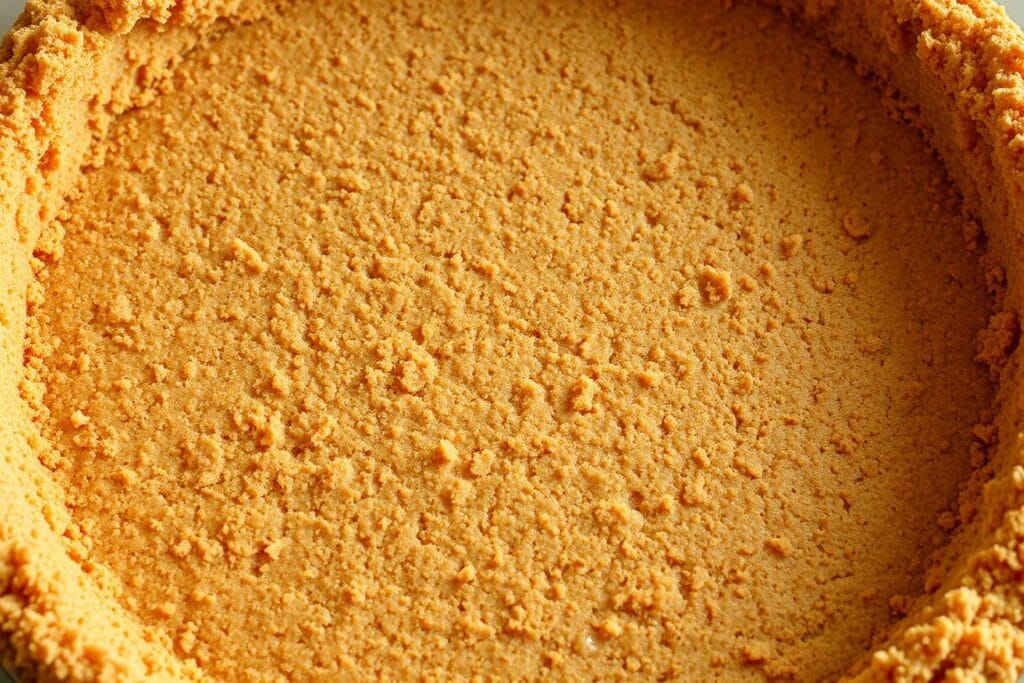
Grab your food processor or a zip-top bag and rolling pin. Pulse or pound until the crumbs resemble coarse sand. Pour into a mixing bowl and add sugar—this isn’t just sweetness; it helps bind everything. Drizzle warm butter slowly while stirring. When it clumps like wet beach sand, you’re ready.
Press the mixture into your pan using the spoon’s back. Start from the center, working outward in circular motions. Build up the sides slightly – this creates a sturdy barrier for the filling. I freeze mine for 15 minutes while prepping other components. Cold sets the butter, locking the base together.
If you skip this chilling step, your layers might slide like a melted snowman. A correctly set crust supports the dessert’s weight, creating a craveable contrast. That extra half-hour in the fridge transforms crumbs from fragile to fortress.
Creating a Creamy and Fluffy Filling
Texture transforms good desserts into unforgettable experiences. The magic happens when silky cream cheese meets airy whipped cream – a dance between richness and lightness. Getting this balance right makes all the difference between a dense brick and cloud-like perfection.
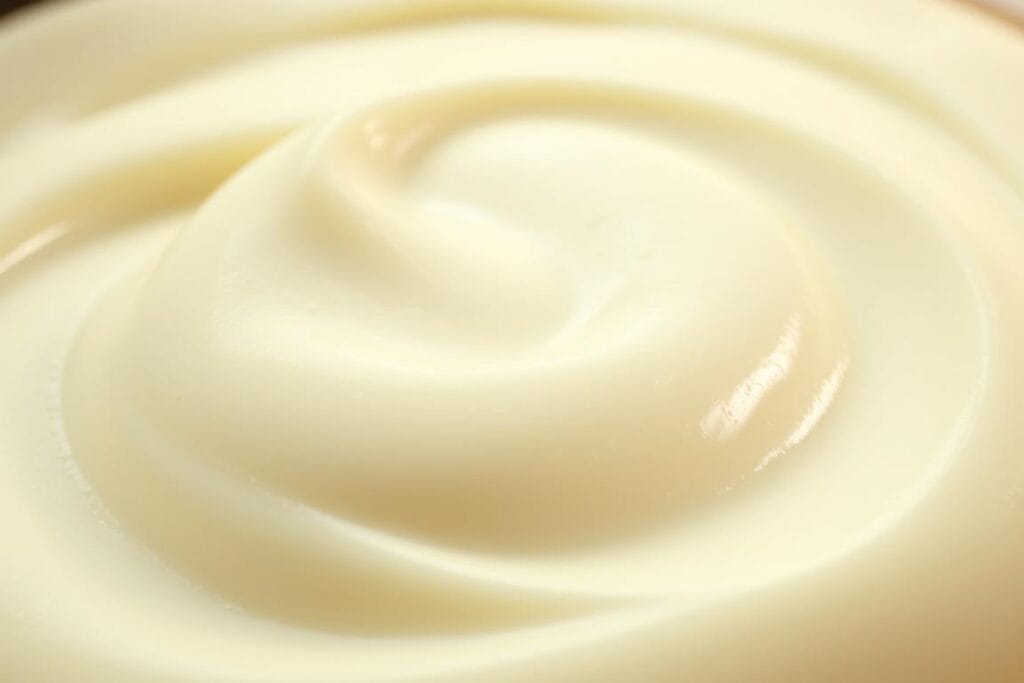
Tips for Softening and Blending the Cream Cheese
Start with room-temperature dairy. Cold cream cheese creates lumps that no amount of mixing can fix. Leave blocks on the counter for 90 minutes – they should dent like a soft pillow when pressed.
Beat the softened cheese with sugar until it resembles satin. Scrape the bowl sides often—hidden chunks ruin the smoothness. Gradually add sour cream and lemon juice, creating a tangy base that cuts through sweetness.
Whip chilled heavy cream separately until soft peaks form. This creates tiny air pockets that give the filling its lift. Fold it into the cheese mixture using a spatula – gentle swoops from bottom to top preserve that precious fluffiness.
Patience pays off here. Let the filling set in the fridge for at least four hours. This chill time allows flavors to meld while firming the texture enough to hold your berry topping. Rush this step, and you’ll sacrifice that dreamy sliceability.
Preparing the Fresh Blueberry Topping
A dessert’s crowning touch often lies in its final layer. For this creation, the glossy topping does double duty – adding vibrant flavor and turning heads at any gathering. Let’s transform humble berries into a showstopping finish.
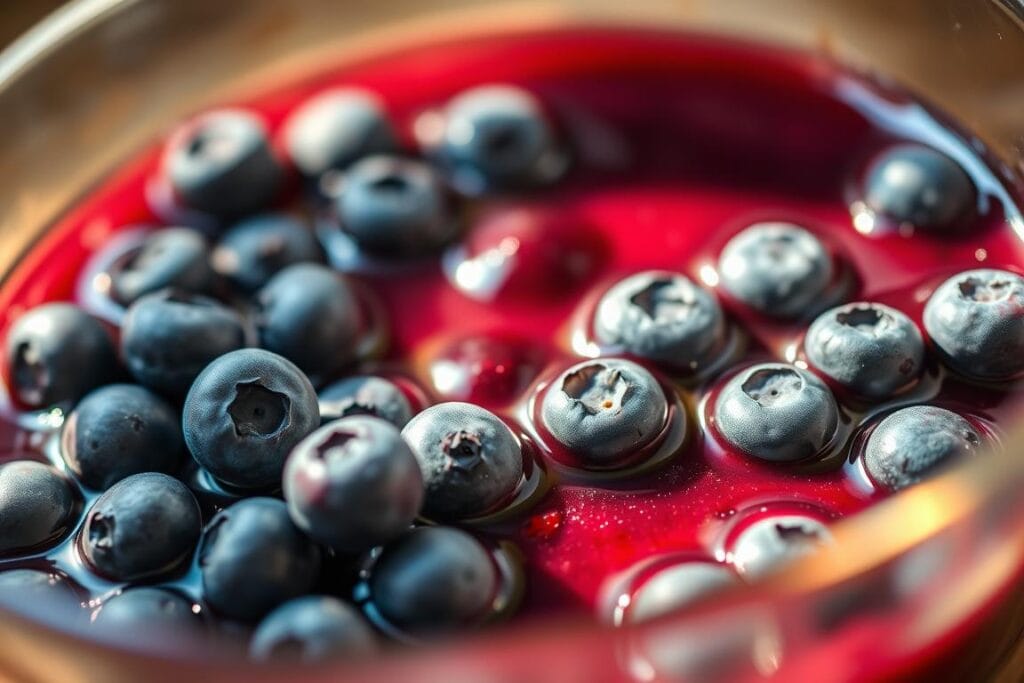
Cooking Techniques for a Luscious Blueberry Sauce
Start by whisking cornstarch with cold water in your saucepan. This prevents clumping better than adding it dry. Stir in sugar and lemon juice until the mixture looks like liquid glass.
Heat this base on medium until tiny bubbles form. Now toss in your berries – fresh or frozen work equally well. Watch as they soften and release their jewel-toned juices, creating a mesmerizing swirl.
- Stir gently but constantly with a silicone spatula
- Simmer until the sauce coats the back of a spoon
- Remove from the heat before it becomes too thick
Cooling time matters more than you think. Let the sauce rest until it reaches room temperature—about 30 minutes. This prevents the filling beneath from melting when you layer it on.
That final pour transforms your dessert into edible art. The deep purple glaze catches light beautifully, promising flavor and drama in every forkful. Patience here rewards you with neither runny nor gummy texture – just pure berry bliss.
No-Bake Blueberry Cheesecake Assembly
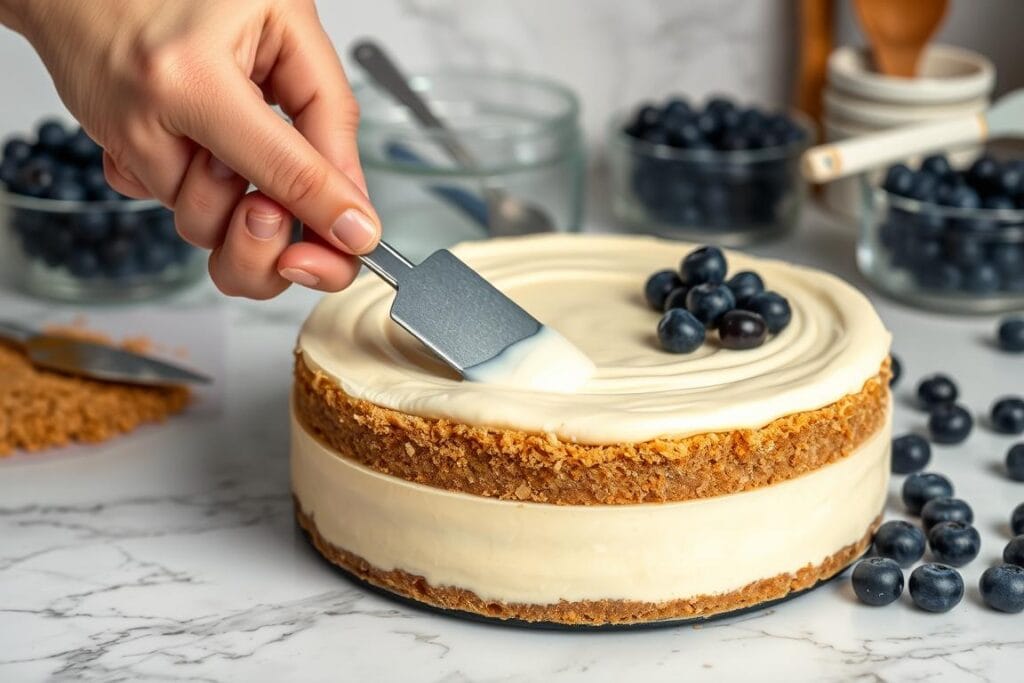
Transform your components into edible architecture with clever stacking techniques. Proper layering creates visual drama and balanced flavors in every forkful. Let’s build that perfect bite together.
Foundation to Finishing Touches
Start with your chilled crust – it should feel firm under gentle pressure. Using a spoon, spread half the cream cheese mixture like you’re icing a cake. Work from the center outward, leaving a ½-inch border to prevent overflow.
Use a teaspoon to dot the surface with blueberry sauce. Swirl gently with a toothpick, creating marble patterns that peek through the next layer. This technique ensures berry goodness in every slice without overwhelming the palate.
Designing Edible Patterns
Add the remaining filling, then repeat the sauce application. For professional-looking swirls:
- Hold your tool at a 45-degree angle
- Make S-shaped motions through both layers
- Wipe the utensil clean between passes
Chill for four hours at a minimum—this lets the ingredients set appropriately. For more extended storage, wrap tightly and freeze for up to 14 days. The fat content in cream cheese helps maintain texture during thawing.
Want extra flair? Melt dark chocolate, drizzle over set dessert, and add fresh berries. This adds contrasting colors while keeping prep under 30 minutes. Your masterpiece now boasts a restaurant-quality presentation with a homemade heart.
Tips for Best Results and Storage Advice
Mastering this dessert requires understanding its silent partner – time. Proper chilling and storage distinguish between a good treat and a family favorite that keeps its texture intact. Let’s explore how to preserve that perfect balance of creamy and crisp.
Chilling and Setting Times Explained
Patience rewards you here. The bottom layer needs at least six hours to firm up properly – I often leave it overnight. This bonds the crust tightly with the filling, preventing crumbly slicing disasters. For gatherings, I prep two days ahead to avoid last-minute stress.
Refrigeration and Freezing Guidelines
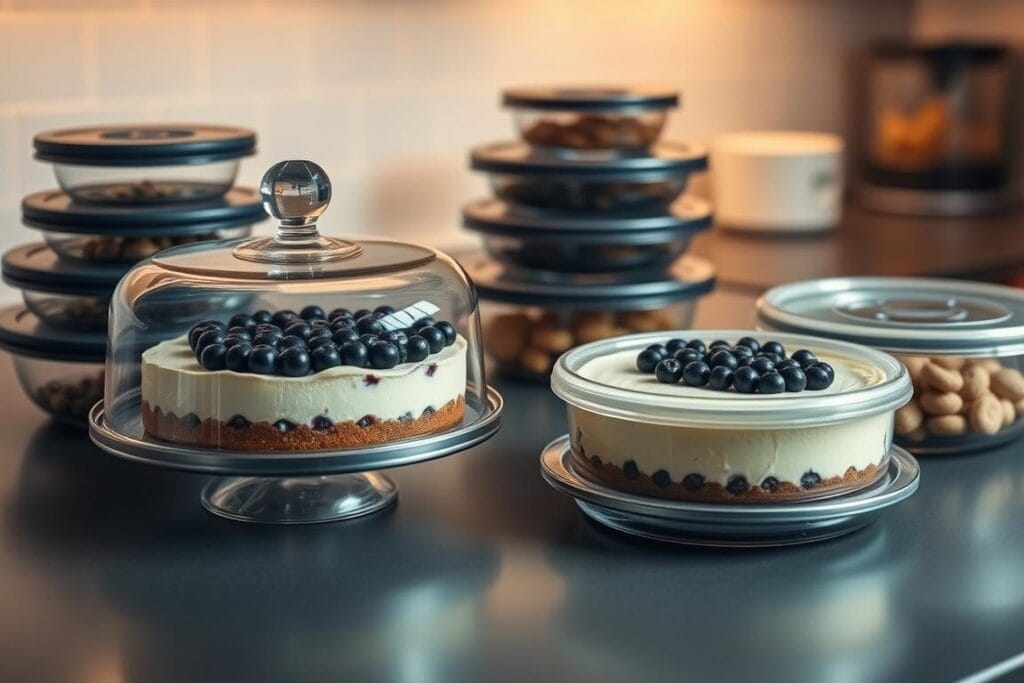
Keep leftovers (if any!) in the fridge for up to five days. Use an airtight container to protect flavors from absorbing other food odors. To freeze, wrap individual slices in plastic and then foil—they’ll stay fresh for three months. Thaw overnight in the refrigerator for best texture.
Pro tip: Place your dish on the bottom shelf during chilling. This ensures even cooling and prevents condensation from forming on the surface. The Graham crackers maintain their crunch better this way, too.
Let them sit at room temperature for 15 minutes when serving frozen portions. This softens the cream cheese layer slightly while keeping the berry topping intact. Your family will never guess you prepped it weeks ago!
Conclusion
Creating this layered delight reminds me why cooking brings people together. With a food processor and a few simple steps, you’ll craft something that feels fancy and approachable. The contrast of textures – crisp base, airy center, jammy finish – turns every bite into a tiny celebration.
Remember, the magic lies in letting your fridge do most of the work. In minutes, prepare the crust crumbs, whip the filling until fluffy, and layer with that vibrant berry sauce. Patience during chilling ensures clean slices that hold their shape beautifully.
This recipe adapts to whatever your kitchen offers. Swap fruits seasonally, adjust sweetness to taste, or play with garnishes. I’ve found it’s the perfect balance of what we crave—rich yet refreshing, impressive yet effortless.
At about 350 calories per serving, it’s a treat that satisfies without guilt. Share your twist using #SummerSweetsChallenge – I’d love to see your creations! Whether serving eight friends or savoring two servings solo, each forkful delivers that “made-with-love” charm.
Now grab your processor and make some memories. Trust me, the compliments (and recipe requests) will flow faster than melted butter!
FAQ
Can I use frozen blueberries for the topping?
Absolutely! Frozen berries work well, but thaw and drain them first to avoid excess moisture. I’ve found they still deliver that vibrant flavor we love in the sauce.
How long should I chill the dessert before serving?
Let it set in the fridge for at least 6 hours—overnight is even better. This gives the filling time to firm up and the flavors to meld perfectly.
What if I don’t have a food processor for the crust?
No worries! Crush graham crackers in a sealed bag with a rolling pin. Mix the crumbs with melted butter by hand—it’s just as effective and adds a rustic touch.
Can I substitute low-fat cream cheese?
I’ve tried it, but full-fat cream cheese creates a richer, creamier texture. If you use low-fat, the filling might be slightly softer, so chill it a bit longer.
How do I prevent the crust from sticking to the pan?
Press the crumb mixture firmly into the bottom of your dish using a glass or measuring cup. Lining the pan with parchment also helps for easy slicing later.
Can I prepare this ahead for a party?
Yes! Assemble it up to 2 days in advance. Keep it covered in the fridge until you’re ready to add the blueberry swirl and serve.
What’s the secret to a fluffy filling?
Soften the cream cheese completely at room temperature, and whip it with sugar until smooth. Gently fold in the whipped cream to keep it light and airy.
How long will leftovers stay fresh?
Store slices in an airtight container for 3–4 days. The crust may soften slightly, but the flavors will still shine!

Creamy No Bake Blueberry Cheesecake
- Total Time: 6 hours 25 minutes (including chilling)
- Yield: 8 servings 1x
- Diet: Vegetarian
Description
This creamy no-bake blueberry cheesecake combines a buttery graham cracker crust, a cloud-like cream cheese filling, and a glossy blueberry topping. It’s rich, airy, fruity, and perfect for hot days when you want an elegant dessert without turning on the oven.
Ingredients
Crust:
1 ¾ cups graham cracker crumbs
3 tbsp granulated sugar
½ cup melted butter
Filling:
16 oz (450g) cream cheese, softened
½ cup granulated sugar
½ cup sour cream
1 tbsp lemon juice
1 cup heavy whipping cream, chilled
Blueberry Topping:
2 cups fresh or frozen blueberries
¼ cup granulated sugar
1 tbsp cornstarch
2 tbsp water
1 tbsp lemon juice
Instructions
Prepare Crust: In a bowl, combine graham cracker crumbs, sugar, and melted butter. Stir until it resembles wet sand. Press into the bottom of a springform pan. Chill in the freezer for 15 minutes.
Make Filling: Beat softened cream cheese and sugar until smooth. Add sour cream and lemon juice; mix well. In a separate bowl, whip heavy cream to soft peaks. Gently fold into the cream cheese mixture.
Add Filling to Crust: Spread half the filling over the chilled crust. Swirl in some blueberry topping, then add the rest of the filling. Smooth the top.
Prepare Blueberry Topping: In a saucepan, whisk water and cornstarch. Add sugar, lemon juice, and blueberries. Cook over medium heat until thick and glossy. Cool to room temperature.
Assemble: Spread blueberry topping over the cheesecake. Refrigerate at least 6 hours or overnight.
Serve: Slice with a hot knife and enjoy chilled.
Notes
For clean slices, chill overnight and use a hot knife.
You can substitute strawberries, raspberries, or mixed berries for seasonal variation.
For freezing: wrap individual slices tightly and thaw in the fridge overnight.
- Prep Time: 25 minutes
- Cook Time: 0 minutes (no baking required)
- Category: Dessert
- Method: No-Bake / Chill
- Cuisine: American
What Are Our Readers Saying?
There are no reviews yet. Be the first one to write one.

