Oreo Dump Cake for an Easy Cookies-and-Cream Dessert

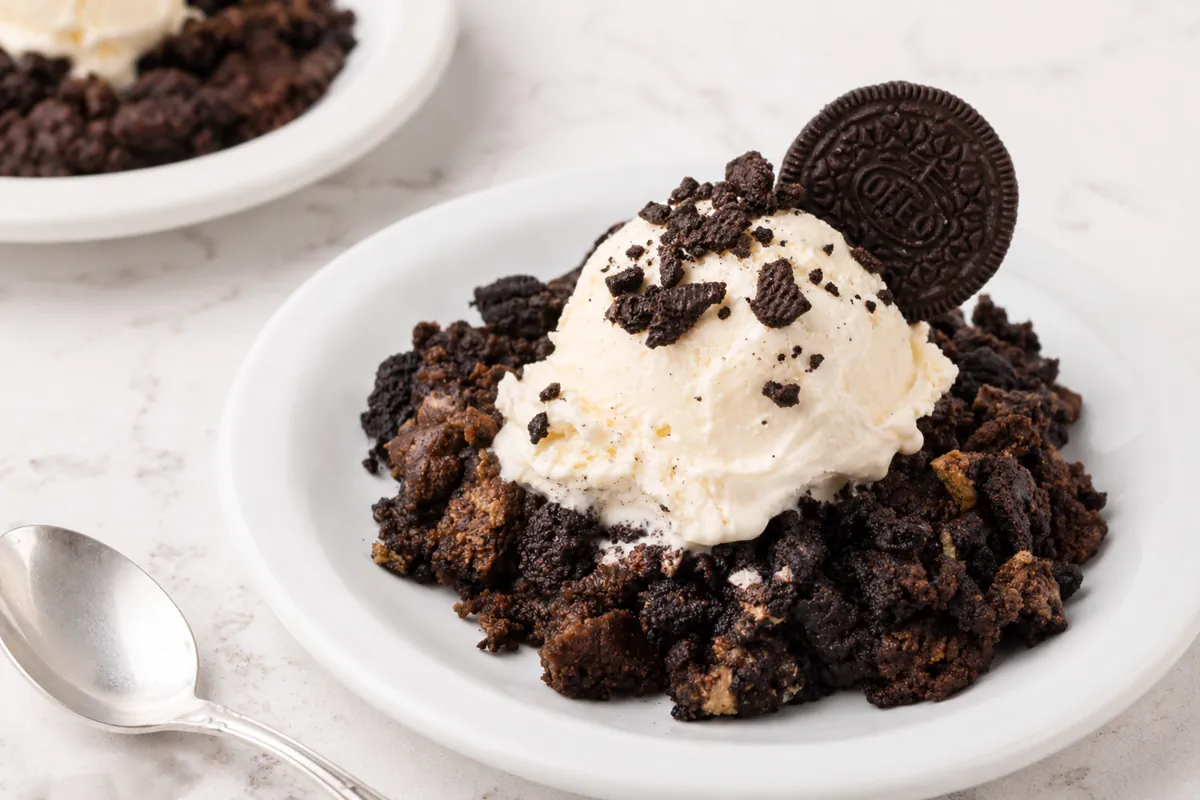
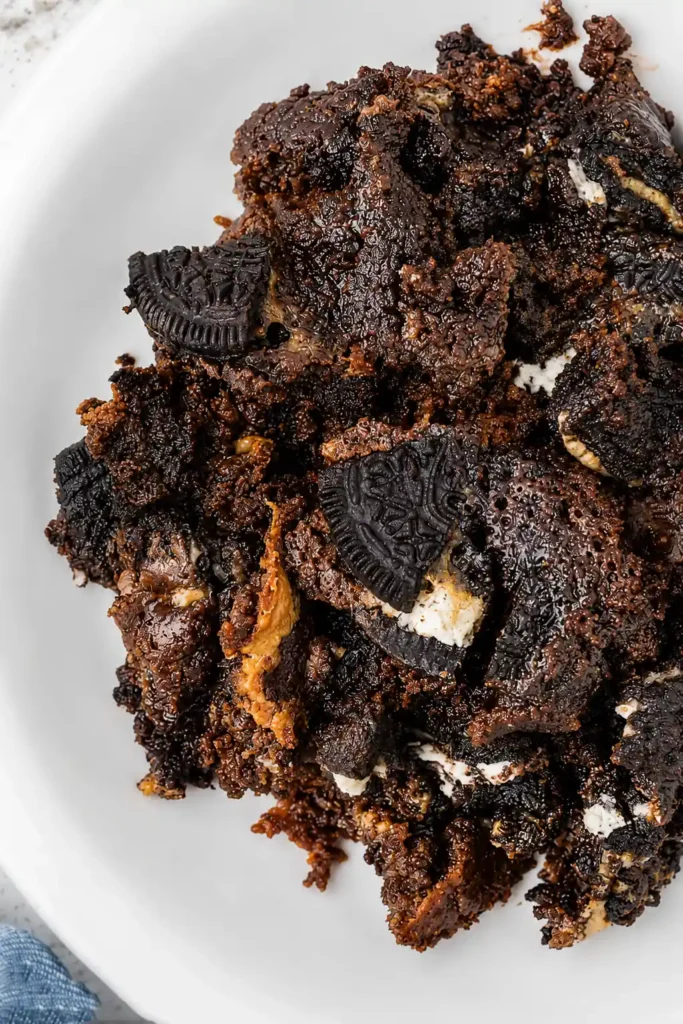
Oreo Dump Cake is the kind of dessert that smells like brownies and cookies decided to share the same pan. The top bakes lightly crisp, the middle turns soft and gooey, and the Oreo layer underneath gives every scoop that cookies-and-cream bite.
It’s simple in the best way: a 9×13-inch baking dish, a few store-bought ingredients, and no mixing bowl. Just layer it carefully and let the oven do the work.
Why This Oreo Dump Cake Works So Well
The reason this dessert works is the layering. You aren’t making a regular cake batter. You’re building a soft cookie base, a creamy middle, and a chocolate topping that bakes into something between cake and cobbler.
That also makes it friendly for busy days. The prep takes about 5 to 10 minutes, and most of that is just opening packages and spreading layers. It’s a good dessert for potlucks because it scoops easily, travels well in the pan, and tastes best when it’s served warm and a little messy. That’s part of the charm.
The Layers That Give Oreo Dump Cake Its Texture
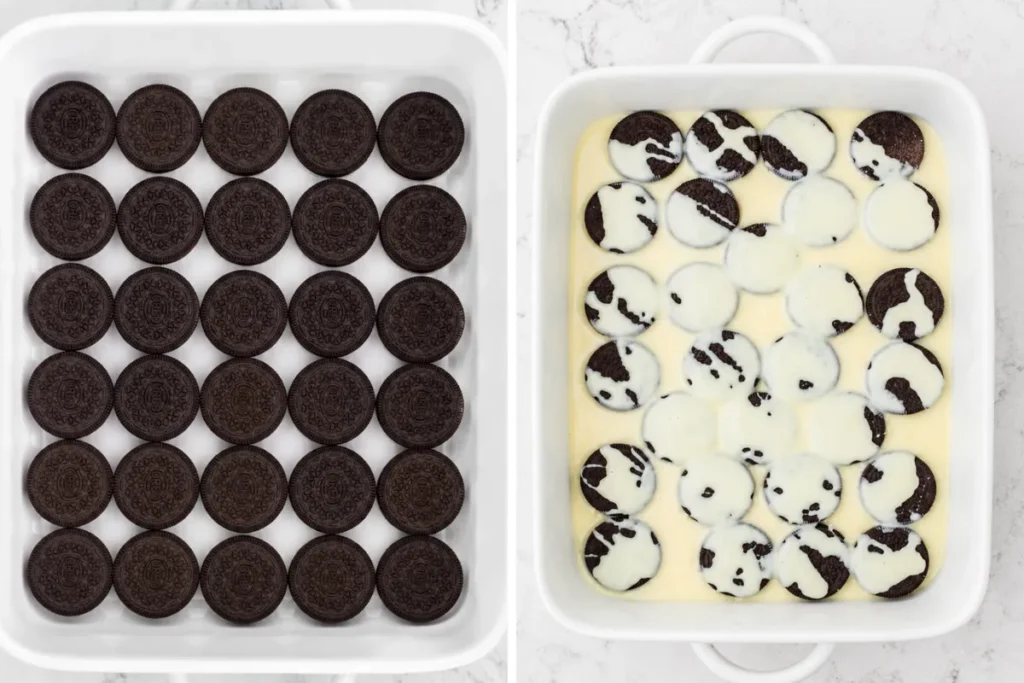
Start with the Oreo cookies. They go into the bottom of the pan whole, edge to edge, so they soften as the condensed milk and whipped topping settle around them. Don’t crush this bottom layer. Whole cookies give the dessert more structure.
The sweetened condensed milk brings sweetness and moisture. Pour it slowly in ribbons so it reaches more of the cookie layer instead of landing in one heavy puddle.
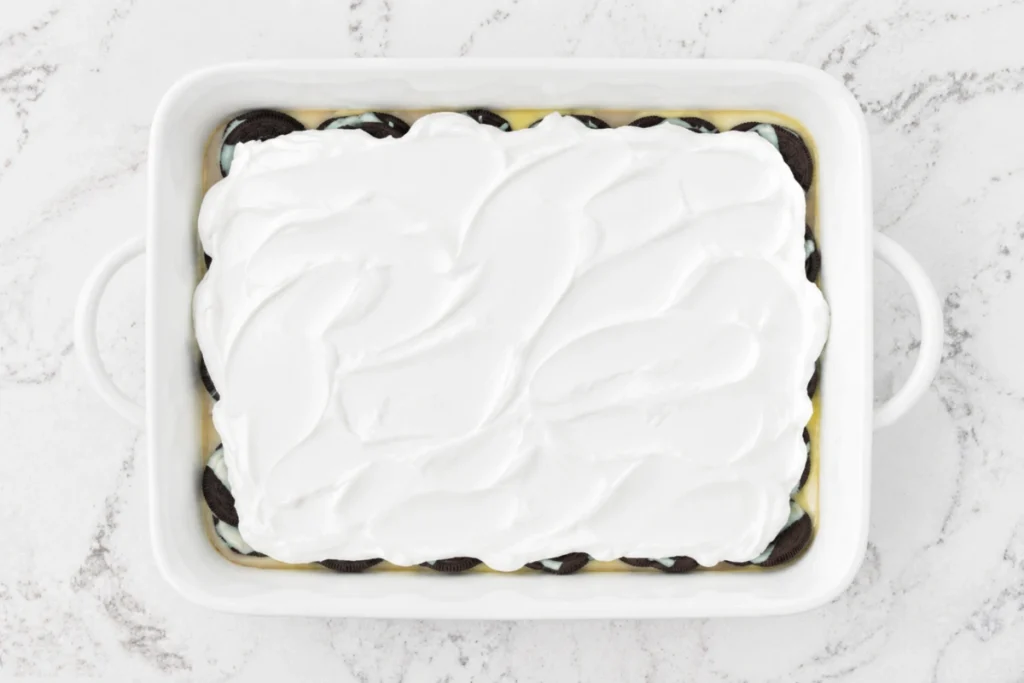
The thawed whipped topping spreads over that and helps create the soft, creamy center. Keep it gentle here. You’re not trying to mix it with the condensed milk.
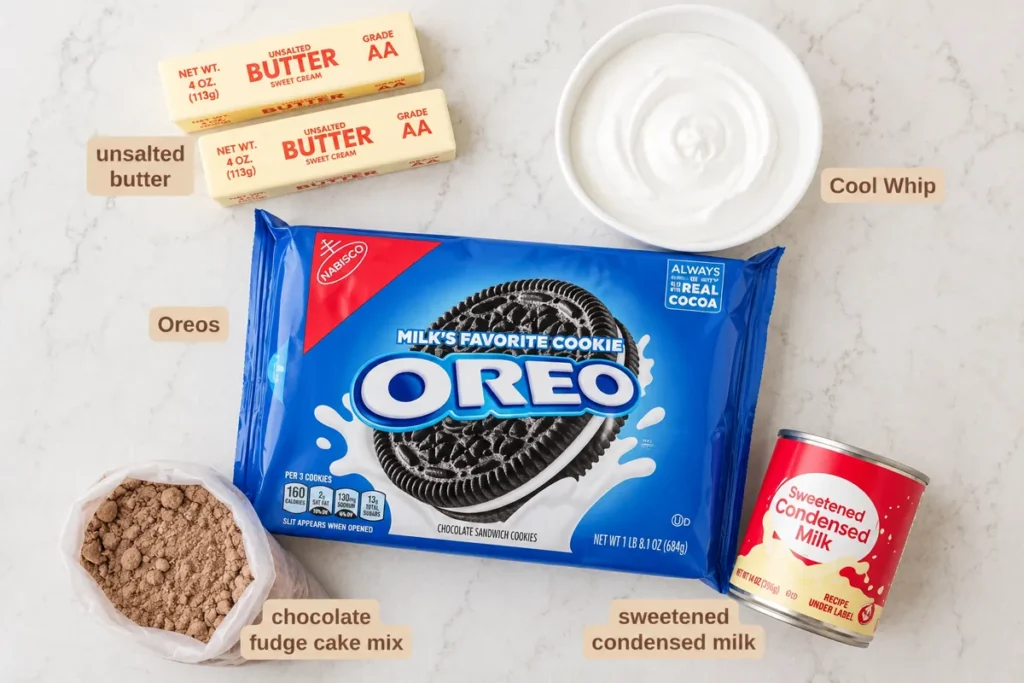
The chocolate fudge cake mix forms the top cake layer, and the melted butter is what helps it bake instead of staying powdery. A full 1 cup sounds like a lot, but the dry mix needs that fat to turn into a crisp, tender topping.
How to Layer and Bake Oreo Dump Cake
Set the oven to 350°F first so it’s ready when the pan is assembled. Lightly coat a 9×13-inch baking dish with nonstick cooking spray, especially around the corners where sticky edges can cling after baking.
Lay the Oreos across the bottom in a single layer. I like to fit them as close together as possible, even if a few spots near the edge need a slightly angled cookie. Once the base is covered, pour the 14-ounce can of sweetened condensed milk over the cookies. Go slowly. Thin ribbons cover better than one fast pour.
Spoon the thawed 8-ounce tub of whipped topping over the condensed milk, then spread it into an even layer with a light touch. If a little condensed milk shows through, that’s fine. Just don’t stir the layers together.
Sprinkle the 15.25-ounce box of chocolate fudge cake mix evenly over the top. Use a fork to gently rake across the surface so the powder is level. Then pour the melted butter slowly over the whole pan, moving back and forth. Look for dry patches before it goes in the oven. Any pale, dusty areas need a little more butter drizzled over them.
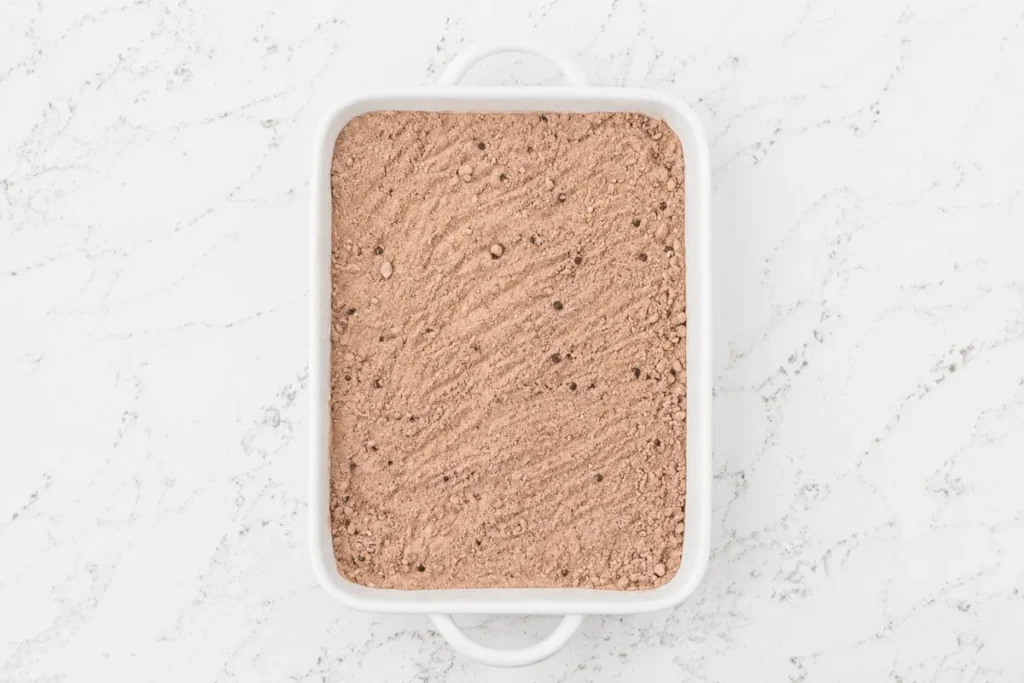
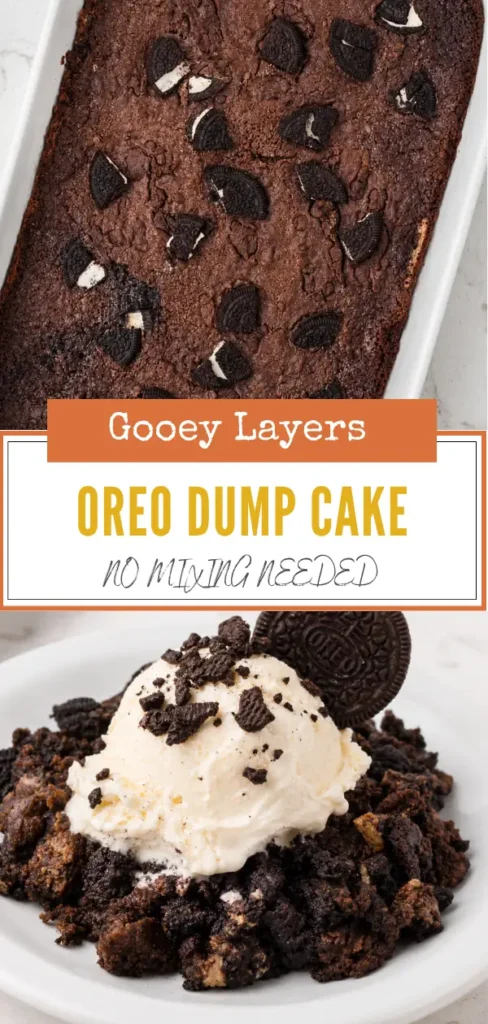
Scatter chopped Oreos over the top and bake for 35 to 40 minutes, until the edges bubble and the surface looks set with a lightly crisp top. Let it cool for 10 minutes before serving so the layers have time to settle.
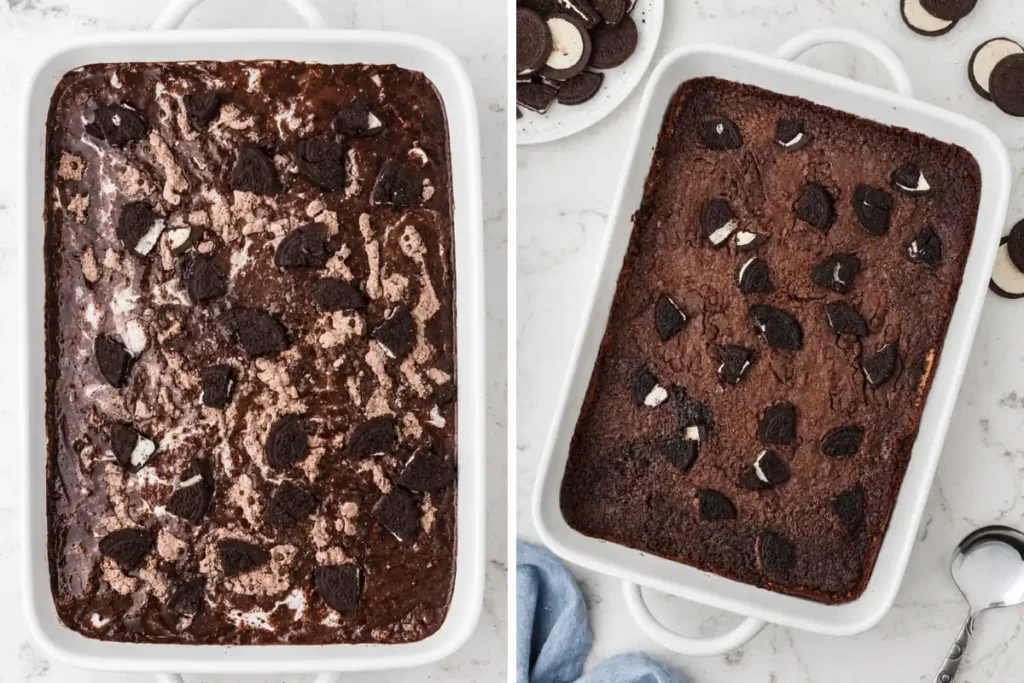
Small Details That Help the Top Bake Evenly
The most common issue with dump cake is a dry, powdery top. It usually happens when the butter doesn’t reach enough of the cake mix. Pour slowly and check the surface before baking. If you see dry streaks, drizzle a little extra melted butter over those spots.
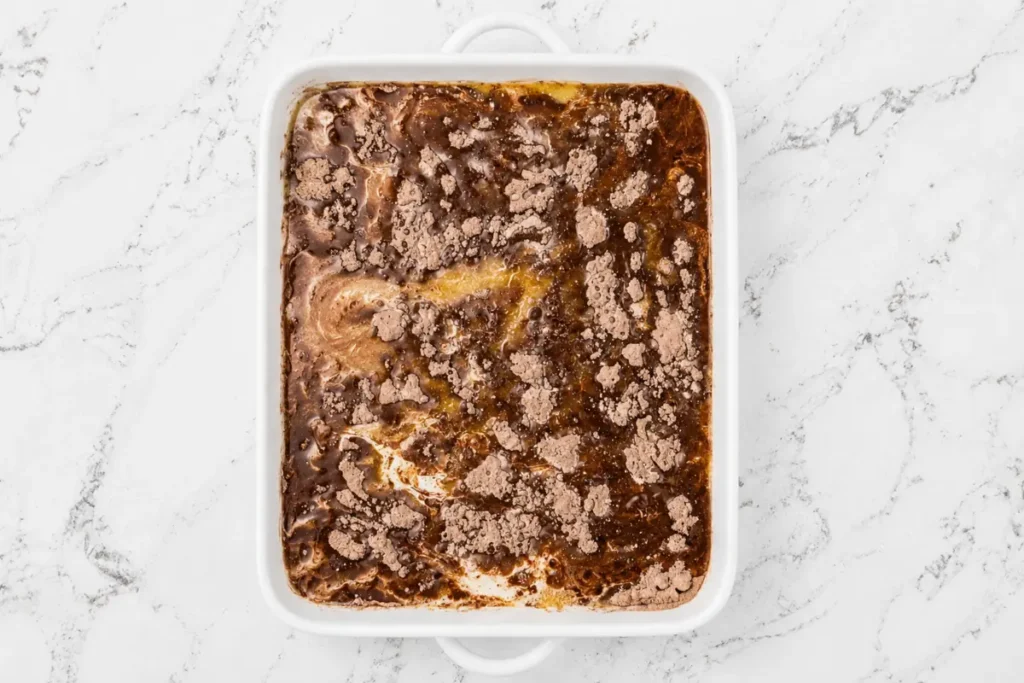
A glass or ceramic baking dish works nicely here because the edges bake steadily without getting too dark too fast. Metal can work too, but keep an eye on the cake near the 35-minute mark.
Also, don’t pack the cake mix down. A light, even layer absorbs butter better than a pressed one. The top should look moistened in most places before it goes into the oven. A few tiny dry specks are okay, but large patches will likely stay dusty after baking.
Serving It Warm, Gooey, and Family-Style
Give the cake those 10 minutes after baking. Straight from the oven, the layers are too loose and will run everywhere. After a short rest, it still scoops soft, but the Oreo base and creamy middle hold together better.
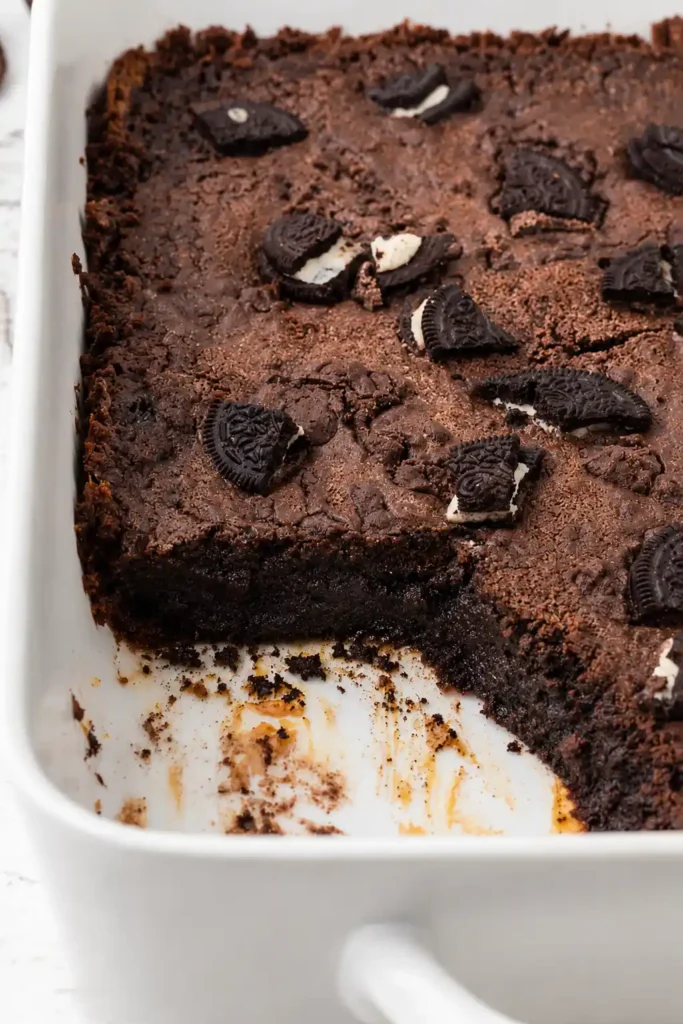
Serve it warm with vanilla ice cream if you want that hot-and-cold dessert feeling. Fresh whipped cream works too, especially if you’re serving it after a heavy meal and want something a little lighter on top. For a simple finish, scatter a few chopped Oreo cookies over each scoop right before serving so you still get some crunch.
Storing, Freezing, and Reheating Leftovers
Cover leftovers tightly and keep them in the refrigerator for up to 4 days. The texture gets softer as it sits because the Oreos keep absorbing moisture, but it’s still good. More pudding-like, honestly.
For reheating, scoop a portion into a microwave-safe bowl and warm it in short bursts, about 20 to 30 seconds at a time. Don’t overheat it, or the creamy layer can turn too loose.
You can freeze portions, but wrap them well and use them within about 2 months. Thaw overnight in the refrigerator before reheating. I prefer freezing individual servings instead of the whole pan because they warm more evenly and you don’t have to reheat more than you need.
Frequently Asked Questions
Can I use a different cake mix for Oreo Dump Cake?
This recipe is written for chocolate fudge cake mix because it matches the Oreo flavor and gives the top a rich chocolate taste. Other cake mixes may work, but they will change the flavor and may bake a little differently.
Why is the top of my dump cake powdery?
A powdery top usually means the melted butter did not cover enough of the dry cake mix. Before baking, check for pale dry patches and drizzle a little extra melted butter over those areas.
Can I make Oreo Dump Cake ahead of time?
You can bake it ahead and reheat portions later, but it has the best texture when served warm after resting for about 10 minutes. As it chills, the Oreo layer becomes softer.
Is Oreo Dump Cake better warm or cold?
Warm Oreo Dump Cake has a softer, gooier texture with a lightly crisp top. Cold leftovers are firmer and more pudding-like, which some people enjoy too.
Do I need to crush the Oreos for the bottom layer?
No, keep the bottom Oreos whole. They soften during baking and give the dessert better structure. Only the topping Oreos should be roughly chopped.
A Warm Pan Worth Sharing
Oreo Dump Cake is simple, sweet, and built for sharing straight from the baking dish. The main thing to remember is the butter coverage on top; that small check makes a real difference in the bake.
Serve it warm, scoop it generously, and don’t worry if it looks a little rustic. Desserts like this are supposed to feel easy.
Oreo Dump Cake
Ingredients
Equipment
Method
- Preheat the oven to 350°F and lightly coat a 9×13-inch baking dish with nonstick cooking spray.
- Open the Oreo package and line the whole cookies in a single layer across the bottom of the baking dish, filling the surface edge to edge.
- Pour the sweetened condensed milk slowly over the Oreo layer in thin ribbons, covering the cookies as evenly as possible.
- Spoon the thawed whipped topping over the condensed milk layer and gently spread it into an even layer without mixing the layers together.
- Sprinkle the chocolate fudge cake mix evenly over the whipped topping, then gently rake the surface with a fork to level the dry mix without stirring.
- Pour the melted butter slowly and evenly over the cake mix layer, moving back and forth to cover as much of the dry surface as possible.
- Check the surface for dry patches of cake mix and drizzle a little extra melted butter over those spots if needed.
- Roughly chop some of the remaining Oreos and scatter them evenly over the melted butter layer.
- Bake for 35 to 40 minutes, until the top is set and lightly crisp and the edges are bubbly.
- Let the cake cool for 10 minutes so the layers firm up slightly before serving.
- Scoop or slice into portions and serve warm with vanilla ice cream or fresh whipped cream, garnished with extra chopped Oreo cookies if desired.
Notes
- Pour the melted butter slowly and evenly over the cake mix to help prevent dry, powdery patches on top.
- Do not stir the layers together. The texture comes from letting each layer bake in place.
- Let the cake rest for 10 minutes after baking so it still scoops soft but holds together better.
- Cover leftovers tightly and refrigerate for up to 4 days. Reheat individual servings in 20 to 30 second microwave bursts.
- Freeze individual portions for up to 2 months, then thaw overnight in the refrigerator before reheating.