The Ultimate Katsu Curry Recipe: A Comforting Japanese Classic You’ll Crave Again and Again

If you’ve ever taken that first bite of Katsu Curry—the tender, golden-fried cutlet bathed in rich, velvety Japanese curry—you know it’s pure comfort in a bowl. The kind that instantly warms your mood after a long day or makes a quiet night at home feel a little more special. I still remember the first time I tried it at a cozy Tokyo-style diner tucked away in San Francisco; it wasn’t just dinner—it was a whole experience. Since then, I’ve been hooked on recreating that perfect balance of crispy, savory, and sweet right in my own kitchen.
This recipe brings that same magic straight to your table. Whether you’re new to Japanese cooking or just craving something hearty and satisfying, you’ll find that making Katsu Curry at home is much easier than it looks—and a lot more rewarding.
What Is Katsu Curry?
At its core, Katsu Curry is Japan’s love letter to fusion comfort food. It combines two beloved dishes: katsu (a breaded, fried cutlet, usually chicken or pork) and kare (a mild, slightly sweet Japanese curry). Together, they form a dish that’s rich but not heavy, flavorful yet perfectly balanced.
Japanese curry itself has an interesting backstory—it’s not fiery like Indian curry or coconut-rich like Thai versions. Instead, it has a deep, gravy-like consistency with notes of caramelized onions, apple sweetness, and gentle spice. The dish became a household staple in Japan during the early 20th century and has since won over kitchens worldwide, especially in the U.S., where its approachable flavors make it an instant hit for families.
So, if you love comfort food with a touch of adventure, Katsu Curry delivers on all fronts.
Print
The Ultimate Katsu Curry Recipe
- Total Time: 50 minutes
- Yield: 6 servings 1x
- Diet: Halal
Description
This Katsu Curry recipe combines crispy, golden-fried chicken or pork cutlets with a rich, mildly spiced Japanese curry sauce. It’s a comforting, restaurant-quality dish that’s surprisingly easy to make at home—perfect for family dinners or cozy nights in.
Ingredients
For the Curry Sauce:
1 tablespoon unsalted butter
1 tablespoon olive oil
1 medium onion, finely chopped
2 cloves garlic, minced
1 tablespoon grated fresh ginger
1 large carrot, diced
1 medium potato, peeled and cubed
3 cups chicken or vegetable broth
3 tablespoons all-purpose flour
1 tablespoon Japanese curry powder
2 teaspoons soy sauce
1 teaspoon honey or grated apple (optional)
Salt and pepper, to taste
For the Katsu (Cutlet):
2 boneless chicken breasts or pork cutlets
Salt and pepper
½ cup all-purpose flour
2 large eggs, beaten
1½ cups panko breadcrumbs
Oil for frying (canola or vegetable oil)
For Serving:
Cooked short-grain rice
Chopped green onions or parsley
Japanese pickles (optional)
Instructions
-
Heat butter and olive oil in a saucepan over medium heat. Add onion and sauté until golden.
-
Stir in garlic, ginger, carrot, and potato. Cook for 2–3 minutes until fragrant.
-
Sprinkle flour over the vegetables and stir for one minute to form a roux.
-
Gradually whisk in broth until smooth, then add curry powder, soy sauce, and honey or apple.
-
Simmer for 15–20 minutes, stirring occasionally, until the sauce thickens and vegetables are tender.
-
Season the chicken or pork cutlets with salt and pepper. Dredge each in flour, dip into beaten eggs, and coat with panko.
-
Heat oil to 350°F (175°C). Fry the cutlets for 3–4 minutes per side until golden and crisp.
-
Drain on a wire rack. Slice before serving.
-
Spoon rice onto plates, top with sliced katsu, and ladle curry sauce beside or over it. Garnish with green onions or parsley.
Notes
For a lighter version, bake or air fry the cutlets instead of deep-frying.
Store curry sauce and katsu separately to keep the coating crispy.
The curry flavor develops more depth if made a day in advance.
You can use tofu or eggplant for a vegetarian version.
- Prep Time: 20 minutes
- Cook Time: 30 minutes
- Category: Main Course
- Method: Stovetop and Frying
- Cuisine: Japanese
Nutrition
- Serving Size: 1 plate
- Calories: 640 kcal
- Sugar: 6 g
- Sodium: 980 mg
- Fat: 28 g
- Saturated Fat: 7 g
- Unsaturated Fat: 19 g
- Trans Fat: 0 g
- Carbohydrates: 60 g
- Fiber: 4 g
- Protein: 34 g
- Cholesterol: 135 mg
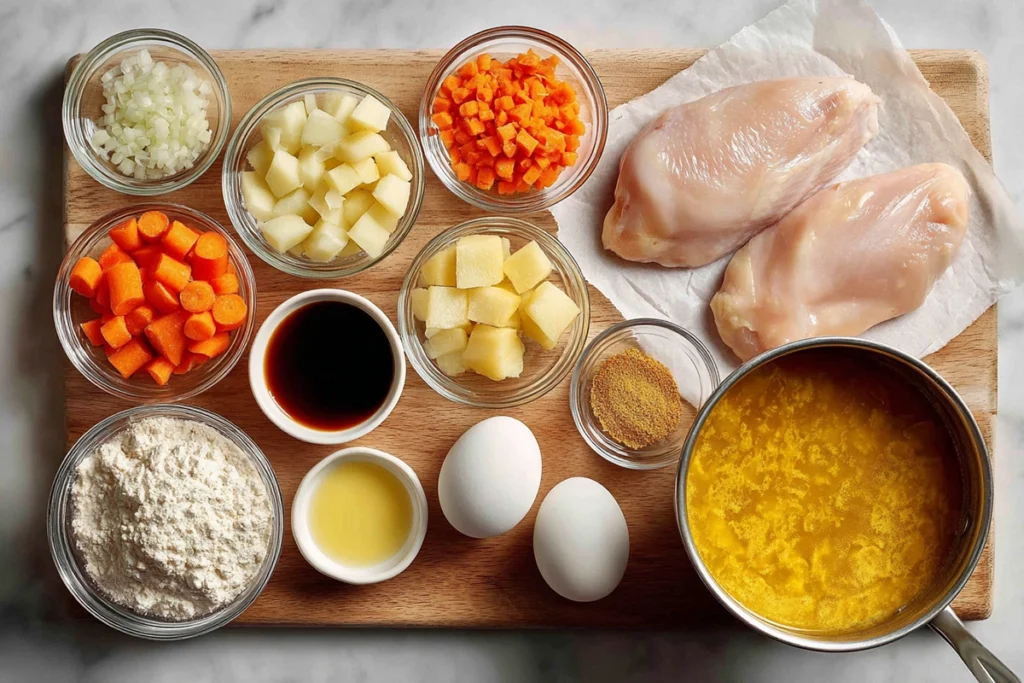
Ingredients & Kitchen Tools You’ll Need
When it comes to building layers of flavor, this dish rewards attention to detail. Below is everything you’ll need for six generous servings.
For the Curry Sauce:
- 1 tablespoon unsalted butter
- 1 tablespoon olive oil
- 1 medium onion, finely chopped
- 2 cloves garlic, minced
- 1 tablespoon grated fresh ginger
- 1 large carrot, diced
- 1 medium potato, peeled and cubed
- 3 cups chicken or vegetable broth
- 3 tablespoons all-purpose flour
- 1 tablespoon curry powder (Japanese-style preferred)
- 2 teaspoons soy sauce
- 1 teaspoon honey or grated apple (optional for sweetness)
- Salt and pepper to taste
For the Katsu (Cutlet):
- 2 boneless chicken breasts or pork cutlets
- Salt and pepper
- ½ cup all-purpose flour
- 2 large eggs, beaten
- 1½ cups panko breadcrumbs
- Oil for frying (canola or vegetable oil)
For Serving:
- Cooked short-grain rice
- Chopped green onions or parsley for garnish
- Japanese pickles (optional but traditional)
Tools:
A deep skillet or frying pan, a small saucepan, tongs, a whisk, and a wire rack for draining fried cutlets.
How to Make the Perfect Katsu Curry
Make the Curry Sauce
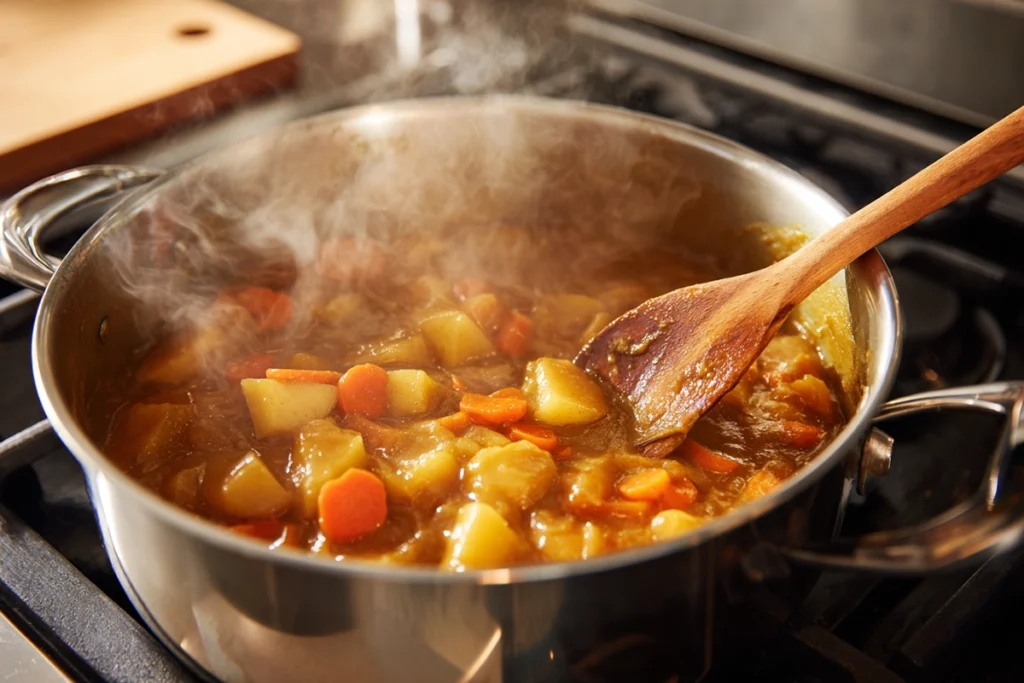
Start by heating butter and olive oil in a saucepan over medium heat. Add the onion and sauté until golden—this step builds the foundation of your curry’s flavor. Add garlic, ginger, carrot, and potato, cooking until fragrant. Sprinkle in the flour and stir constantly for about a minute to create a light roux.
Next, add the broth gradually while whisking to avoid lumps. Stir in the curry powder, soy sauce, and honey or apple. Let it simmer for 15–20 minutes, or until the sauce thickens and the vegetables are tender. You’ll know it’s ready when your kitchen smells like pure comfort.
Prepare the Katsu
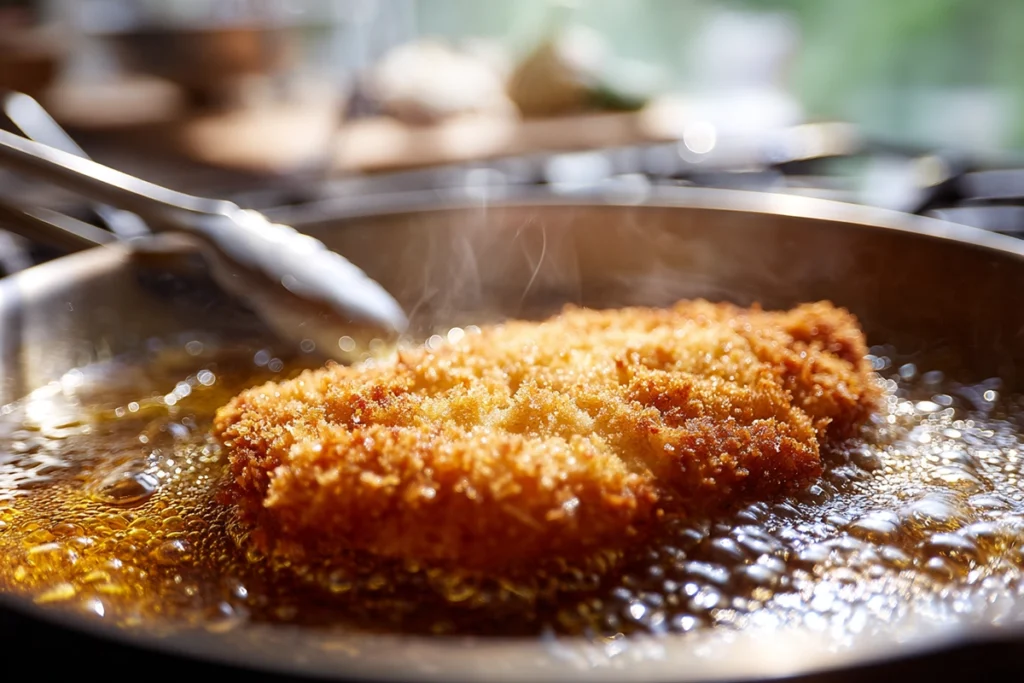
While the curry simmers, season your cutlets with salt and pepper. Set up three shallow bowls—flour in one, beaten eggs in another, and panko in the third. Dredge each piece of meat in flour, dip it into the egg, then coat it with panko.
Heat oil in a skillet over medium-high heat until it reaches about 350°F. Fry the cutlets for 3–4 minutes per side, or until golden and crisp. Place them on a wire rack to drain excess oil and stay crunchy.
Assemble the Dish
Spoon warm rice onto a plate, slice your katsu into strips, and ladle the curry sauce beside or over the top—depending on how saucy you like it. Garnish with green onions or a sprinkle of sesame seeds, and you’re ready to dig in.
Dietary Variations and Substitutions
One of the best parts of Katsu Curry is how easily it adapts to different diets without losing its comforting charm.
Vegan or Vegetarian:
Swap the meat for crispy tofu or breaded eggplant. Replace the chicken broth with vegetable stock and use a vegan curry roux or homemade sauce thickened with flour and plant-based butter.
Gluten-Free:
Use gluten-free flour and panko (or crushed rice crackers) for breading. Make sure your soy sauce and curry powder are labeled gluten-free.
Low-Calorie or Lighter Version:
Bake or air fry your katsu instead of deep-frying. You can also skip the roux and thicken your curry with mashed potatoes or a cornstarch slurry to cut back on fat.
Halal-Friendly:
Use halal-certified chicken and double-check your curry roux ingredients for compliance. The flavors stay just as satisfying.
With these swaps, you can still enjoy that familiar crispy bite and flavorful sauce—no matter your dietary preferences.
Storage, Reheating & Make-Ahead Tips
To keep that signature crispness, store the fried cutlet and curry sauce separately. The curry will last up to four days in the fridge, while the katsu stays fresh for about two. If you plan to freeze it, only freeze the sauce; breaded cutlets are best eaten fresh.
When reheating, skip the microwave if possible—it can make the cutlet soggy. Instead, warm the curry on the stove and re-crisp the katsu in the oven or air fryer for a few minutes.
If you’re planning ahead, you can make the curry sauce a day in advance. It actually tastes better the next day as the flavors meld together overnight.
Serving Suggestions & Pairings
Pair your Katsu Curry with a side of steamed broccoli, shredded cabbage, or a simple miso soup for a balanced meal. The mild sweetness of the curry complements plain rice beautifully, but jasmine rice or brown rice works too if you prefer a heartier texture.
For drinks, try serving it with chilled green tea or even a light lager. The crispness of the drink offsets the creamy curry perfectly.
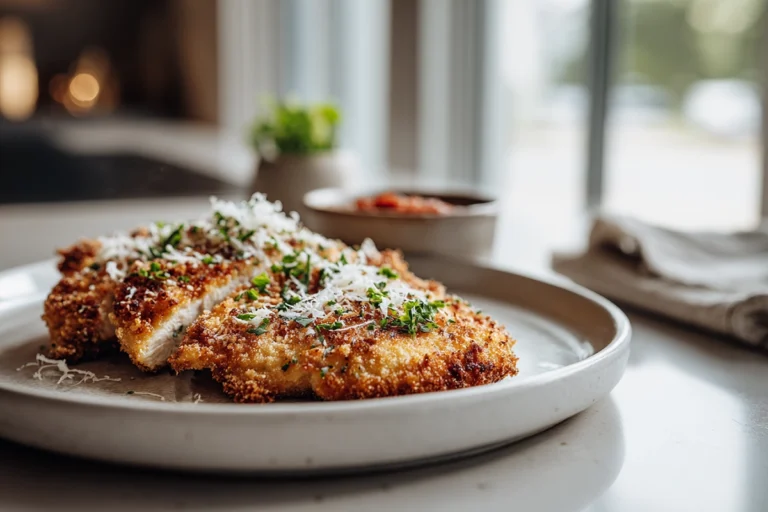
When it comes to plating, think restaurant style: sliced katsu neatly layered on rice with curry poured over half of it, showing off both textures—the golden crust and the glossy sauce. A few pickles or a drizzle of extra curry on the side takes the presentation from simple to stunning.
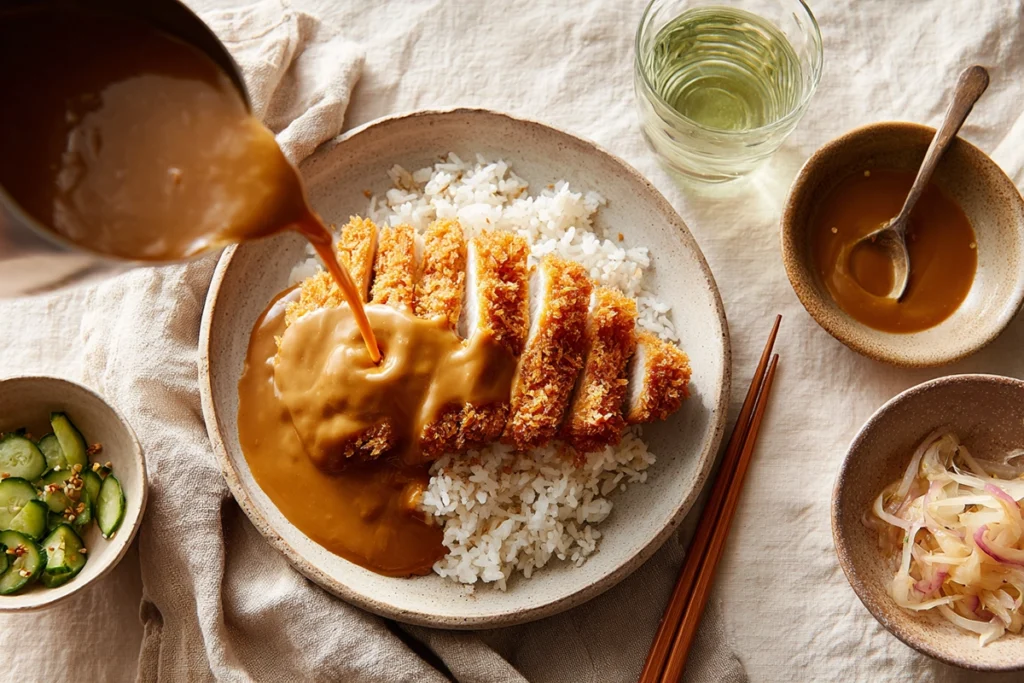
Whether you’re cooking for family or treating yourself to something special, Katsu Curry is that rare dish that feels both exotic and familiar. Every bite delivers a balance of crunch and comfort that keeps you coming back for more. Once you’ve made it at home, it’ll become one of those recipes you’ll pull out whenever you want a meal that feels like a warm, flavorful hug.
FAQ
Can I use chicken instead of pork for Katsu Curry?
Absolutely. Chicken is actually the most popular version of Katsu Curry in the U.S. because it’s lean, mild, and cooks quickly. Just use boneless chicken breasts or thighs, and follow the same breading and frying method used for pork cutlets.
Do I need Japanese curry roux to make the sauce?
Not necessarily. Store-bought Japanese curry roux blocks make things quick and convenient, but you can easily make your own using butter, flour, and curry powder. This gives you more control over the flavor and spice level.
How do I keep the katsu crispy after adding the curry?
To keep that satisfying crunch, pour the curry sauce next to the cutlet instead of directly on top. If you prefer it saucier, ladle just a little over the edge of the meat right before serving.
Can I bake or air fry the katsu instead of deep-frying?
Yes, both methods work great for a lighter version. Bake at 400°F for about 20 minutes or air fry at 375°F for 10–12 minutes until golden and crisp. You’ll still get that crispy texture with much less oil.
How long does Katsu Curry last in the fridge?
The curry sauce keeps for about four days when refrigerated in an airtight container. The cutlet is best eaten fresh, but you can store it separately and reheat it in an oven or air fryer to bring back the crunch.
What Are Our Readers Saying?
There are no reviews yet. Be the first one to write one.

