Easy No-Bake Eclair Cake Recipe
Imagine a dessert that’s both simple to make and irresistibly delicious. This eclair cake is a game-changer for anyone who loves sweet treats without the hassle. With layers of graham crackers, creamy pudding, and rich chocolate, it’s a crowd-pleaser that’s perfect for any occasion.
What makes this recipe stand out is its no-fuss preparation. You don’t need to spend hours in the kitchen or worry about baking. Just assemble the layers, let it chill, and enjoy. Whether you’re hosting a potluck or treating your family, this dessert is sure to impress.
Many who’ve tried it rave about its versatility. Some add cheesecake-flavored pudding, while others layer in fresh fruits like bananas or strawberries. The possibilities are endless, making it a dessert you can customize to your taste.
Key Takeaways
- Quick and easy dessert with no baking required.
- Combines graham crackers, creamy pudding, and chocolate.
- Perfect for potlucks, family gatherings, or casual treats.
- Highly customizable with different flavors and toppings.
- Refrigerates well, making it ideal for make-ahead desserts.
Introduction to This No Bake Eclair Cake Experience
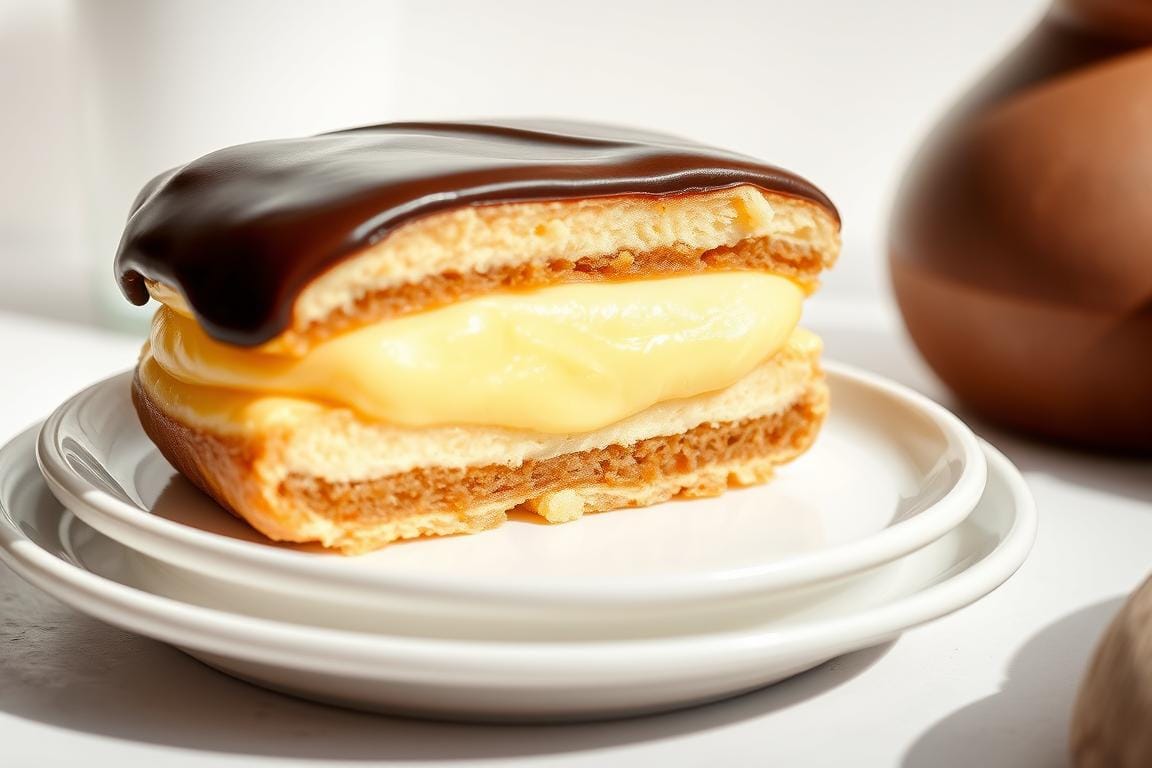
Discover a dessert that’s as easy to make as it is satisfying to eat. This eclair-inspired treat combines creamy layers of vanilla pudding, crunchy graham crackers, and a rich chocolate topping. It’s a classic favorite that requires no oven time, making it perfect for busy home cooks.
Why This Recipe Stands Out
What sets this dessert apart is its simplicity and versatility. You don’t need advanced skills or hours in the kitchen. Just layer the ingredients, let it chill, and enjoy. The blend of smooth pudding, crisp crackers, and decadent chocolate creates a texture and flavor that’s hard to resist.
Many love how this recipe captures the essence of a traditional eclair without the hassle. The vanilla pudding provides a creamy base, while the chocolate topping adds a touch of indulgence. It’s a dessert that’s both nostalgic and refreshingly easy to make.
What Makes No Baking a Breeze
This recipe is designed for convenience. With just a few minutes of prep time, you can create a dessert that feels gourmet. The use of instant pudding and pre-made graham crackers means you can focus on assembling rather than cooking.
Here’s why this method works so well:
- Quick Assembly: Layer the ingredients in minutes, then let the fridge do the rest.
- Minimal Ingredients: Just graham crackers, pudding, milk, and chocolate are all you need.
- Consistent Results: The no-bake approach ensures a perfectly set dessert every time.
Whether you’re hosting a gathering or simply treating yourself, this recipe is a reliable choice. Its ease and deliciousness make it a standout in the world of desserts.
Ingredients and Essential Equipment
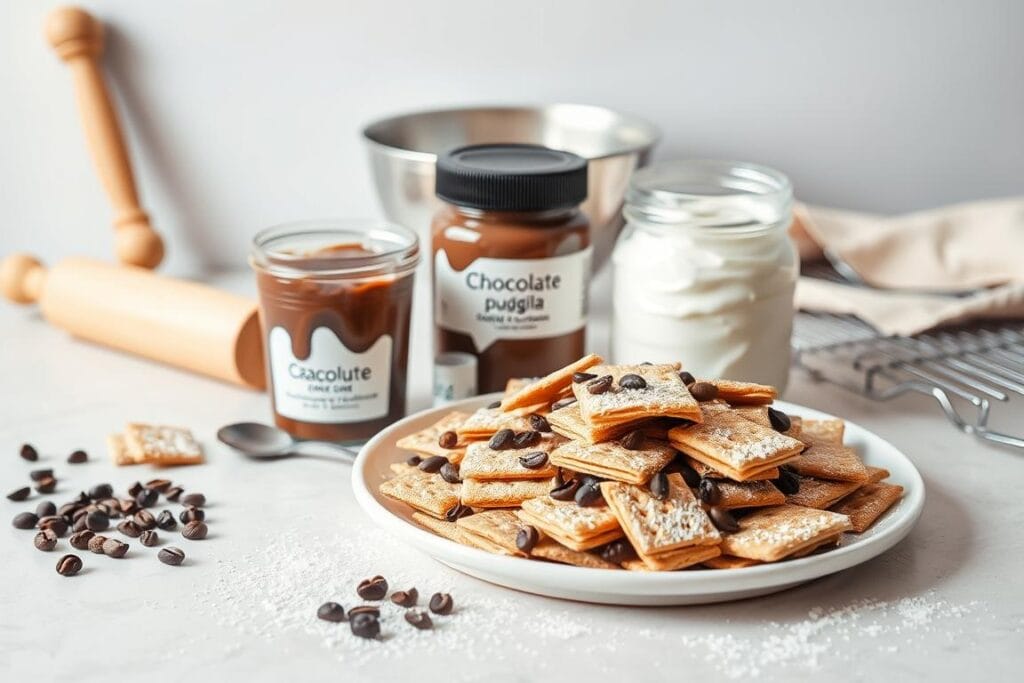
Gathering the right ingredients and tools is the foundation of this delightful dessert. Every component plays a role in creating the perfect balance of flavors and textures. From creamy vanilla pudding to crunchy graham crackers, each element is essential.
Key Ingredients for Success
To achieve the best results, you’ll need a few key items. Start with instant vanilla pudding, which provides the creamy base for this dessert. You’ll also need graham crackers for the layers and milk to mix with the pudding. Don’t forget the chocolate topping for that indulgent finish.
Here’s a breakdown of the essentials:
- Instant Vanilla Pudding: Two 3.4-ounce packages ensure a rich, creamy texture.
- Milk: Three cups of whole milk blend perfectly with the pudding mix.
- Graham Crackers: Three sleeves create the crisp layers that soften over time.
- Chocolate Topping: A mix of semi-sweet chocolate chips and heavy cream adds decadence.
Using high-quality ingredients ensures a dessert that’s both delicious and visually appealing. Precision in measurements, like using the correct ounce quantities, is key to achieving the intended texture.
Must-Have Kitchen Tools
Having the right equipment makes the process smooth and efficient. A 9×13 pan is ideal for layering the ingredients evenly. You’ll also need a large mixing bowl for the pudding and a whisk to blend it smoothly.
Here’s what you’ll need:
- 9×13 Pan: Perfect for creating even layers and easy serving.
- Mixing Bowl: Large enough to combine the pudding and milk thoroughly.
- Whisk: Ensures the pudding mix is smooth and lump-free.
- Measuring Cups: For precise quantities of milk and other ingredients.
With these tools and ingredients, you’re ready to create a dessert that’s as enjoyable to make as it is to eat. Preparation is the first step toward a treat that’s sure to impress.
How to Prepare the Pudding & Whipped Topping
Creating the perfect pudding and whipped topping is easier than you think. These components form the creamy foundation of your dessert, so getting them right is essential. With a few simple steps, you can achieve a smooth, velvety texture that pairs perfectly with the graham cracker layers.
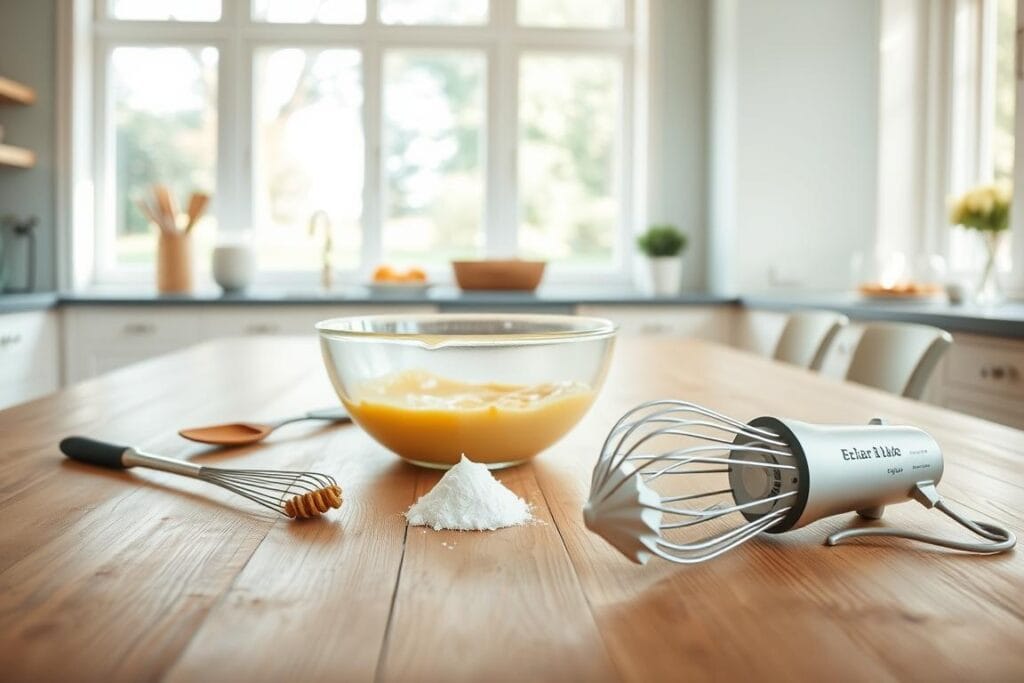
Mixing Instant Pudding and Milk
Start by combining two 3.4-ounce packages of instant vanilla pudding with four cups of whole milk in a large bowl. Use a whisk to blend the mixture thoroughly for about two minutes. This ensures the pudding is smooth and free of lumps. The key is to whisk continuously until the mixture thickens slightly.
For best results, let the pudding sit for five minutes after mixing. This allows it to set properly, giving it the ideal consistency for layering. Precision in measurements, like using the correct cup quantities, is crucial for achieving the desired texture.
Tips for Flawless Whipped Topping
Next, prepare the whipped topping. If using frozen whipped topping, ensure it’s fully thawed before folding it into the pudding. Gently fold the whipped topping into the pudding mixture using a spatula. This maintains its light and airy texture, which is essential for a creamy dessert.
Here are a few tips to keep in mind:
- Use a large bowl to give yourself enough space to fold the ingredients evenly.
- Avoid overmixing, as this can deflate the whipped topping and make it dense.
- For a homemade touch, whip heavy cream with a tablespoon of sugar until stiff peaks form.
Once the pudding and whipped topping are combined, you’re ready to assemble the dessert. This step ensures each layer graham cracker is complemented by a creamy, indulgent filling. The result is a dessert that’s both visually appealing and delicious.
| Step | Time | Key Tip |
|---|---|---|
| Whisk Pudding & Milk | 2 minutes | Whisk continuously for a smooth texture. |
| Let Pudding Set | 5 minutes | Allows pudding to thicken properly. |
| Fold Whipped Topping | 3 minutes | Gently fold to maintain airy texture. |
Mastering Your No Bake Eclair Cake Assembly
The secret to a stunning dessert lies in its layers and structure. Proper assembly ensures every bite is a perfect blend of creamy, crunchy, and indulgent flavors. With a few simple techniques, you can create a dessert that’s as beautiful as it is delicious.
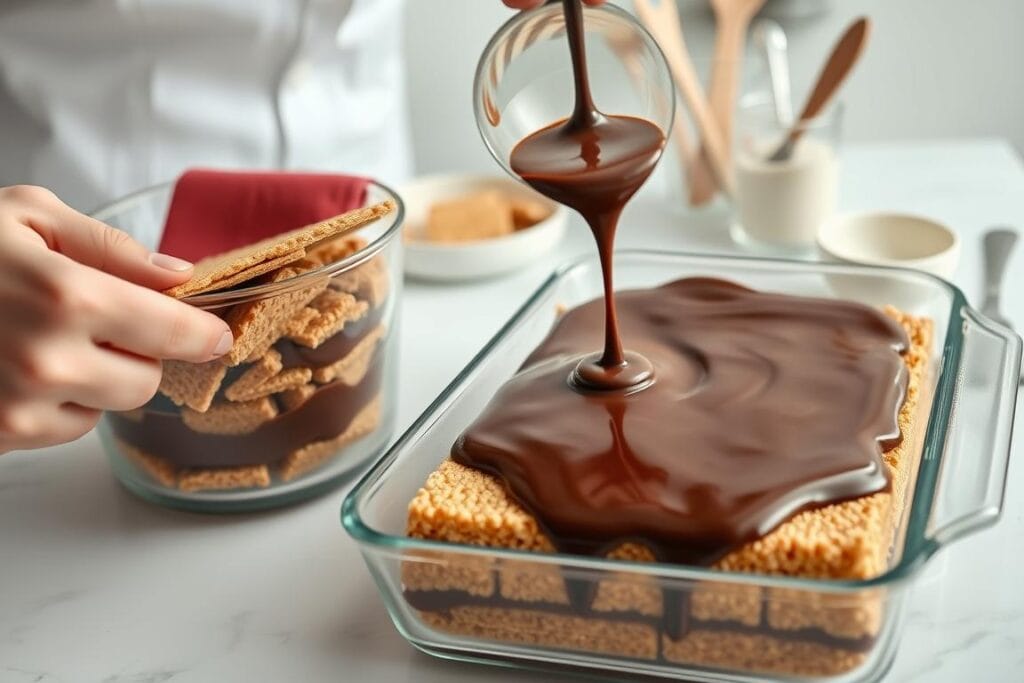
Layering Techniques with Graham Crackers
Start by placing a single layer of graham crackers at the bottom of a buttered 9×13 pan. This forms the base of your dessert. Next, spread a generous layer of pudding mix over the crackers. Repeat this process, alternating between crackers and pudding, until you’ve used all your ingredients.
For even moisture absorption, ensure each layer is evenly spread. Press down gently on the crackers to help them soak up the creamy filling. This technique ensures a balanced texture in every bite.
Secrets for a Perfect Structure
Maintaining a steady structure is key. Measure each layer carefully to avoid uneven distribution. Use a spatula to smooth the whipped topping and pudding for a polished finish. Let the dessert chill for at least four hours to set properly.
Here are a few tips to keep in mind:
- Use a ruler or measuring cup to ensure consistent layer thickness.
- Chill the dessert between layers if the filling feels too soft.
- Add a final layer of chocolate frosting for a decadent touch.
Alternative Assembly Methods
Feel free to experiment with different layering orders. For example, try adding fresh fruit or nuts between the graham crackers for added texture. You can also drizzle caramel or chocolate sauce between layers for extra richness.
Attention to detail during assembly ensures a dessert that’s both visually appealing and delicious. Whether you stick to the classic recipe or try a new variation, the process is just as important as the ingredients.
Creative Variations and Ingredient Substitutions
Transform your dessert game with creative twists and substitutions. This versatile recipe allows you to experiment with flavors, textures, and dietary adaptations. Whether you’re catering to specific needs or simply exploring new tastes, the possibilities are endless.

Flavor Twists and Fruity Additions
Swap out the vanilla pudding mix for cheesecake or lemon flavors to create a unique taste profile. These alternatives add a tangy or creamy dimension to your dessert. For a refreshing twist, layer in fresh fruits like bananas, blueberries, or strawberries. Their natural sweetness complements the creamy mixture perfectly.
Here are some ideas to inspire your creativity:
- Use chocolate or butterscotch pudding for a richer flavor.
- Add a layer of crushed pineapple or mango for a tropical vibe.
- Incorporate nuts or granola for added crunch.
Adapting the Recipe for Dietary Needs
This dessert can easily be tailored to meet various dietary preferences. For a vegan version, substitute dairy milk with almond or soy milk. Use gluten-free graham crackers to accommodate those with gluten sensitivities. You can also replace traditional whipped topping with coconut cream for a dairy-free option.
Here’s how to make it work:
- Opt for sugar-free pudding mix for a lower-calorie treat.
- Use plant-based milk and whipped cream for a vegan-friendly dessert.
- Choose gluten-free crackers to ensure everyone can enjoy it.
By experimenting with these substitutions, you can create a dessert recipe that’s both inclusive and delicious. The key is to maintain the balance of flavors and textures while adapting to your needs.
Chilling, Serving, and Storage Tips
The key to a flawless dessert lies in how you chill, serve, and store it. Proper techniques ensure your chocolate eclair cake maintains its texture and flavor, making it a standout treat for any occasion.
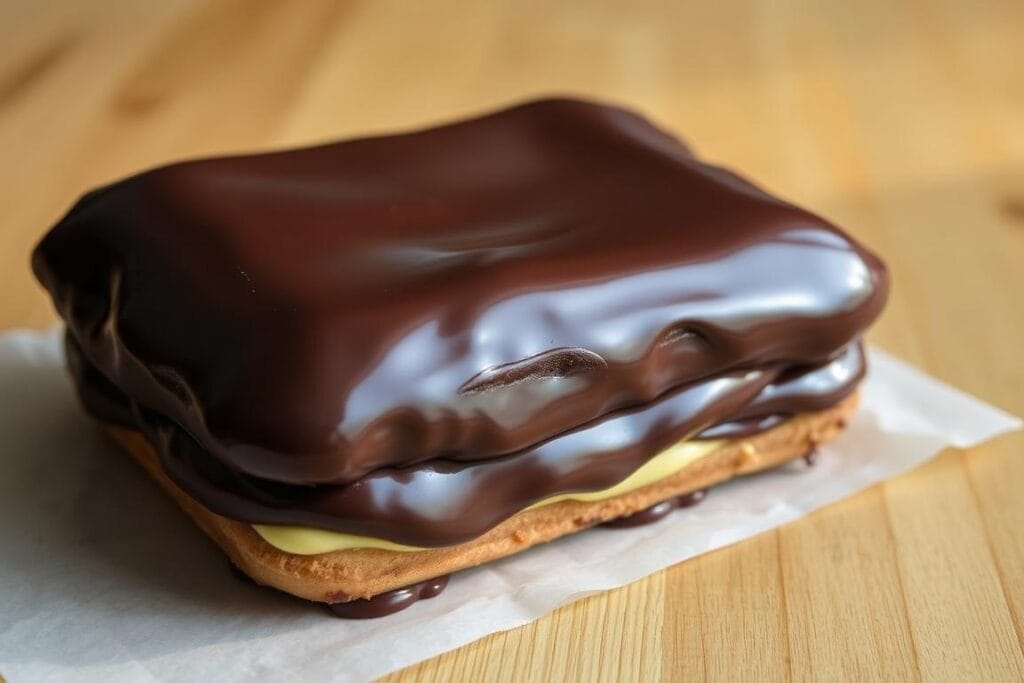
Optimal Chilling Process
Chilling is essential for the graham crackers to soften and the layers to meld together. Refrigerate your dessert for at least 8 hours, or ideally overnight. This allows the cream and pudding to set, creating a cohesive texture.
For clean slices, transfer the cake to the freezer for 10 minutes before cutting. This step ensures each piece looks as good as it tastes. Use a sharp knife and wipe it clean between cuts for the best results.
Serving Suggestions for Any Occasion
When it’s time to serve, cut the dessert into uniform slices. A 9×13 pan typically yields about 20 servings. For an elegant touch, drizzle extra chocolate frosting on top or add a dollop of whipped cream to each slice.
Pair your chocolate eclair cake with fresh berries or a dusting of powdered sugar for added flair. These small touches enhance the presentation and make it perfect for gatherings or casual treats.
Storage Tips for Freshness
Store leftovers in an airtight container in the refrigerator for up to 4 days. The flavors intensify over time, making it even more delicious the next day. If you need to freeze it, wrap the cake tightly in plastic wrap and aluminum foil. It can be frozen for up to 3 months.
To thaw, place the dessert in the refrigerator overnight. Avoid reheating, as it can alter the texture. Instead, serve it chilled for the best experience.
| Storage Method | Duration | Tips |
|---|---|---|
| Refrigerator | Up to 4 days | Use an airtight container to maintain freshness. |
| Freezer | Up to 3 months | Wrap tightly to prevent freezer burn. |
| Thawing | Overnight | Keep in the refrigerator for best results. |
Conclusion
This dessert brings together simplicity and indulgence in every bite. With layers of graham crackers, creamy pudding mixture, and rich frosting, it’s a treat that’s both easy to make and hard to resist. The best part? You don’t need an oven—just a refrigerator to let it set.
Feel free to experiment with flavors and toppings. Swap out cool whip for homemade whipped cream or add fresh fruit for a refreshing twist. The recipe’s versatility makes it perfect for any occasion, from casual gatherings to festive celebrations.
With minimal ingredients and simple techniques, you can create a dessert that feels gourmet. Whether you stick to the classic version or try a new variation, this cake recipe is sure to impress. Enjoy the process and savor every bite!
FAQ
Can I use homemade whipped cream instead of Cool Whip?
Yes, you can substitute Cool Whip with homemade whipped cream. Just ensure it’s well-chilled and stable for layering.
How long does this dessert need to chill before serving?
It’s best to chill the dessert for at least 4 hours, or overnight, to allow the graham crackers to soften and the flavors to meld.
Can I use sugar-free pudding mix for this recipe?
Absolutely! Sugar-free pudding mix works well if you’re looking to reduce the sugar content without compromising flavor.
What’s the best way to store leftovers?
Store leftovers in an airtight container in the refrigerator. It stays fresh for up to 3 days.
Can I add fruit to this dessert?
Yes, adding fresh fruit like strawberries or bananas between layers can enhance the flavor and add a refreshing twist.
Is it possible to make this recipe gluten-free?
Yes, simply use gluten-free graham crackers or a similar alternative to accommodate dietary needs.
Can I use dark chocolate frosting instead of regular chocolate frosting?
Definitely! Dark chocolate frosting adds a rich, intense flavor that pairs wonderfully with the creamy layers.
How can I make this dessert more festive for special occasions?
Add sprinkles, chocolate shavings, or edible glitter on top for a celebratory touch.

Easy No-Bake Eclair Cake Recipe
- Total Time: 8 hours 15 minutes (including chilling time)
- Yield: 20 servings 1x
Description
This no-bake eclair cake is a simple, crowd-pleasing dessert that layers graham crackers, vanilla pudding, whipped topping, and rich chocolate frosting. Perfect for busy days, potlucks, or family gatherings, it’s a nostalgic, no-fuss treat that chills to creamy perfection in the fridge—no oven required.
Ingredients
2 (3.4 oz) packages instant vanilla pudding mix
3 cups whole milk
1 container (8 oz) frozen whipped topping, thawed
3 sleeves of graham crackers
1 cup semi-sweet chocolate chips
1/2 cup heavy cream
Instructions
In a large bowl, whisk together the pudding mix and milk for about 2 minutes until smooth and slightly thickened. Let sit for 5 minutes.
Gently fold the whipped topping into the pudding mixture until fully combined and fluffy.
In a 9×13-inch pan, lay a single layer of graham crackers across the bottom.
Spread half of the pudding mixture over the graham crackers.
Add another layer of graham crackers, then spread the remaining pudding mixture over it.
Top with a final layer of graham crackers.
In a microwave-safe bowl, combine chocolate chips and heavy cream. Microwave in 30-second intervals, stirring until smooth.
Pour the chocolate mixture evenly over the top layer of graham crackers.
Cover and refrigerate for at least 8 hours (preferably overnight) before serving.
Notes
For a more decadent touch, use cheesecake or chocolate pudding.
Fresh strawberries or sliced bananas can be layered in for extra flavor.
Substitute Cool Whip with homemade whipped cream if preferred.
For gluten-free: use gluten-free graham crackers.
- Prep Time: 15 minutes
- Cook Time: 0 minutes
- Category: Dessert
- Method: No-Bake
- Cuisine: American
What Are Our Readers Saying?
There are no reviews yet. Be the first one to write one.

