Delicious Jello Candy Melts: Easy Homemade Treats
Imagine enjoying sweet treats that are tasty and fun to make. You’re about to learn how to make homemade jello candy melts for any event.
Making jello candy melts at home is simple. You need just a few things like flavored and unflavored gelatin. You can even add alcohol for a grown-up twist. This way, you can make many dessert making projects that will wow everyone.
If you want to have fun with friends or make a special dessert for your next party, this guide is for you. It will show you how to make jello candy melts. You’ll learn how to mix the ingredients, pour them into molds, and enjoy your own sweet treats.
Key Takeaways
- Learn the basic ingredients needed for making jello candy melts.
- Understand the simple preparation method.
- Discover how to add a twist to your jello candy melts with alcohol.
- Explore presentation ideas for your homemade treats.
- Get tips on making your dessert making process fun and creative.
Understanding Jello Candy Melts
You need to know what Jello candy melts are to make tasty desserts with them. These melts are dessert ingredients that melt and mold into shapes and flavors. They are great for many dessert ideas.
What Are Jello Candy Melts?
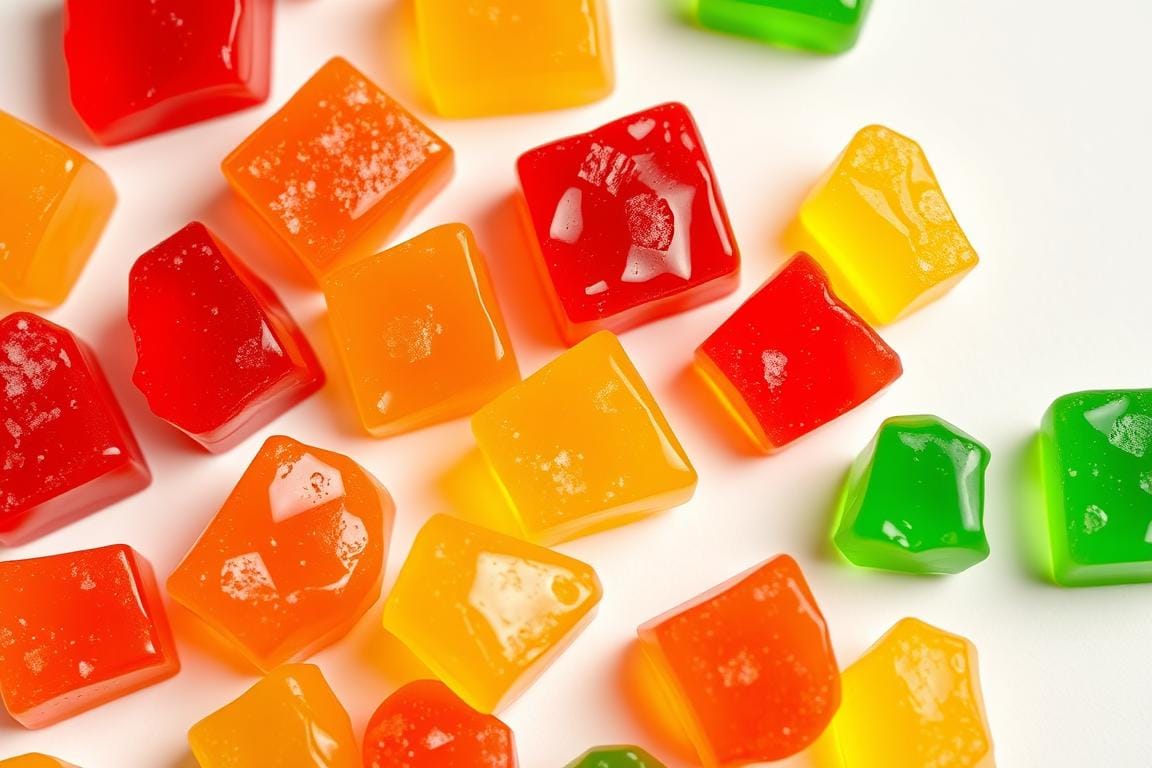
Jello candy melts are firm candies made from gelatin, water, and sometimes alcohol, flavored to taste. They are made by dissolving gelatin in hot water, then adding flavorings and alcohol for a boozy version. The mix is poured into molds to cool and set.
Different Types Available
There are many Jello candy melts, including candy coating and chocolate melts. Some are for decoration, like decorative confections. Knowing these types helps you pick the right one for your desserts.
Key Ingredients and Composition
The main ingredients in Jello candy melts are gelatin, water, flavorings, and sometimes alcohol. The mix can change depending on the type and brand, but they are all made to melt and mold easily.
| Type | Main Ingredients | Uses |
|---|---|---|
| Standard Jello Candy Melts | Gelatin, Water, Flavorings | General Desserts |
| Candy Coating Jello Melts | Gelatin, Water, Sugar, Flavorings | Dipping Fruits, Nuts |
| Chocolate Melts | Cocoa, Sugar, Gelatin, Water | Chocolate Desserts, Molds |
Essential Tools and Equipment for Working with Candy Melts
Before starting with Jello candy melts, you need the right supplies. The right tools make the process easier and faster.
Must-Have Tools
- Silicone candy molds: These are key for easy candy removal.
- A whisk: Great for mixing the candy melts well.
- A spatula: Perfect for pouring the mix into molds.
- A baking sheet: Keeps molds steady in the fridge.
Adding creativity to your candies? Use confectionery supplies like edible glitter or colored sugar. They make your candies look amazing and let you match them to any event.
Tips for Using Your Tools Effectively
- Make sure your molds are clean and dry to avoid sticking.
- Pour the candy melt mix gently to avoid air bubbles.
- Try different decorations to find the best look for your candies.
With the right tools and supplies, you’ll make stunning Jello candy melts. They’ll surely wow everyone.
Preparing Your Workspace for Success
Before starting with Jello candy melts, make sure your workspace is set up right. A tidy workspace boosts your efficiency and helps your sweet treats look great.
Temperature Considerations
Temperature is key when preparing your workspace. The best temperature for candy melts is between 70°F to 75°F (21°C to 24°C). This keeps the melts at the right consistency for melting wafers.
As Confectionery Expert says, “Temperature control is vital in candy making. Even small variations can significantly impact the final product.”
Workspace Organization
A clean and organized workspace is essential for candy making. Make sure all your tools, like molds, spatulas, and melting pots, are easy to find. This setup helps you work efficiently and prevents accidents.
- Keep your melting area clean and dust-free.
- Have a designated space for your molds and tools.
- Ensure good lighting to inspect your candies properly.
Safety Measures
When working with hot melts and sharp objects, safety comes first. Wear protective gloves to avoid burns, and work on a stable, heat-resistant surface. It’s smart to have a bowl of cold water nearby to cool down any overheated melts.
“Safety is not just a precaution; it’s a necessity when working with materials that can cause burns or other injuries.”
By focusing on temperature, organizing your space, and following safety rules, you’re ready to make beautiful Jello candy melts. Your workspace is now ready for melting your wafers to perfection.
The Perfect Melting Technique
Mastering the melting technique is key for making Jello candy melts that taste great and look good. You need to know how to dissolve gelatin in hot water and then cool it down to the right temperature.
Start by dissolving gelatin in hot water. Make sure the water isn’t too hot, as it can harm the gelatin. After dissolving, cool the mix to a warm but not hot temperature. This step is important to stop bacteria growth and help your candies set right.
Temperature control is very important here. You want a temperature that’s perfect for adding flavorings or alcohol without messing up the texture of your Jello candy melts. The right melting method is key for the texture and consistency of your dessert, making it essential for dessert making and candy coating.
| Step | Temperature | Action |
|---|---|---|
| 1 | Hot Water | Dissolve Gelatin |
| 2 | Warm (not hot) | Add Flavorings/Alcohol |
| 3 | Cooled | Pour into Molds |
To see how it’s done, here’s an example of Jello candy melts being prepared:
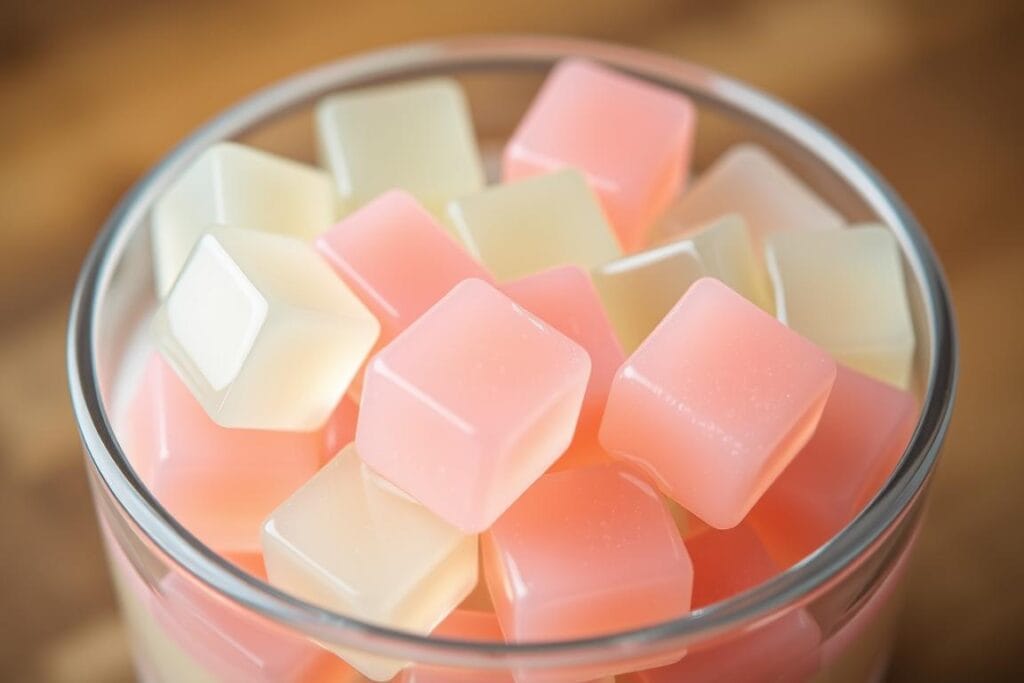
By using the perfect melting technique, you can make sure your Jello candy melts are firm, tasty, and look great. This method is basic for making desserts and candies, letting you create many delicious treats.
Color and Flavor Variations
The world of Jello candy melts is full of possibilities. You can choose colors and flavors for any occasion. This lets you make your candies unique and personalized.
Available Color Options
You have many color options for your Jello candy melts. You can pick from vibrant hues to soft pastels. You can use natural food dyes or artificial coloring, based on what you like.
Natural dyes come from fruits, veggies, and other natural sources. They are a healthier choice.
Natural vs. Artificial Flavoring
For flavoring, you can choose natural or artificial options. Natural flavorings give a real taste. Artificial flavorings offer more choices.
Using confectionery supplies like flavor extracts can make your Jello candy melts taste even better.
Creating Custom Colors
To make custom colors, mix different food dyes. This lets you get the exact shade you want. For example, mixing red and blue dye makes a beautiful purple.
You can also add edible glitter or colored sugar from your confectionery supplies. This gives your candies an extra sparkle.
Here are some ideas to decorate your Jello candy melts:
- Use edible glitter for a sparkling effect.
- Try colored sugar for a textured look.
- Layer different colors for a marbled effect.
Creative Applications and Decorative Uses
Jello candy melts open up a world of creativity for decorating desserts. They let you add a personal touch to cakes, cupcakes, and more. You can make beautiful designs with them.
One easy way to decorate with Jello candy melts is to melt them. Then, use the melted mix to stick candies or make patterns on your desserts. Melting wafers work great for this because they stick well.
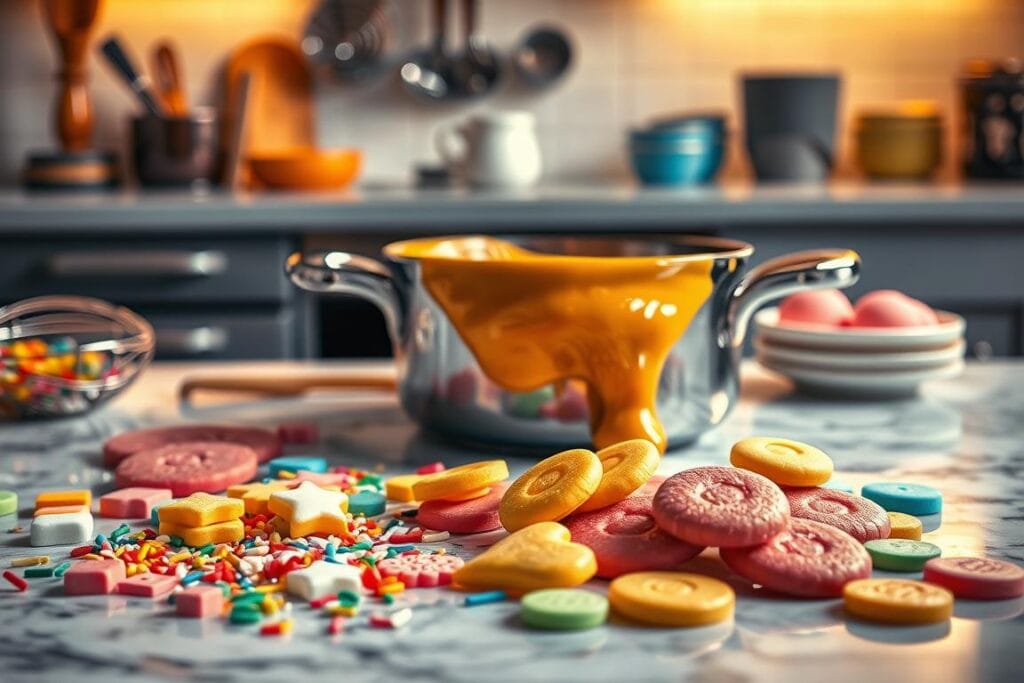
The world of baking decorations is full of endless possibilities. You can shape Jello candy melts into various forms and colors. This is perfect for any theme or special event.
Here’s a quick guide to get you started with using Jello candy melts for decorative purposes:
| Decoration Idea | Materials Needed | Tips |
|---|---|---|
| Cake Toppers | Jello candy melts, melting wafers, cake | Use melting wafers to attach the candy melts to the cake. |
| Cupcake Decorations | Jello candy melts, melting wafers, cupcakes | Experiment with different colors and shapes. |
| Dessert Coatings | Jello candy melts, melting pot | Ensure the melts are fully melted for a smooth coat. |
Adding Jello candy melts to your baking can make your desserts look professional. It’s a great way to make them stand out. Whether you’re experienced or just starting, the possibilities are endless and exciting.
Troubleshooting Common Issues
To get perfect candy coating and chocolate melts, you need to fix common problems. Making Jello candy melts is fun but can be tricky.
One big issue is seizing, where the mix gets too thick and grainy. To avoid this, make sure the gelatin dissolves fully. Also, cool the mix well before melting it. If seizing happens, stop and heat it gently until it’s smooth again.
Preventing Seizing
To stop seizing, control the temperature and mix well. Heat the mix gently and don’t overheat. This keeps the gelatin from breaking down.
Fixing Thickness Problems
For thickness issues, adjust the water or gelatin. If it’s too thick, add a bit of water. If it’s too thin, add more gelatin. Find the right balance for your candy coating.
Addressing Color Issues
Color problems can be tricky, but the right dye helps a lot. Mix the dye well for even color. For multiple colors, swirl them gently for a marbled look.
Knowing how to fix these common issues helps your Jello candy melts turn out great. You’ll get a smooth chocolate melts coating and vibrant colors.
Storage and Shelf Life Tips
Keeping your Jello candy melts fresh is key. Store them in an airtight container in the fridge. This helps them stay fresh longer.
Direct sunlight and heat can ruin your candy melts. They might melt or lose their color. So, keep them away from these sources to keep them looking and tasting great.
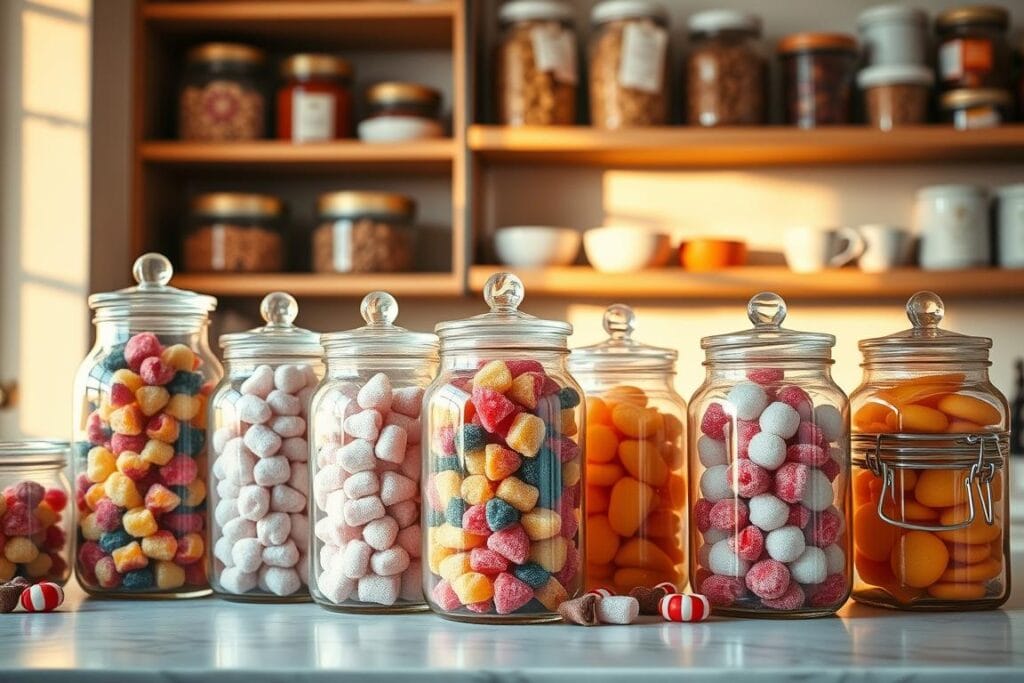
If you love making desserts, a sound storage system is a must. It helps you keep track of how fresh your treats are. This keeps your Jello candy melts in top shape and your workspace tidy.
You can enjoy your Jello candy melts for days by storing them correctly. They’ll stay tasty and have the right texture. Good storage is a simple trick to make your desserts last longer.
Advanced Techniques for Professional Results
Try out some advanced techniques to make your Jello candy melts look like a pro’s work. These methods can make your candies look amazing and unique.
One cool technique is creating marbling effects. Mix different colors of Jello candy melts to get a swirly pattern. Melt each color separately and then swirl them together before they harden.
Marbling Effects
Marbling is a simple yet cool way to make your Jello candies stand out. Start by getting your Jello candy melts in different colors. Melt them, then mix them in one container with a spatula or spoon. Mix enough to get a marbled look without blending the colors too much.
Layering Methods
Layering is about stacking different colors or flavors of Jello candy melts to create stripes or multicolored candies. Pour a layer of melted candy into a mold, let it set, and then add more layers. This takes patience, as each layer must set before adding the next.
Creating Shells and Molds
With confectionery supplies, you can make cool designs and shapes with your Jello candy melts. Silicone molds are great for making detailed candies. Adding baking decorations can make your candies even more special, perfect for special occasions or as gifts.
Learning these advanced techniques will help you make Jello candies that look like a pro made them. Whether for a special event or fun, these methods will give you amazing and unique candies.
Pairing Jello Candy Melts with Other Desserts
Mixing Jello candy melts with other sweet treats can elevate your dessert-making. These melts are super versatile and can spice up your desserts in many ways. They’re perfect for cakes, cupcakes, or ice cream, adding a special touch.
One easy way to use Jello candy melts is as a topping for ice cream or cakes. Just melt them, pour over your dessert, and let it set. This makes a tasty glaze that boosts your dessert’s flavor and texture.
These melts can also be added to brownies or cookies for a fun surprise. For instance, you can melt them, mix them into brownie batter, or use them as a filling in cookie sandwiches.
Here’s a table showing some popular desserts that pair well with Jello candy melts:
| Dessert | Jello Candy Melts Pairing Idea |
|---|---|
| Ice Cream | Use melted Jello candy melts as a topping or mix-in for unique flavors. |
| Cakes and Cupcakes | Drizzle melted Jello candy melts over the top for a colorful glaze. |
| Brownies and Cookies | Mix melted Jello candy melts into the batter for a surprise inside. |
Exploring different pairings can lead to new favorite sweet treats and elevate your dessert-making. Whether for a special event or fun, Jello candy melts are a fantastic addition to any dessert project.
Seasonal and Holiday-Themed Projects
You can easily customize your Jello candy melts to match the colors and themes of various holidays, making them a great addition to your seasonal celebrations.
Using decorative confections and confectionery supplies, you can create Jello candy melts that perfectly complement the festive atmosphere of different times of the year. For instance, during Christmas, you can make red and green candies, and Easter might call for pastel-colored treats.
Holiday Color Combinations
Choosing the right colors is key for creating holiday-themed Jello candy melts. Here are some popular color combinations for different holidays:
| Holiday | Color Combinations |
|---|---|
| Christmas | Red, Green, Gold, White |
| Easter | Pastel Pink, Blue, Yellow, White |
| Halloween | Orange, Black, Purple |
| Valentine’s Day | Red, Pink, White |
Special Occasion Ideas
Beyond the major holidays, you can also create Jello candy melts for other special occasions, including birthdays, weddings, and baby showers. The key is to match the colors and themes to the event.
You might choose colors that match the wedding party’s palette for a wedding. A baby shower might call for soft pastel shades.
By incorporating seasonal themes and colors into your Jello candy melts, you can create unique and festive treats that are sure to impress your guests. The possibilities are endless, whether you’re making them for a holiday party or a special occasion.
Health and Dietary Considerations
With a few simple adjustments, you can enjoy Jello candy melts while catering to various dietary needs. Making these sweet treats more inclusive involves considering alternatives to traditional ingredients.
Choosing the right gelatin is key. Traditional gelatin comes from animals, which is not vegan. But vegan gelatin alternatives like agar, carrageenan, or pectin are available. These options let everyone enjoy Jello candy melts, no matter their diet.
Also, think about the sweetener. Sugar is common, but natural sweeteners like honey, maple syrup, or stevia can be used instead. Each sweetener has its taste, so you might need to try a few to find the right one.
For those with dietary restrictions, consider the other ingredients too. Using dairy-free chocolate and avoiding common allergens like nuts or soy can make your treats more inclusive.
| Dietary Consideration | Traditional Ingredient | Alternative Ingredient |
|---|---|---|
| Vegan | Animal-derived gelatin | Plant-based gelatin alternatives (agar, carrageenan, pectin) |
| Low Sugar | Sugar | Natural sweeteners (honey, maple syrup, stevia) |
| Dairy-Free | Milk chocolate | Dairy-free chocolate alternatives |
By paying attention to these dietary considerations, you can make Jello candy melts that are tasty and inclusive. This way, everyone can enjoy these sweet treats.
Conclusion
You can make unique and tasty treats with Jello candy melts. Just follow the proper steps and use good ingredients. Try different flavors and decorations to make your candy special for any event.
Jello candy melts open up a world of possibilities for desserts. They’re great for any event, whether you’re an expert baker or just starting. You can create amazing effects like marbling and layering.
Adding jello candy melts to your baking can take your desserts to the next level. They’re sure to wow anyone. So, get creative and start making your jello candy melts today. Explore all the candy coating and chocolate melts options out there.
FAQ
What are Jello candy melts made of?
Jello candy melts start with gelatin mixed with hot water. This dissolves the gelatin. Then, flavorings and sometimes alcohol are added for a boozy twist. The mix is poured into molds to cool and set.
How do I prevent my Jello candy melts from seizing?
To avoid seizing, make sure the gelatin is fully dissolved. Also, cool the mixture properly. This keeps the texture smooth and prevents it from becoming too thick and grainy.
Can I customize the color and flavor of my Jello candy melts?
Yes, you can change the color and flavor of your Jello candy melts. Use food dyes and flavorings to do this. Natural options can offer a healthier choice compared to artificial ones.
How do I store Jello candy melts to maintain their freshness?
Keep Jello candy melts fresh by storing them in an airtight container in the fridge. They’ll stay good for several days. Just remember to keep them away from sunlight and heat to prevent melting or discoloration.
Can I use Jello candy melts in baking and decorating?
Yes, Jello candy melts are great for baking and decorating. You can mold them into shapes and colors for any theme. They’re perfect for decorating cakes, cupcakes, and more.
Are there any dietary restrictions I should consider when making Jello candy melts?
Yes, you can make Jello candy melts that fit various diets. Use natural sweeteners instead of sugar or vegan gelatin alternatives. This makes them more accessible for different dietary needs.
How can I achieve a marbling effect in my Jello candy melts?
For a marbling effect, mix different colors together. You can layer them or mix before pouring into molds. This creates a swirly pattern.
Can I use melting wafers to attach Jello candy melts to baked goods?
Yes, melting wafers work well to attach Jello candy melts. Melt them and use as a “glue” to secure the candies on baked goods or for detailed designs.
Delicious Jello Candy Melts: Easy Homemade Treats
- Total Time: 2 hours 15 minutes (including chilling time)
- Yield: About 30 small candies (varies with mold size) 1x
Description
These delicious jello candy melts are easy-to-make, colorful gelatin-based candies perfect for any occasion. With endless customization options in color, flavor, and even alcohol infusions, they’re a fun, eye-catching treat great for parties, baking decorations, or gifting.
Ingredients
1 box flavored Jello (3 oz)
2 packets unflavored gelatin (0.5 oz total)
1 cup hot water (not boiling)
Optional: 2–3 tablespoons alcohol (vodka or rum, for adult version)
Optional: food coloring or edible glitter
Optional: natural sweeteners (honey, stevia, or maple syrup for sugar-free option)
Instructions
In a mixing bowl, combine the flavored Jello and unflavored gelatin.
Add hot (not boiling) water and whisk until completely dissolved.
If using alcohol or flavor extracts, stir them once the mixture is warm, not hot.
Pour the mixture into clean, dry silicone molds.
Chill in the refrigerator for at least 2–3 hours until fully set.
Gently remove candies from molds. Decorate with edible glitter or colored sugar if desired.
Store in an airtight container in the refrigerator for up to 5 days.
Notes
For vegan-friendly versions, substitute animal gelatin with agar-agar or carrageenan.
To avoid seizing, always cool the mixture slightly before adding alcohol or extracts.
Great for customizing to holiday themes using color combinations and molds.
For marbled effects, melt and swirl two colors lightly before pouring into molds.
Layering requires letting each layer set before adding the next.
- Prep Time: 10 minutes
- Cook Time: 5 minutes (for dissolving gelatin)
- Category: Candy
- Method: No-Bake / Chilling
- Cuisine: American
What Are Our Readers Saying?
There are no reviews yet. Be the first one to write one.

