Colorful Layer Cake with Six Bright Celebration Layers

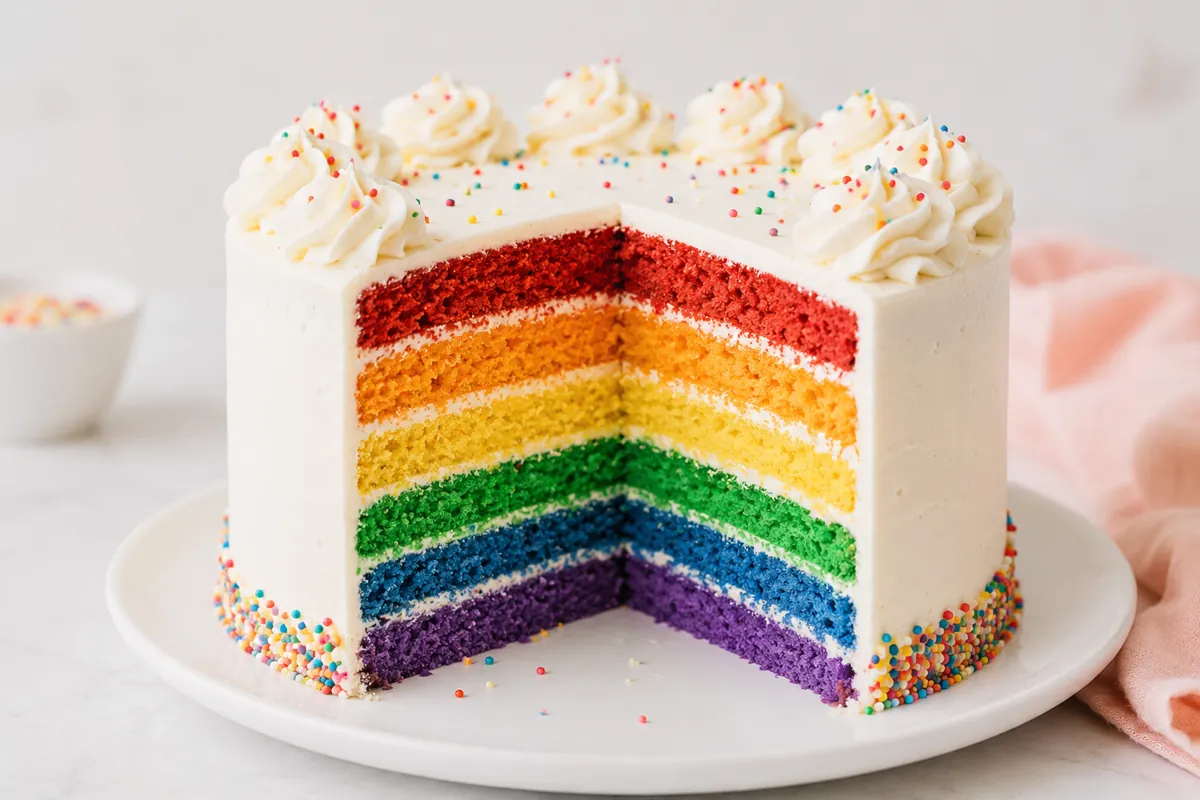
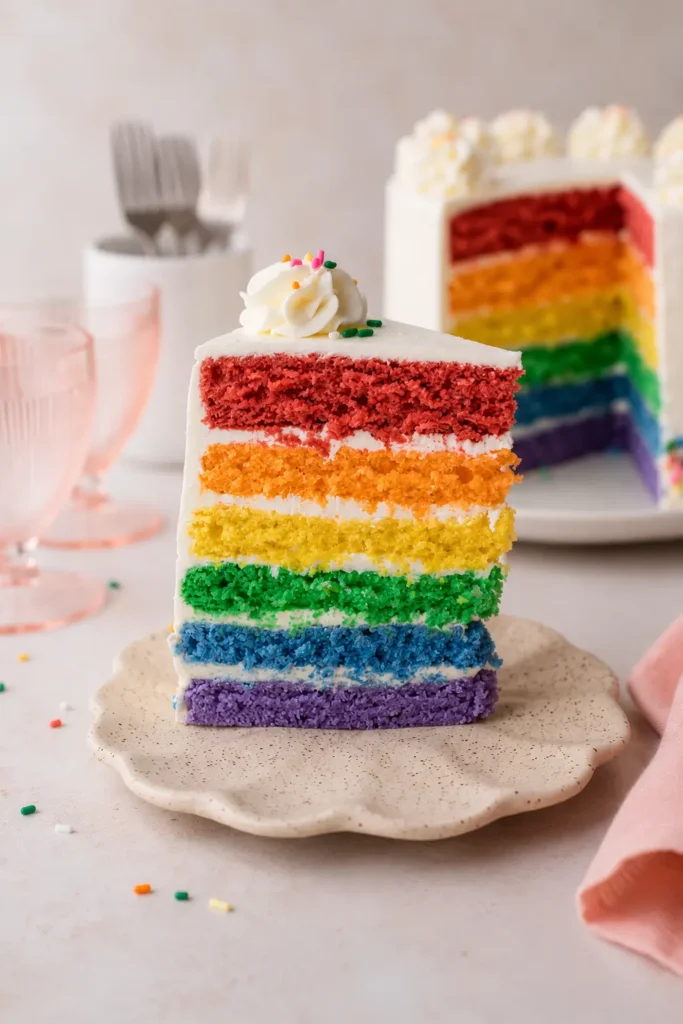
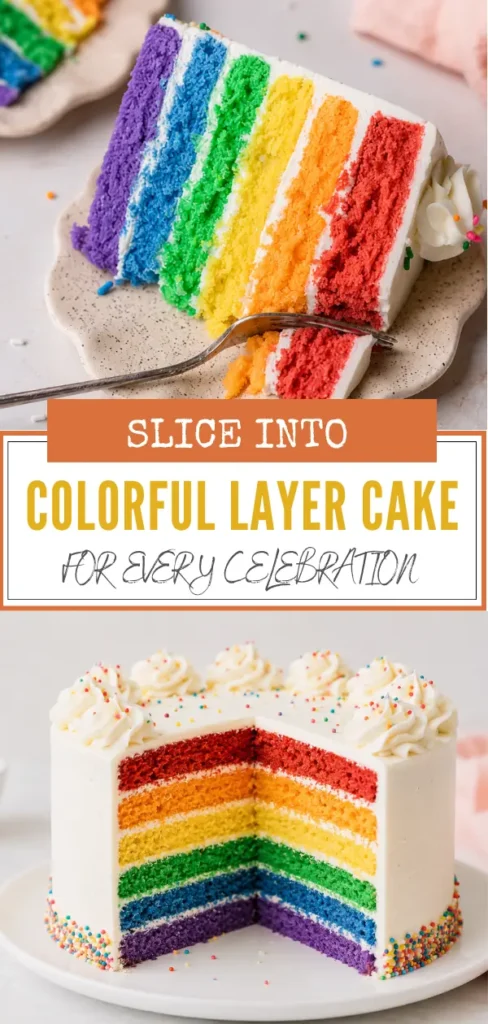
A slice of this colorful layer cake looks simple from the outside, then opens into six bold vanilla layers. The soft crumb, thin buttercream filling, and clean rainbow colors make it a good choice for birthdays and family celebrations.
The process takes some planning, though none of the steps are difficult on their own. Divide the work into mixing, coloring, baking, and stacking, and the cake becomes much easier to manage.
Building a Soft Colorful Layer Cake Batter
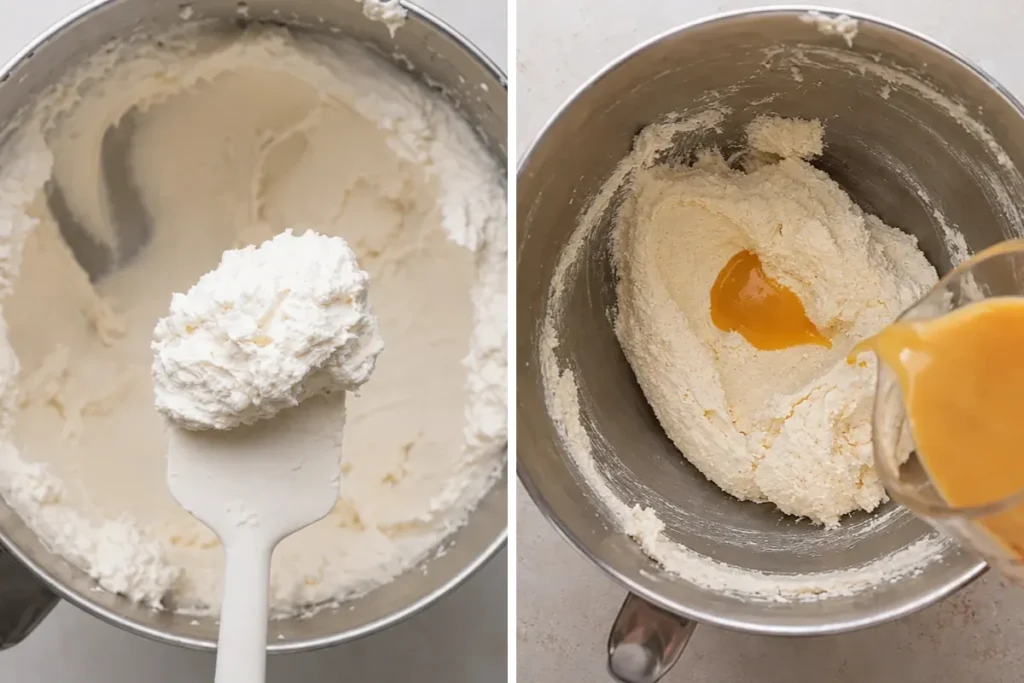
The texture starts with room-temperature butter and sugar. Beat them together on medium speed for 9 to 10 minutes, longer than you might expect. The mixture should look noticeably paler and fluffy before the eggs go in. That trapped air helps the layers rise with a finer, lighter crumb.
Whisk the 4 eggs, 2 egg whites, and vanilla in a separate bowl with a spout. Add this mixture slowly while the mixer runs on low. Pouring too quickly can make the butter mixture look curdled. It may still come together later, but a slow stream gives you a smoother batter from the start.
Once the eggs are incorporated, alternate the flour mixture with the 1½ cups of buttermilk. Begin with one-third of the dry ingredients, add half the buttermilk, and repeat, finishing with the remaining flour. Keep the mixer on low. High speed at this stage can overwork the flour and leave the baked layers firmer than you want.
Scrape the bottom of the bowl well. A pocket of unmixed butter or flour can hide underneath the paddle, especially in a large batch like this one.
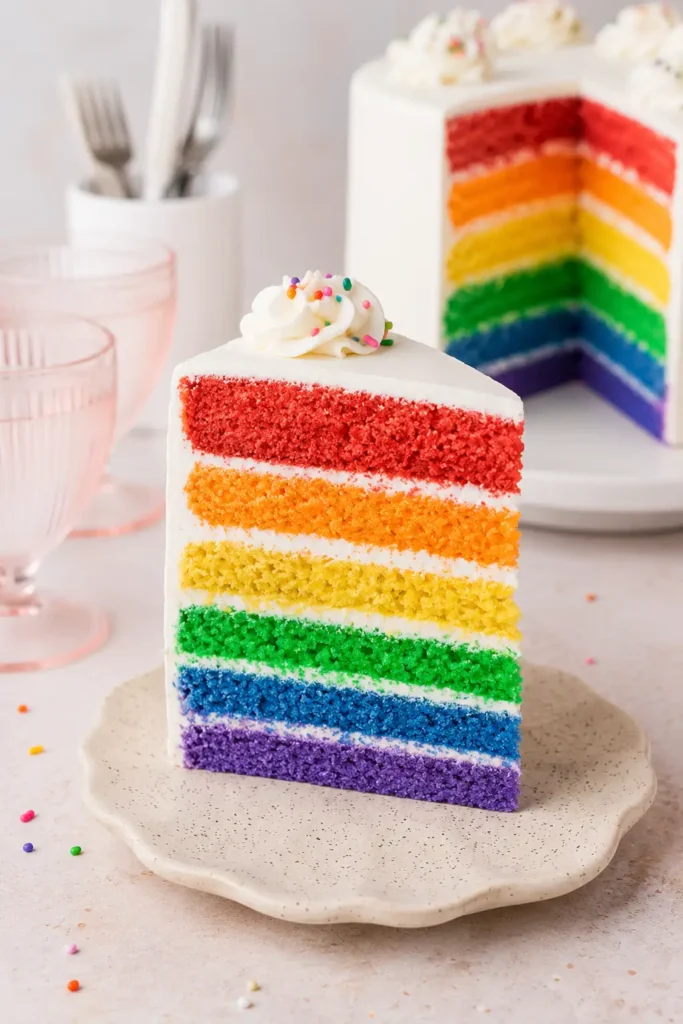
Choosing Gel Colors for Bright, Defined Layers
Concentrated gel food coloring gives the cake strong color without thinning the batter. Liquid coloring can add more moisture than expected, especially when you need vivid shades across six separate bowls.
Divide the batter into six equal portions, about 1½ cups or 280 grams per bowl. A kitchen scale makes this faster and gives you layers that bake at nearly the same height.
Color one bowl each red, orange, yellow, green, blue, and purple. Stir gently with a spoon just until the color is even. Don’t keep mixing once the streaks disappear. Too much stirring can reduce some of the air you worked into the batter earlier.
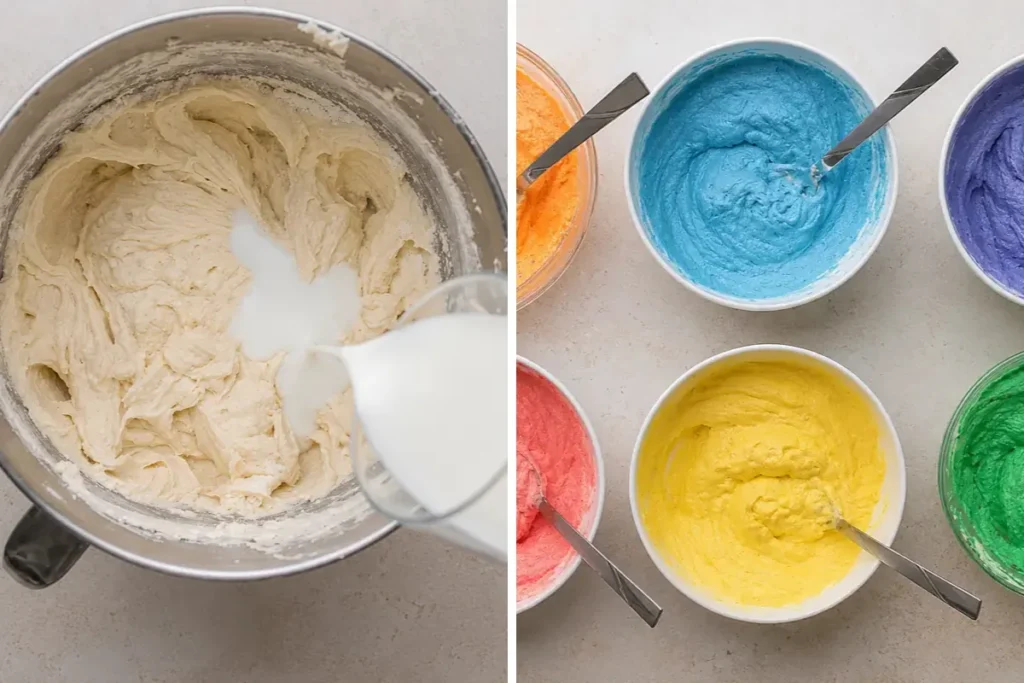
The raw shades may look slightly brighter than necessary. That’s fine. Cake colors often soften a little during baking.
Dividing the Batter into Even Cake Layers
Prepare six 8-inch cake pans by lightly buttering the bottoms and adding parchment rounds. The parchment matters here because these layers are thin and can tear more easily than a single deep cake.
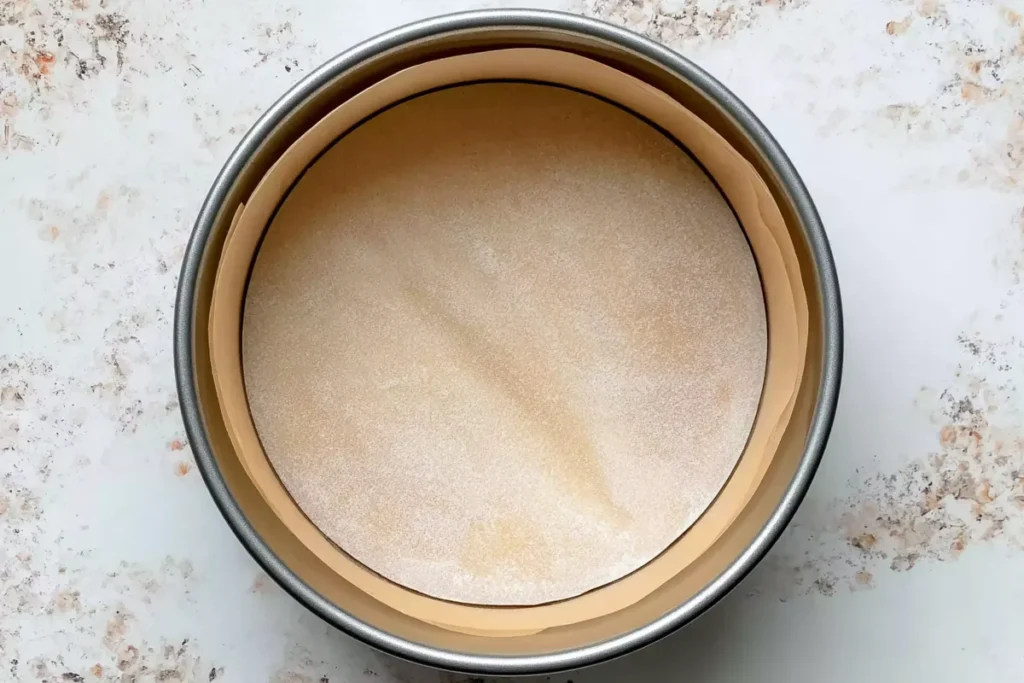
Pour each colored batter into its own pan. Use a small offset spatula to push the batter toward the edges and level the surface. Try not to pile more batter in the center. A level layer going into the oven usually needs less trimming when it is time to stack.
When only a few pans are available, bake the cake in rounds. The unbaked bowls of batter can stay uncovered on the counter while the first batch cooks. Give each waiting bowl one gentle stir before transferring it to a prepared pan.
Equal portions make the final cake look cleaner. More importantly, they help all six layers finish baking at about the same time.
Baking and Cooling Six Colorful Cake Rounds
Bake the layers at 350°F for about 17 minutes, with three pans in the oven at a time when space allows. Place them on the same rack and leave a little room between the pans so hot air can move around them.
The cakes are ready when the tops spring back after a light touch and the edges begin to pull away from the pans. Don’t wait for the tops to turn deeply golden. These are thin layers, and a few extra minutes can dry them out.
Let each pan rest on a wire rack for 5 minutes. Then turn the cakes out and peel away the parchment. Set the layers directly on the rack until completely cool.
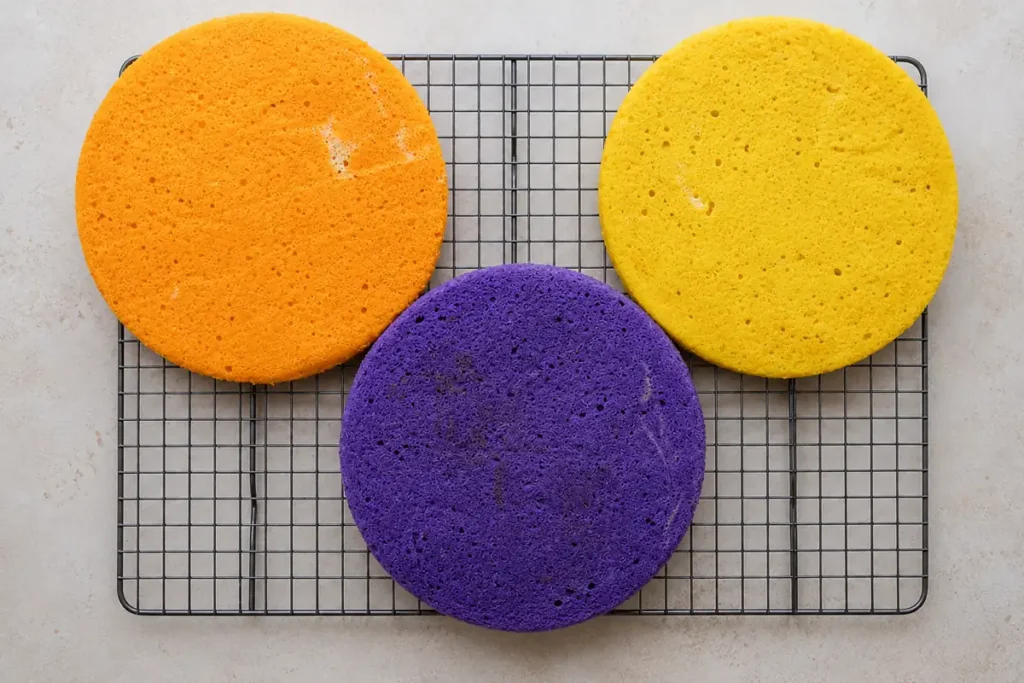
Warm cake and buttercream don’t get along. Even slight warmth can soften the frosting and make the stack slide. I prefer to give the layers more cooling time than they seem to need. It saves trouble later.
Repeat the same process until all six colors are baked. Keep the cooled layers flat and separated so they don’t stick together or bend before assembly.
Making Light Vanilla Buttercream
Start with 2½ cups of room-temperature unsalted butter. Beat it on medium speed for about 2 minutes, until smooth and creamy. Butter that is still cold can leave small lumps in the frosting, while overly soft butter may make it loose and difficult to spread.
Add the 5 cups of powdered sugar with the mixer on low. This keeps the sugar in the bowl instead of covering the counter. Once it is mostly incorporated, raise the speed to medium-high and beat for 3 to 4 minutes. The buttercream should become paler, lighter, and noticeably fluffier.
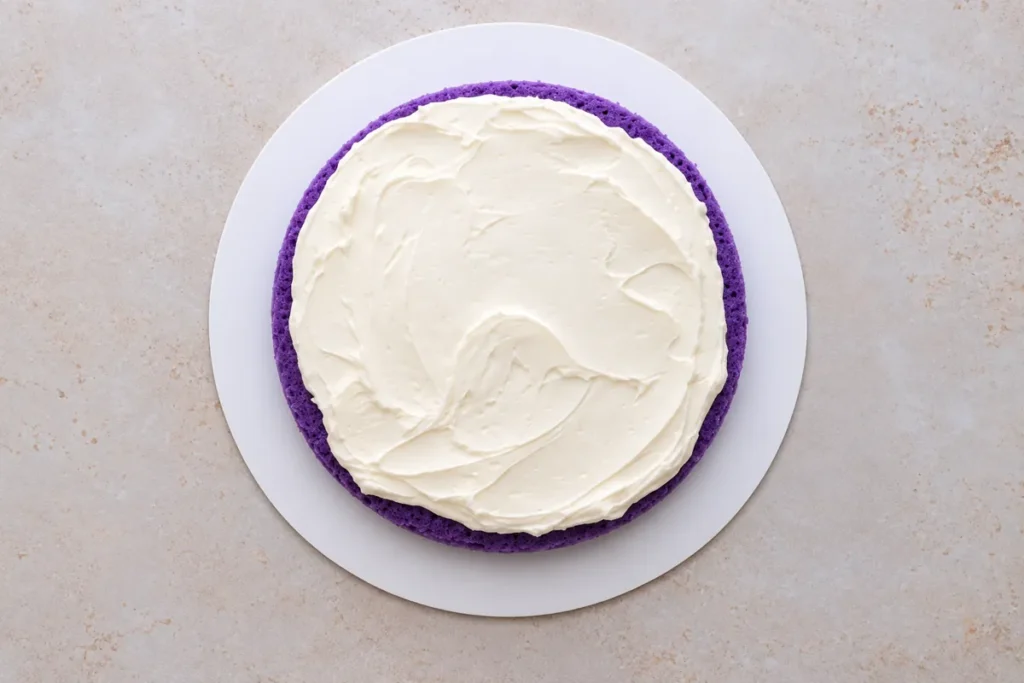
Pour in 2 tablespoons of milk and 2 teaspoons of vanilla, then mix on low before increasing to medium for about 30 seconds. Check the texture with a spatula. It should spread without dragging across the cake, yet still hold a soft ridge.
If the frosting feels stiff, add milk a teaspoon at a time. If it seems too loose, chill it briefly rather than adding a large amount of extra sugar.
Stacking, Crumb-Coating, and Decorating the Cake
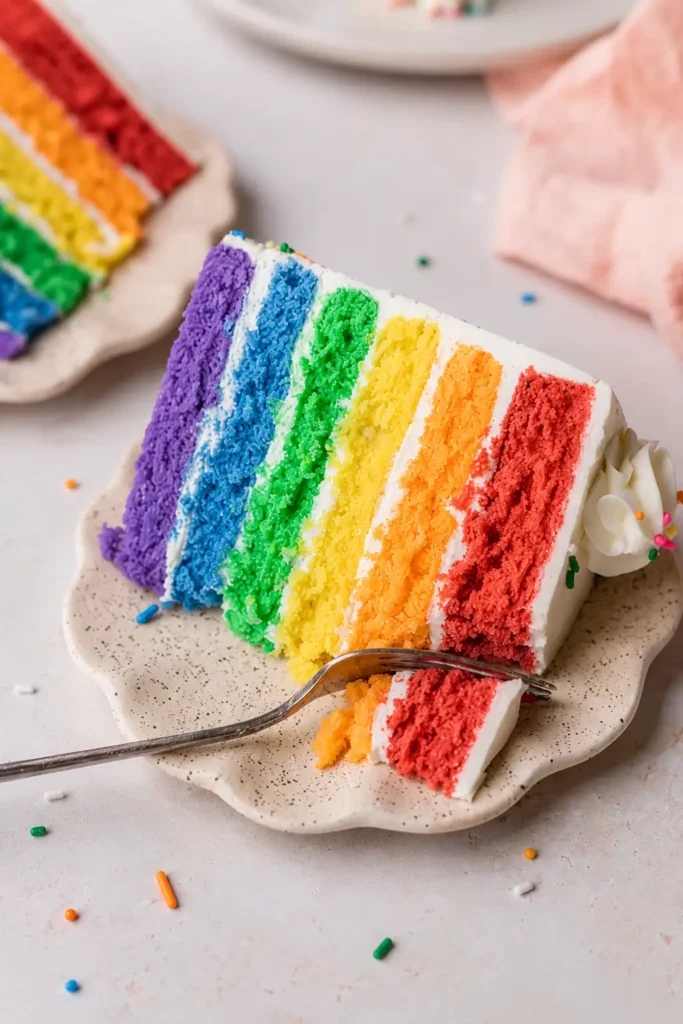
Place the purple layer right side up on a cake board or large flat plate. Spread about ½ cup of buttercream across the top, taking it close to the edge in an even layer.
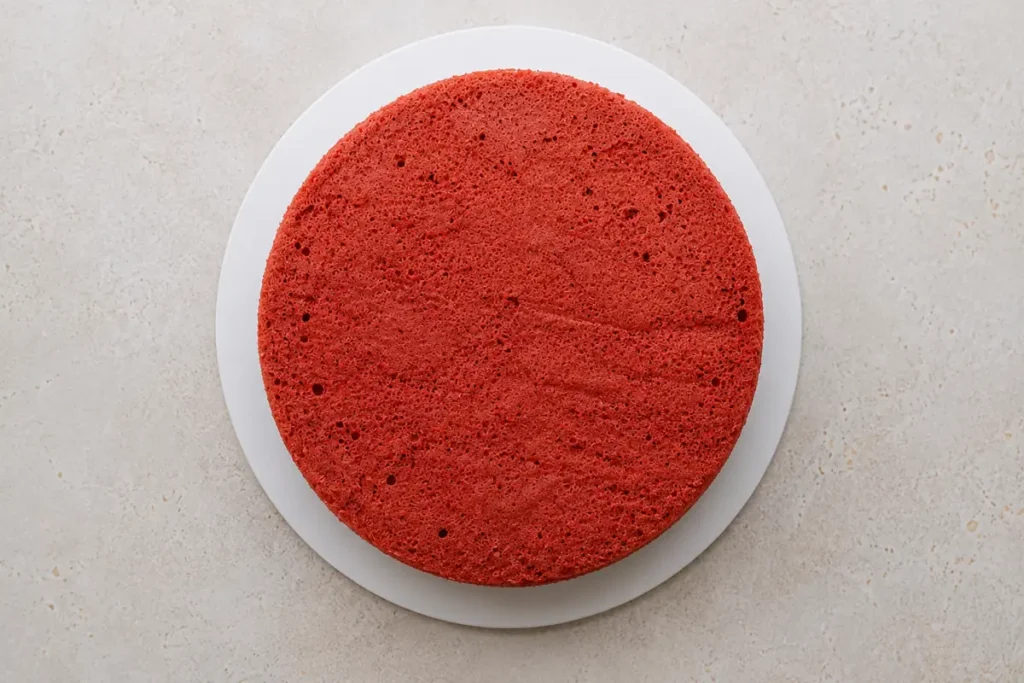
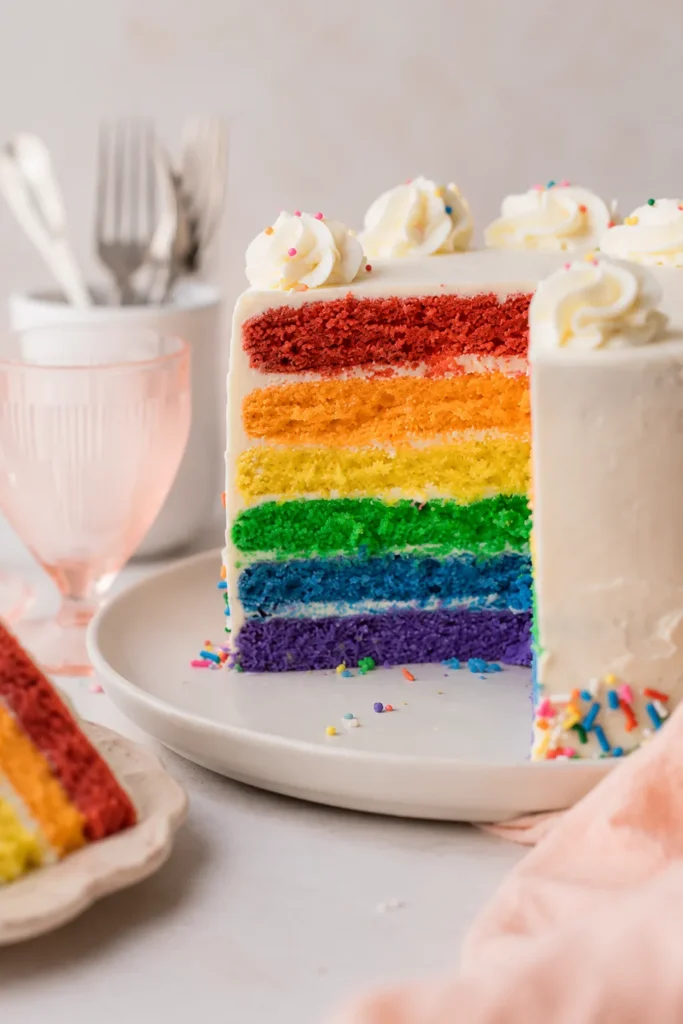
Continue with blue, green, yellow, and orange, adding the same amount of frosting between each one. Finish with the red layer placed upside down. Its flat bottom becomes the top of the cake, which makes the final coat easier to smooth.
Pause after every couple of layers and look at the cake from the side. Small shifts are easier to correct early. Slide a layer gently into place rather than pressing down, since too much pressure can squeeze the filling out.
Applying the Crumb Coat
Spread about 1 cup of buttercream over the top and sides. Keep this layer thin. You should still be able to see some of the cake through it.
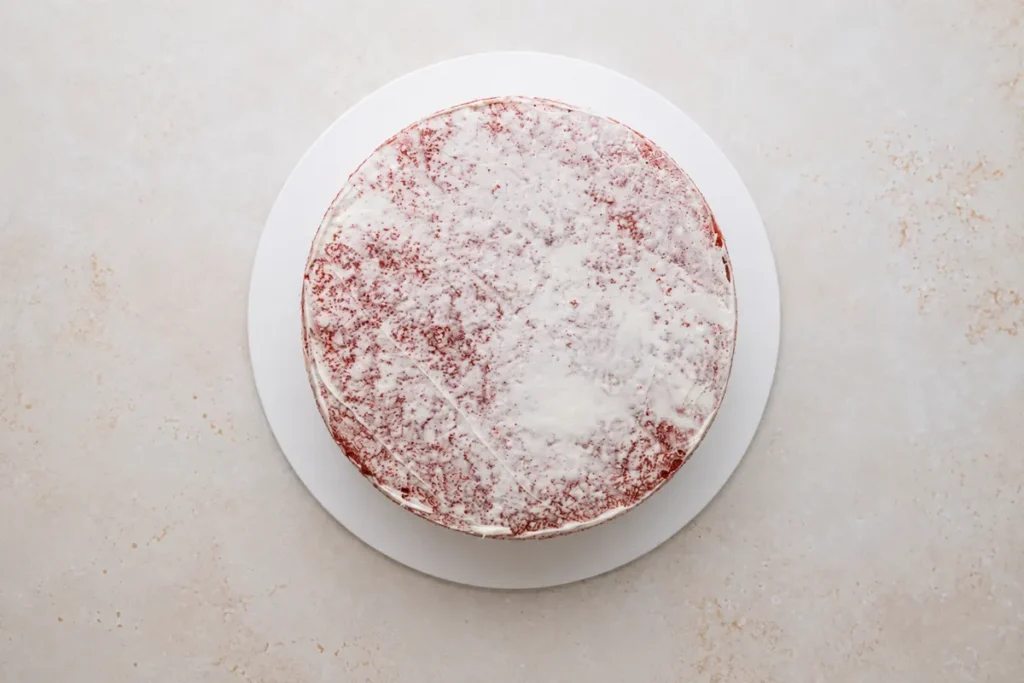
The crumb coat catches loose crumbs before the final frosting goes on. It doesn’t need to look polished. Focus on covering the whole cake and filling any small gaps between the layers.
Chill the cake uncovered for 10 to 15 minutes in the freezer or 20 to 30 minutes in the refrigerator. The frosting should feel firm when lightly touched.
Finishing the Frosting and Sprinkles
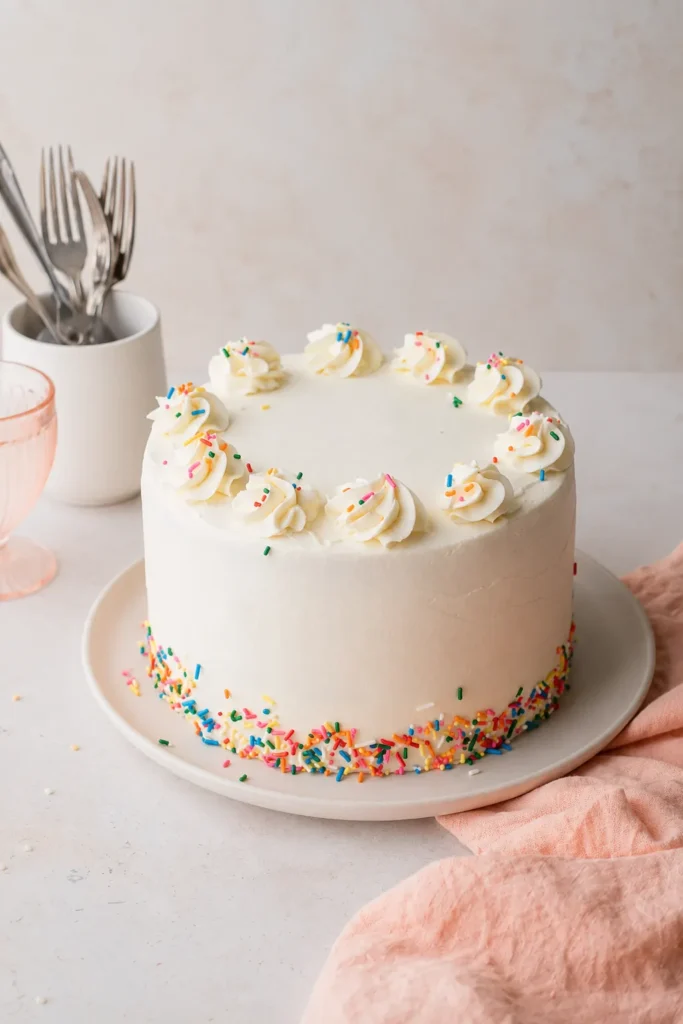
Add a thicker coat of buttercream over the chilled cake. Smooth the sides with an offset spatula or the straight edge of a large butter knife, then level the top.
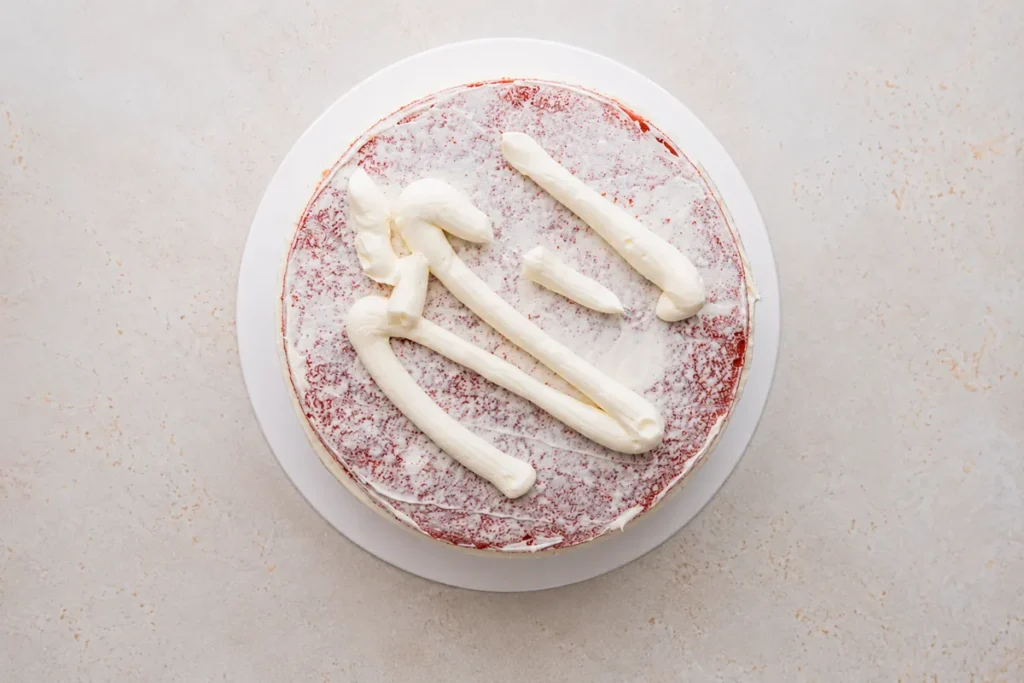
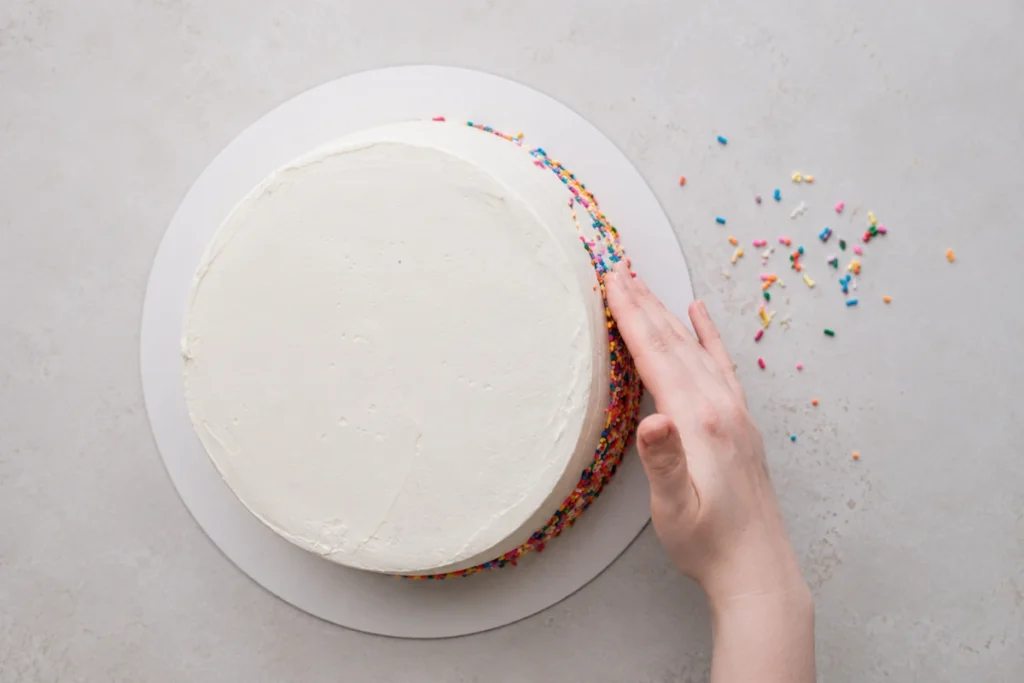
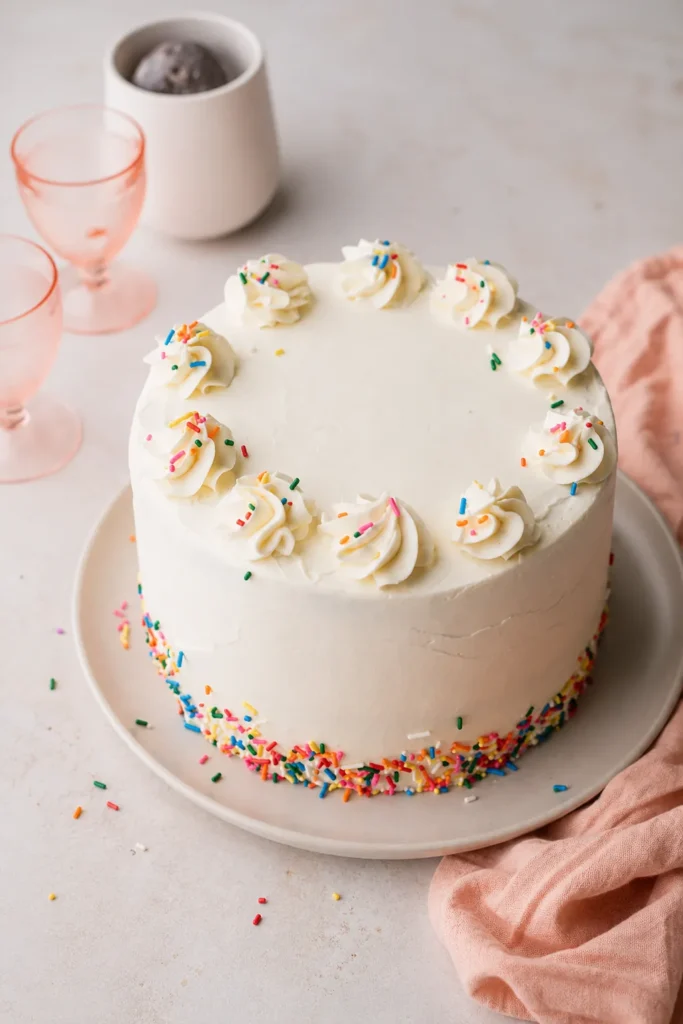
Press or scatter rainbow sprinkles around the bottom border. Work over a tray or sheet of parchment so the extra sprinkles are easy to collect.
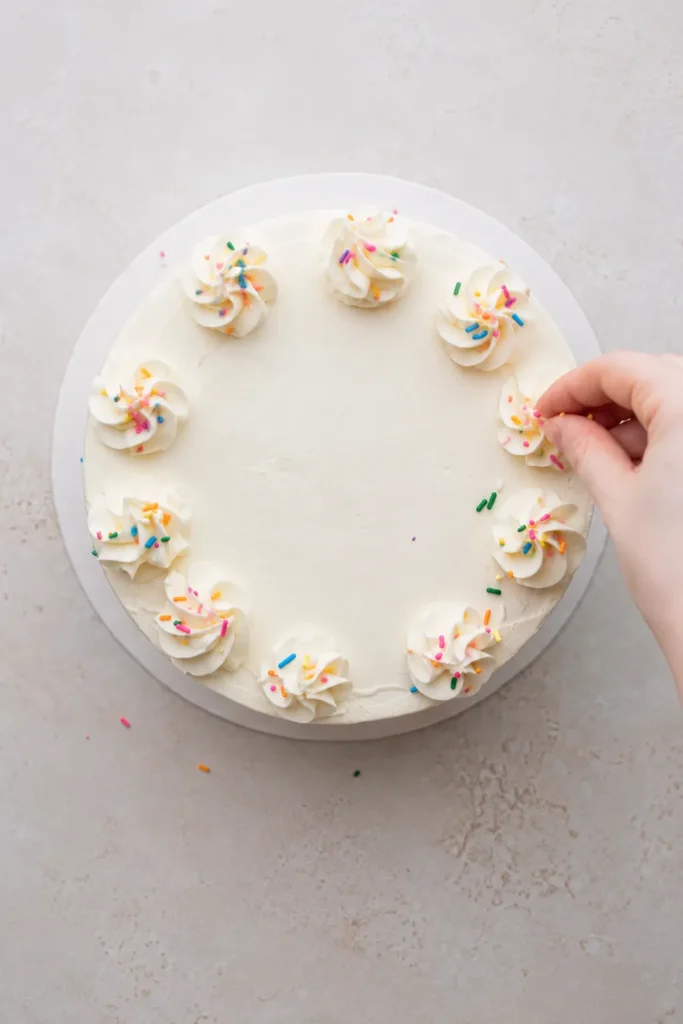
Fit a piping bag with a large star tip and pipe 10 to 12 rosettes around the top edge. Add a few more sprinkles over the rosettes. Keep the decoration simple; the real surprise is inside.
Chilling, Cutting, and Storing the Finished Cake
Chill the decorated cake in the freezer for 20 to 30 minutes before slicing. This firms the buttercream and helps the layers stay in place.
For cleaner slices, dip a sharp knife in hot water, wipe it dry, and cut straight down through the cake. Clean and warm the blade again between slices. It takes a little longer, but the rainbow layers stay much more defined.
Store the assembled cake in the refrigerator until needed. Before serving, let it sit at room temperature for a few hours so the butter and cake soften. Cold buttercream can taste heavy, and the crumb is usually more tender once it loses the refrigerator chill.
For leftover slices, place them on a tray and freeze for 10 to 15 minutes, until the frosting feels firm. Wrap each slice twice in plastic wrap. Firming the frosting first keeps it from sticking to the wrapping and helps preserve the shape.
Frequently Asked Questions About Colorful Layer Cake
Can I bake the cake layers in batches?
Yes. Leave the remaining bowls of colored batter on the counter while the first layers bake, then give each bowl one gentle stir before transferring it to a prepared pan.
Why should the red layer be placed upside down?
The flat bottom of the red layer creates a level top surface, which makes the crumb coat and final layer of buttercream easier to smooth.
How long should the crumb coat chill?
Chill the crumb-coated cake for 10 to 15 minutes in the freezer or 20 to 30 minutes in the refrigerator, until the frosting feels firm.
How do I cut clean slices?
Use a sharp knife warmed in hot water, wipe it dry, and clean the blade between each cut so the colored layers stay neat.
Can leftover cake slices be frozen?
Yes. Freeze the slices uncovered for 10 to 15 minutes until firm, then wrap each slice twice in plastic wrap before storing.
A Cake Made for the Center of the Table
A colorful layer cake looks like a big project, but the work becomes manageable when you treat each stage separately. Measure the batter evenly, let every layer cool completely, and give the crumb coat enough time to firm up.
Once sliced, the bright layers do most of the decorating for you. Serve it at room temperature, and let the soft vanilla cake and light buttercream speak for themselves.
Colorful Layer Cake
Ingredients
Equipment
Method
- Preheat the oven to 350°F. Lightly butter the bottoms of six 8-inch cake pans and line each pan with an 8-inch parchment round.
- Whisk together the flour, baking powder, and salt in a large bowl, then set the mixture aside.
- In a separate bowl with a spout, whisk together the eggs, egg whites, and vanilla extract.
- Beat the room-temperature butter and granulated sugar with the paddle attachment on medium speed for 9 to 10 minutes, until very pale and fluffy.
- With the mixer running on low, slowly stream in the egg mixture. Stop and scrape down the bowl, then mix again briefly until combined.
- Add one-third of the dry ingredients and mix on low. Slowly add half of the buttermilk, then continue alternating the dry ingredients and buttermilk, ending with the dry ingredients.
- Scrape the sides and bottom of the bowl thoroughly, then mix briefly on low until the batter is evenly combined.
- Divide the batter evenly among six medium bowls, using about 1 1/2 cups or 280 grams of batter per bowl.
- Add one gel color to each bowl and stir gently until you have separate red, orange, yellow, green, blue, and purple batters.
- Transfer each colored batter to a prepared pan and spread it evenly with a small offset spatula.
- Bake up to three pans at a time for about 17 minutes, until the tops spring back when lightly touched and the cakes begin pulling away from the pan edges.
- Cool the cakes in their pans on wire racks for 5 minutes, then turn them out, remove the parchment, and cool completely.
- Repeat the baking and cooling process until all six cake layers are finished.
- For the buttercream, beat the room-temperature butter on medium speed for about 2 minutes, until smooth.
- Add the powdered sugar and mix on low until incorporated, then beat on medium-high for 3 to 4 minutes, until pale and fluffy.
- Add the milk and vanilla, mix on low until combined, then beat on medium for about 30 seconds.
- Place the purple cake layer right side up on a cake board or large plate and spread about 1/2 cup of buttercream evenly over it.
- Continue stacking and frosting the blue, green, yellow, and orange layers, keeping the cake centered as you work.
- Place the red layer upside down on top so the cake has a flat, level surface.
- Spread about 1 cup of frosting in a thin layer over the top and sides to create a crumb coat.
- Chill the crumb-coated cake uncovered for 10 to 15 minutes in the freezer or 20 to 30 minutes in the refrigerator.
- Cover the chilled cake with a thicker final layer of buttercream and smooth the top and sides with an offset spatula or large butter knife.
- Add rainbow sprinkles around the bottom border of the cake.
- Pipe 10 to 12 buttercream rosettes around the top edge with a large star tip and decorate them with additional sprinkles.
- Chill the finished cake in the freezer for 20 to 30 minutes before slicing with a hot, sharp knife.
Notes
- If you do not have six cake pans, bake the layers in multiple batches and leave the remaining batter bowls on the counter until needed.
- Gel food coloring produces brighter colors without thinning the batter as much as liquid coloring.
- Make sure every cake layer is completely cool before adding buttercream.
- Store the assembled cake in the refrigerator, then let it soften at room temperature before serving.
- To freeze leftover slices, chill them uncovered for 10 to 15 minutes, then wrap each slice twice in plastic wrap.