Vanilla Bean Jelly: A Sweet Spread Worth Savoring
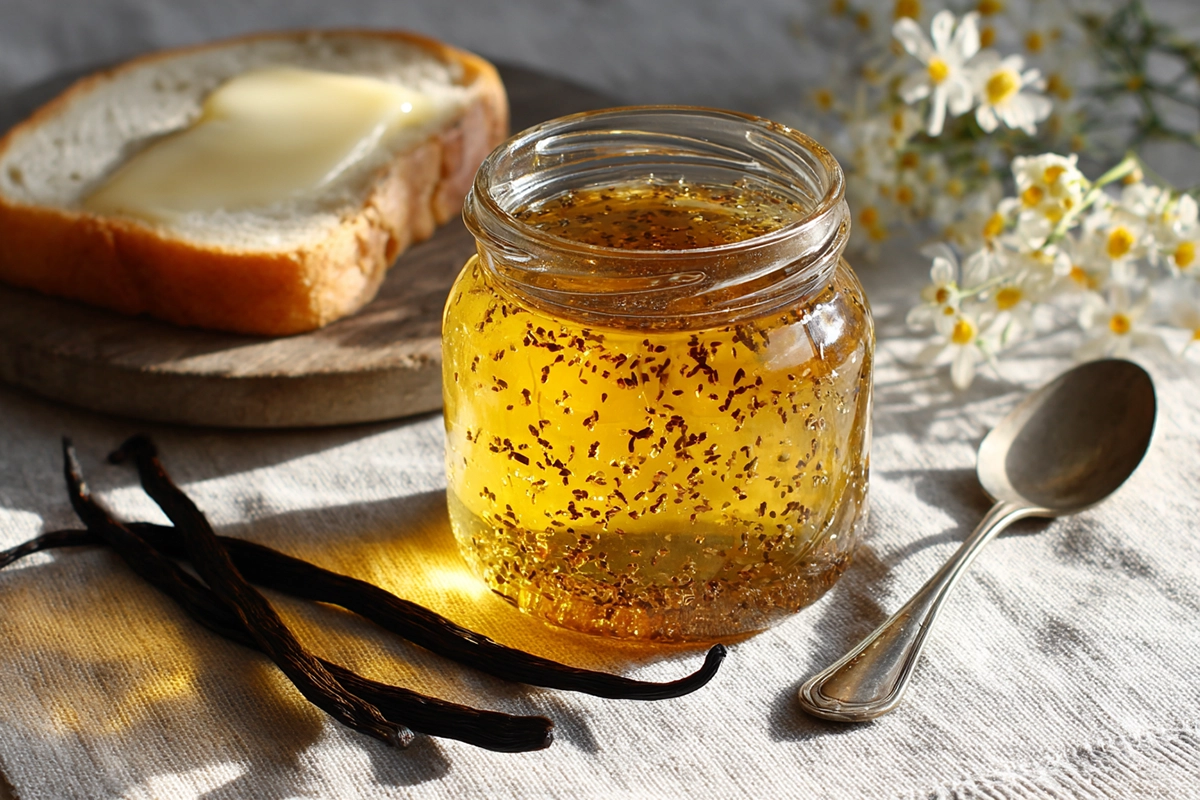
There’s something nostalgic about the smell of simmering fruit and vanilla wafting through the kitchen. When I first made vanilla bean jelly, it felt like bottling up the warmth of a cozy morning. The flavor was delicate but bold, floral yet sweet, and unlike anything I’d tasted from a store-bought jar. This jelly quickly became a favorite—something I gift during the holidays and always keep stocked for toast, cakes, and even cheese boards.
In this guide, we’ll explore everything you need to know about vanilla bean jelly, from its origins and preparation to creative variations and troubleshooting tips. Whether you’re an experienced canner or a curious beginner, you’ll find plenty of helpful info here to make your fragrant, golden jar of joy.
What Is Vanilla Bean Jelly?
Vanilla bean jelly is a sweet preserve made by infusing real vanilla beans into a sugar-based jelly. Unlike jam, which contains fruit pulp, jelly is smooth and clear, making it ideal for showcasing pure vanilla flavor.
Key Characteristics
- Smooth, glassy texture
- Infused with real vanilla bean specks
- Versatile: pairs with sweet and savory dishes
Many confuse jelly with jam or preserves, but the texture is different. Jelly is made with juice or flavored liquid, not whole fruit. That’s why vanilla bean jelly is a perfect way to let vanilla shine without distraction.
Essential Ingredients for Vanilla Bean Jelly
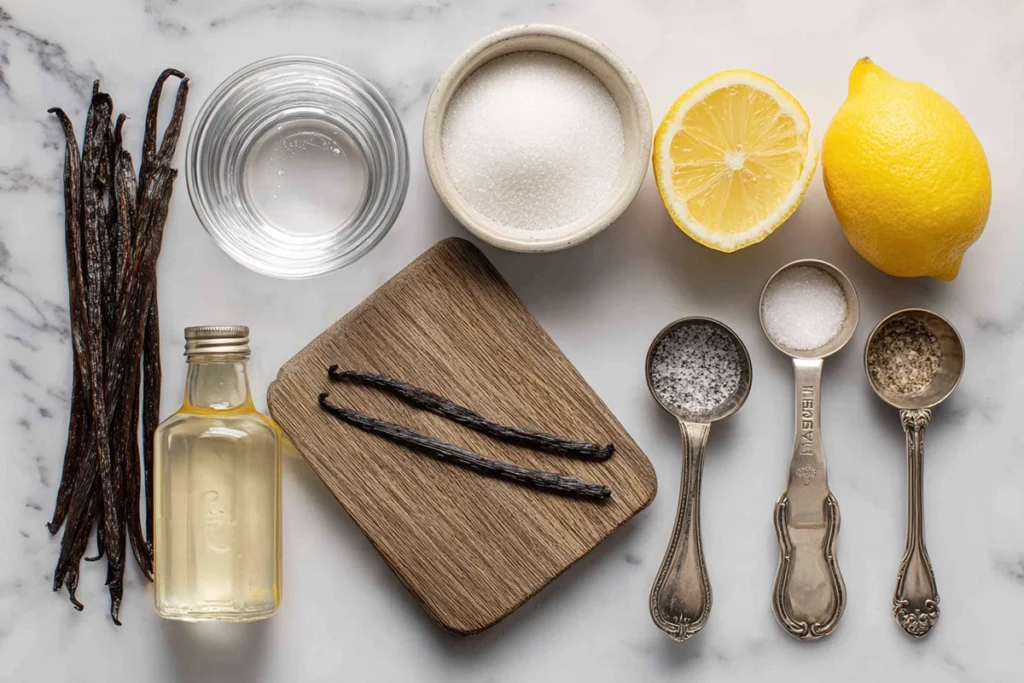
The magic of vanilla bean jelly lies in its simplicity. Each ingredient plays a key role:
Core Ingredients
- Vanilla beans – Use whole beans, sliced open to release flavor and seeds
- Granulated sugar – The sweet base that creates the jelly’s structure
- Lemon juice – Adds brightness and acidity
- Liquid fruit pectin – Helps the jelly set properly
- Water – Used to extract flavor and create the syrup base
For best results, use high-quality vanilla beans like Madagascar or Tahitian. You can find premium vanilla beans at major grocers or online from trusted sellers like Amazon.
Step-by-Step Guide to Making Vanilla Bean Jelly
Making vanilla bean jelly is easier than it seems. Here’s a detailed walkthrough to help you get that perfect gel and flavor.
Tools You’ll Need
- Large saucepan
- Jelly jars with lids
- Fine mesh strainer
- Canning funnel
- Ladle
- Jar lifter or tongs
- Water bath canner (available from Amazon)
Instructions
1. Prepare the Vanilla
Slice open the vanilla beans lengthwise and scrape out the seeds. Add both pods and seeds to a saucepan with water. Simmer for 10–15 minutes to infuse the flavor.
2. Mix with Sugar and Lemon Juice
Strain the vanilla water into a clean pot. Stir in the sugar and lemon juice. Bring to a boil over medium-high heat.
3. Add the Pectin
Once the mixture reaches a rolling boil, stir in the liquid pectin. Continue boiling for 1 minute, stirring constantly.
4. Fill the Jars
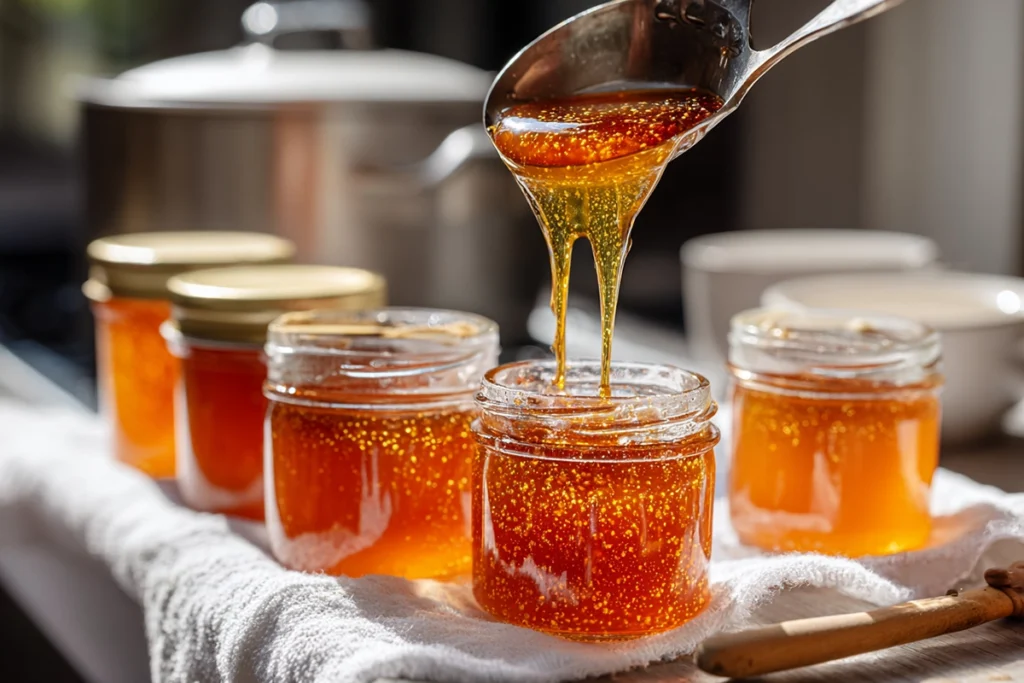
Using a funnel, ladle the hot jelly into sterilized jars, leaving ¼ inch headspace. Wipe the rims clean and screw on the lids.
5. Process in Water Bath
Place jars in a water bath canner and process for 10 minutes. Let them cool for 24 hours. You’ll hear a “pop” as the lids seal.
Creative Variations of Vanilla Bean Jelly
This jelly is lovely on its own, but here are a few fun twists to try:
Flavor Combinations
- Apple-vanilla jelly – Replace water with apple juice for a fruity twist.
- Rhubarb-vanilla jelly – Adds tartness and depth; use rhubarb juice instead of water.
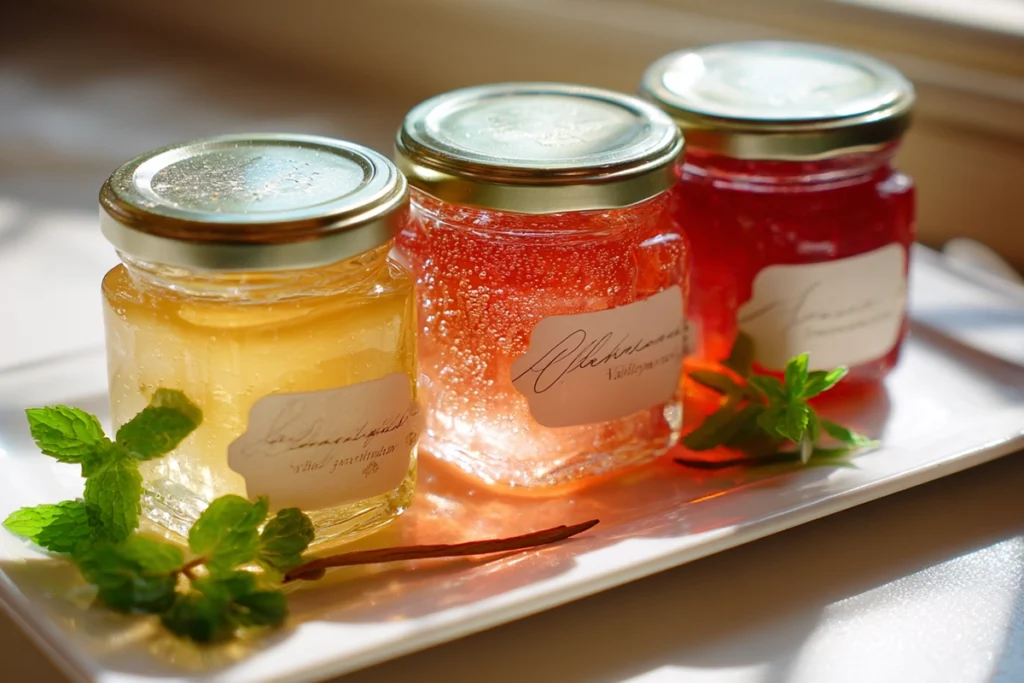
- Champagne-vanilla jelly – Use non-alcoholic sparkling juice for special occasions and add vanilla.
Sweetener Swaps
- Try honey or maple syrup instead of part of the sugar for a richer flavor.
- Use organic cane sugar for a more caramelized color and taste.
Serving Suggestions and Culinary Uses
Vanilla bean jelly isn’t just for breakfast toast. Here are some delicious ideas for using it:
Sweet Pairings
- Spread on warm buttermilk biscuits or English muffins
- Glaze for pound cake or cheesecake
- Swirl into Greek yogurt or oatmeal
Savory Ideas
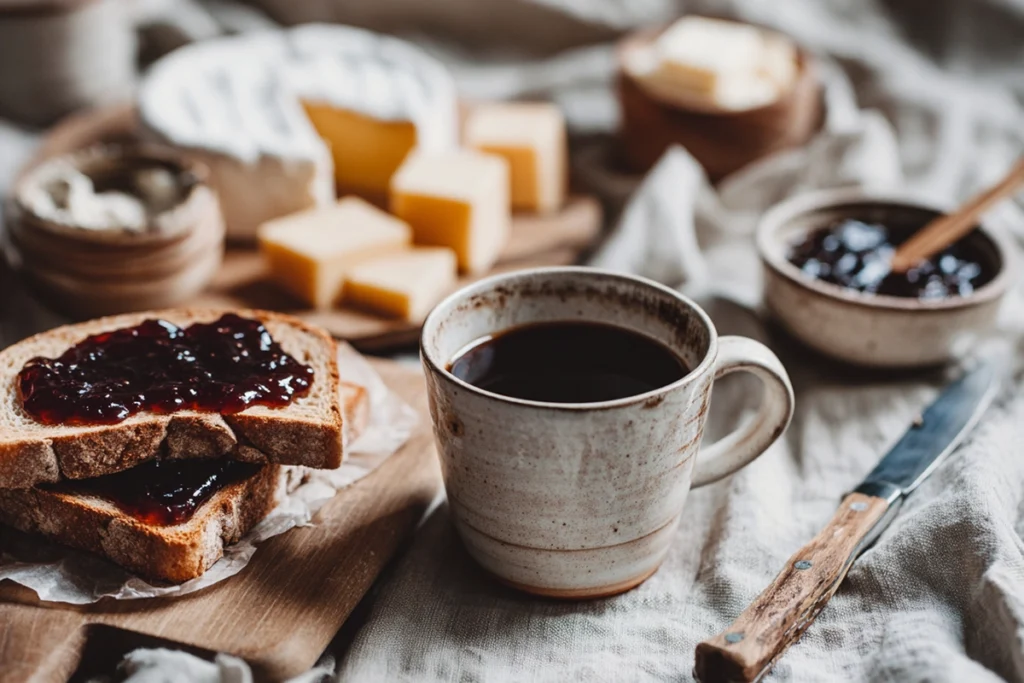
- Serve with sharp cheddar or Brie on a charcuterie board
- Glaze grilled pork chops or chicken
- Pair with roasted root vegetables for a gourmet twist
Fun Gift Ideas with Vanilla Bean Jelly
Vanilla bean jelly isn’t just tasty—it’s also beautiful. Its golden color and tiny vanilla flecks make it perfect for gifting. Here are some simple ideas to turn your homemade jelly into a thoughtful present.
Start with small glass jars. Half-pint or quarter-pint jars work best for gifts. Make sure the jars are clean and sealed properly. Once cool, tie a piece of twine or ribbon around the lid.
Next, add a homemade label. Use kraft paper or printable tags. Include the name, date made, and a short note like “Perfect with toast!” or “Handmade with love.” You can also add serving suggestions or pairing tips.
Want to make it a full gift set? Try pairing the jelly with a fresh loaf of sourdough, a wedge of Brie, or a tea package. Arrange everything in a small basket or reusable tote. Add tissue paper or cloth napkins for color.
Add a cinnamon stick or dried orange slice to the package for holiday gifts. Add fresh herbs like thyme or mint for a pop of green in spring and summer.
If you’re making jelly for party favors or bridal showers, decorate jars with fabric covers under the lid ring. Match the fabric to your theme or colors.
These small touches make your homemade jelly even more special. It shows you care and take the time to make something with your hands. Vanilla bean jelly makes a sweet, elegant, and memorable seasonal gift.
By turning your kitchen into a small jelly workshop, you’re sharing flavor and a little joy.
Storage Tips and Shelf Life
Proper storage keeps your vanilla bean jelly tasting fresh for months.
Storing
- Unopened, canned jars last up to 12 months in a cool, dark place
- Once opened, refrigerate and use within 3–4 weeks
Signs of Spoilage
- Mold or discoloration
- Strange odor or fizzing
- Jelly turns runny or overly firm
Always label jars with the date to keep track.
Troubleshooting Common Issues
Not every batch turns out perfect. Here’s how to fix common problems:
Jelly Didn’t Set
- Was the pectin expired?
- Did you boil it long enough after adding pectin?
- Try reboiling with extra pectin.
Jelly is Cloudy
- Strain more thoroughly
- Avoid over-stirring after adding pectin
Crystals Forming
- Too much sugar or uneven boiling
- Reheat gently and stir until smooth
Health Benefits and Nutritional Information
Though a treat, vanilla bean jelly does offer some unique benefits:
Nutritional Snapshot (per tablespoon)
| Nutrient | Amount |
|---|---|
| Calories | 50 |
| Sugar | 12g |
| Fat | 0g |
| Carbs | 13g |
Health Highlights
- Contains antioxidants from real vanilla beans
- Allergen-friendly and gluten-free
- No artificial flavors or preservatives when made at home
Where to Source Quality Vanilla Beans in the U.S.
Not all vanilla is created equal. For rich, aromatic flavor, choose whole beans from trusted sources.
Where to Buy
- Local spice shops
- Bulk sections at Natural Grocers
- Online retailers like Amazon or Vanilla Bean Kings
Tips for Buying
- Look for soft, plump, and oily beans
- Avoid dry or brittle ones
- Store in an airtight container away from light
Why Vanilla Bean Jelly Deserves a Spot in Your Pantry
From its elegant look to its rich, warming flavor, vanilla bean jelly brings a touch of homemade luxury to any table. Whether you’re spreading it on toast or glazing a roast, this jelly is a delicious way to capture the essence of real vanilla. It’s one of those simple pleasures that turns ordinary moments into something special.
FAQ
Can I use vanilla extract instead of vanilla beans?
It’s best to use real vanilla beans for full flavor and aroma. Extract won’t give the same depth or those signature specks in the jelly.
How long does homemade vanilla bean jelly last?
Properly canned jelly lasts up to one year unopened. Once opened, it keeps for 3–4 weeks in the refrigerator.
Can I make vanilla bean jelly without pectin?
Yes, but it requires longer boiling and may not set as firmly. You’ll also need a higher sugar-to-liquid ratio.
Is vanilla bean jelly gluten-free?
Yes, when made with basic ingredients like sugar, water, vanilla, and pectin, it’s naturally gluten-free.
What’s the best way to sterilize jars?
Wash in hot soapy water, then boil jars in water for 10 minutes. Keep warm until ready to fill.
Vanilla Bean Jelly: A Sweet Spread Worth Savoring
- Total Time: 40 minutes
- Yield: About 4 half-pint jars (8 servings) 1x
- Diet: Gluten Free
Description
This homemade vanilla bean jelly is a smooth, fragrant preserve made with real vanilla beans, perfect for spreading on toast, glazing cakes, or pairing with cheese. It’s easy to make and ideal for gifting or elevating your breakfast and snack game.
Ingredients
• 2 whole vanilla beans
• 2 cups water
• 4 cups granulated sugar
• 2 tablespoons lemon juice
• 1 pouch (3 oz) liquid fruit pectin
Instructions
-
Slice open vanilla beans and scrape out seeds. Add both pods and seeds to a saucepan with water. Simmer gently for 10–15 minutes.
-
Strain the infused water into a clean pot. Add sugar and lemon juice. Stir and bring to a boil.
-
Add liquid pectin and boil for 1 more minute while stirring constantly.
-
Pour the hot jelly into sterilized jars using a funnel, leaving ¼ inch headspace. Wipe rims clean and seal with lids.
-
Process jars in a boiling water bath for 10 minutes. Let cool and store.
Notes
• Use high-quality vanilla beans for the best flavor.
• Avoid over-stirring after adding pectin to maintain clarity.
• For flavor variations, substitute water with apple juice or rhubarb juice.
- Prep Time: 15 minutes
- Cook Time: 25 minutes
- Category: Preserves
- Method: Canning
- Cuisine: American
What Are Our Readers Saying?
There are no reviews yet. Be the first one to write one.

