Baked Salmon Sushi Cups: A Flavor-Packed Twist on a Viral Trend
If you’ve ever watched a food trend sweep through social media and thought, “That looks incredible, but I don’t have time for restaurant-style sushi,” these baked salmon sushi cups will change your mind. The first time I made them, my kitchen smelled like a cozy sushi bar, and my kids were peeking around the corner, begging for a taste before they even cooled. They’re everything you love about sushi—salty nori, seasoned rice, tender salmon, and creamy sauces—without the intimidation of rolling or special equipment. Once you taste the crunchy seaweed against the warm, savoury filling, you’ll understand why this recipe is stealing hearts across America.
Table of Contents
What Are Baked Salmon Sushi Cups?
Imagine if sushi bake met handheld appetisers—that’s what these little cups are. Instead of a large casserole dish, you press seasoned sushi rice into muffin tins lined with nori sheets, fill them with salmon mixed in a savoury-spicy sauce, and bake until golden. You get all the umami, spice, and creaminess of a restaurant roll, but you can pick them up with your fingers like party snacks. It’s a playful mashup of comfort food and Japanese flavours that feels both casual and indulgent.
Why They’re Trending
These cups became a sensation on TikTok and Instagram because they deliver big flavour without fuss. You don’t need sushi-grade fish, bamboo mats, or hours of practice. Whether you’re making a weeknight dinner or hosting friends, they’re quick to prep, fun to customise, and easy to serve.
Ingredients You’ll Need
Here’s everything you should gather before you start. Use this table as a quick reference for prepping your ingredients.
| Ingredient | Amount | Notes |
|---|---|---|
| Sushi rice (short grain) | 2 cups cooked | Seasoned with rice vinegar, sugar, and salt |
| Nori sheets | 5–6 sheets | Adjust the heat level |
| Salmon (skinless) | 12 oz | Fresh or thawed frozen fillet |
| Soy sauce | 3 tbsp | Use tamari for gluten-free |
| Mayonnaise (Kewpie or regular) | ¼ cup | Adds creaminess |
| Sriracha | 1–2 tbsp | For rich, nutty aroma |
| Sesame oil | 1 tsp | Optional, adds crunch and flavour |
| Green onions | 2 tbsp sliced | For garnish |
| Sesame seeds | 1 tbsp | For garnish |
| Furikake seasoning | 1 tbsp | Optional, adds crunch and flavor |
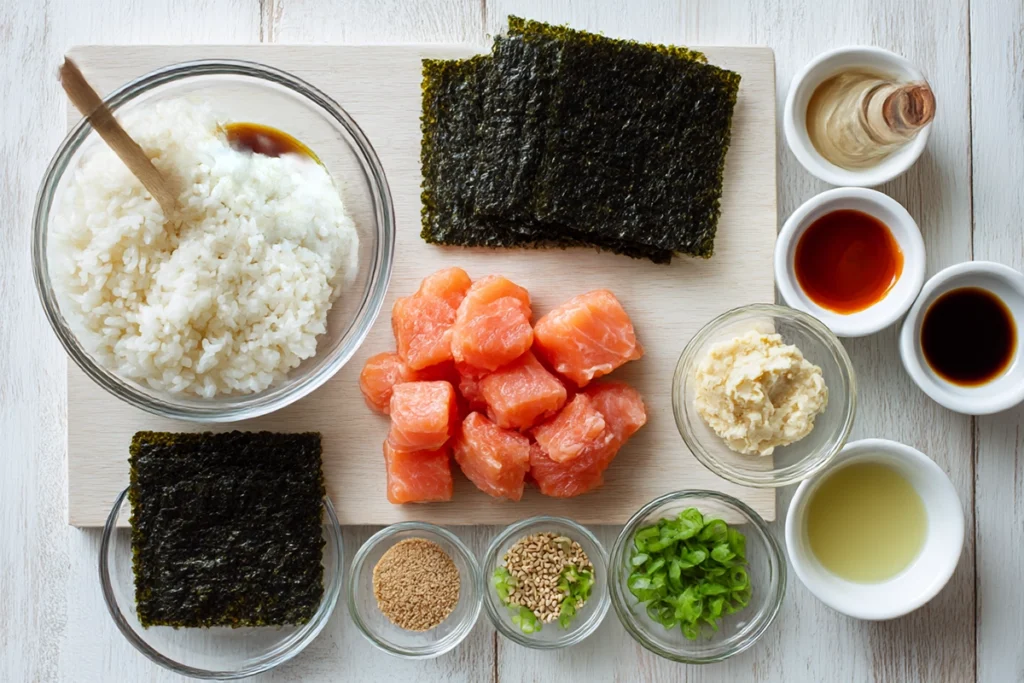
Step-by-Step Preparation & Cooking Instructions
Prepare the Rice
Rinse your sushi rice several times until the water runs almost clear. This removes excess starch and keeps the grains fluffy. Cook according to package instructions or in a rice cooker. While the rice is still warm, gently fold in a mixture of rice vinegar, a pinch of sugar, and salt. Let it cool enough to handle without burning your fingers.
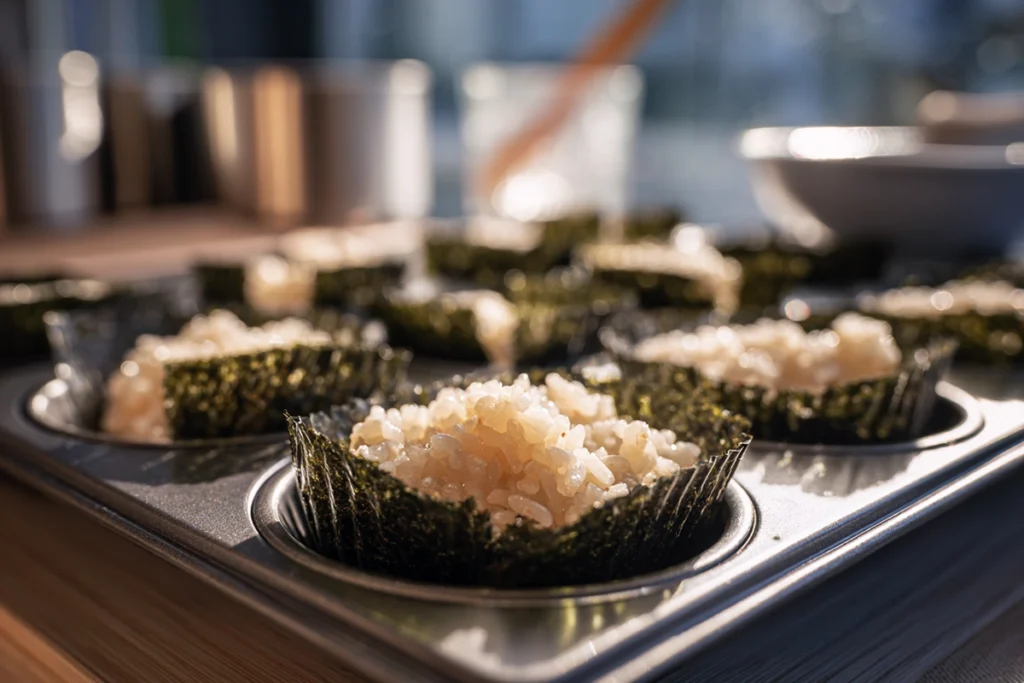
Shape the Nori Cups
Preheat your oven to 375°F (190°C). Lightly grease a standard muffin tin. Cut your nori sheets into quarters. Place one square into each muffin cup, pressing gently to create a well. Add a tablespoon or two of seasoned rice, pressing it down with a spoon or the back of a measuring cup so the rice forms a sturdy base.
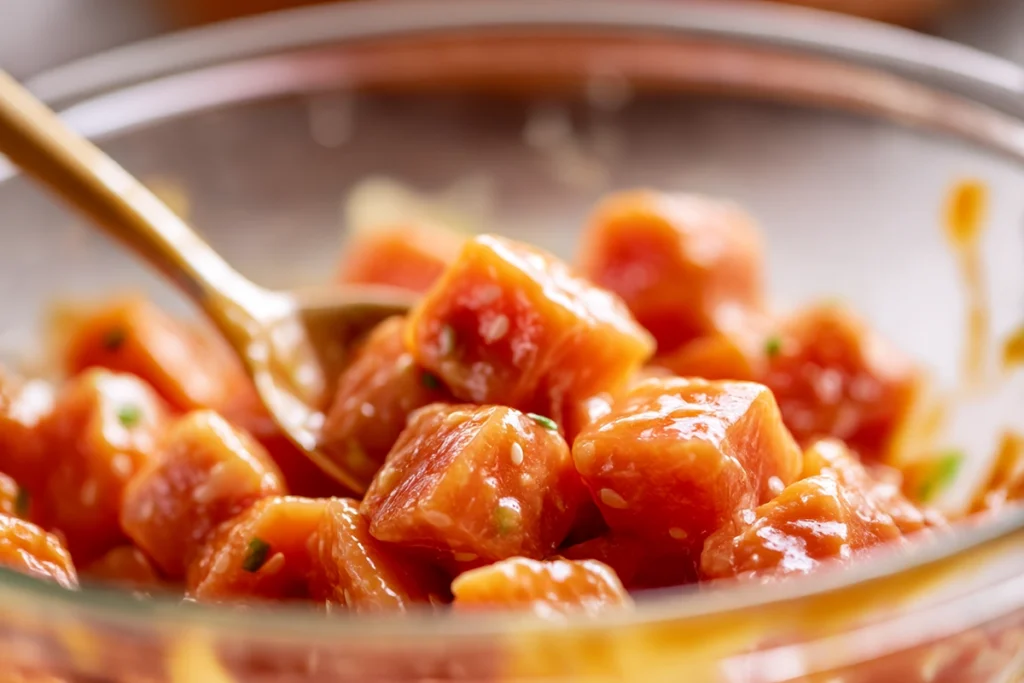
Make the Salmon Filling
Dice your salmon into small cubes or flake it if partially cooked. In a bowl, mix salmon with soy sauce, mayonnaise, sriracha, and sesame oil. You want a creamy, slightly spicy mixture that clings to the fish. Spoon this filling into each rice-lined cup, mounding it slightly above the rim.
Bake and Finish
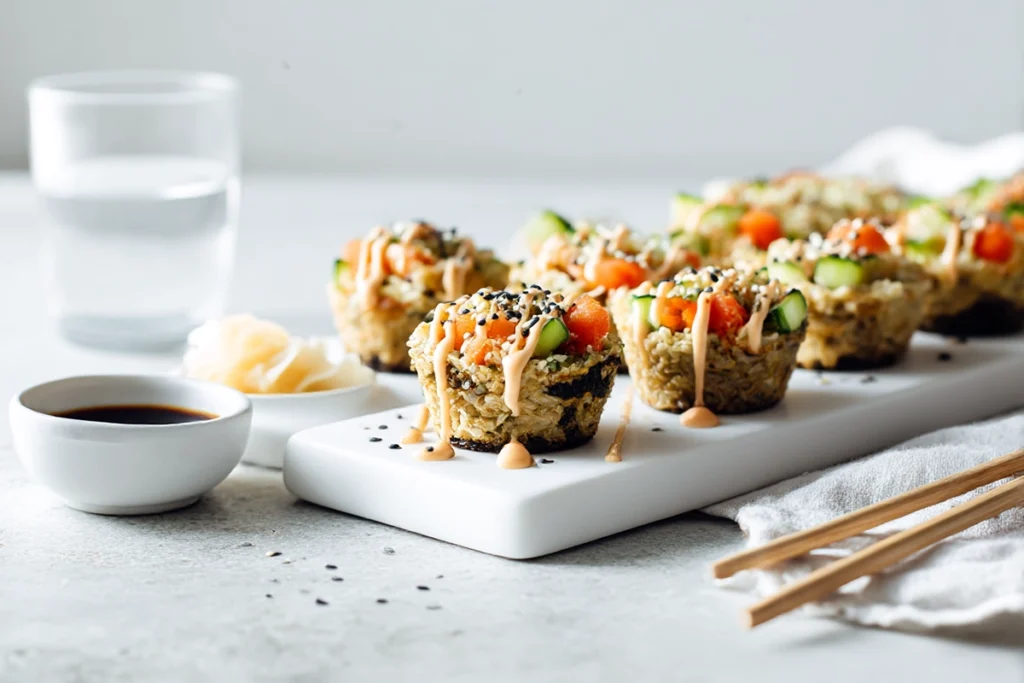
Bake for 15–18 minutes, or until the salmon is cooked through and the edges of the nori are crisp. For extra char and texture, switch the oven to broil for the last minute—but watch closely to prevent burning. Remove the pan and let the cups rest for a minute before transferring to a platter. Sprinkle with sesame seeds, furikake, and sliced green onions.
Why You’ll Love This Recipe
You’ll fall for these baked salmon sushi cups the moment you bite in. They’re warm, crunchy, creamy, and spicy all at once—a medley of textures that’s as satisfying as your favourite restaurant roll. Because you bake them, you’re not handling raw fish at the table, which makes them perfect for families or anyone who’s a little squeamish about traditional sushi. You can make them ahead, reheat them without losing quality, and even pack them in lunches. They’re just as at home on a football party snack table as they are at a sophisticated dinner party.
Dietary Variations & Substitutions
Gluten-Free
Swap soy sauce for tamari or coconut aminos to make these cups gluten-free. Double-check your furikake and other condiments to ensure they’re certified gluten-free.
Dairy-Free or Egg-Free
Use vegan mayonnaise or a cashew-based sauce in place of Kewpie. You’ll keep the creaminess without the eggs or dairy.
Low-Calorie or Low-Carb
Reduce the rice portion or replace it with lightly seasoned cauliflower rice. Use less mayo or a yogurt-based sauce for fewer calories.
Vegan or Vegetarian
Replace the salmon with marinated tofu cubes, tempeh, or sautéed mushrooms. A splash of soy sauce and sesame oil with crushed chilli will mimic the umami depth of fish.
Halal-Friendly
Ensure your salmon is sourced from a trusted supplier and use halal-certified condiments.
Equipment & Tools Needed
You don’t need specialty sushi tools, which is part of the appeal. A 5-inch sharp knife for dicing salmon, a mixing bowl, and a spoon are enough. A rice cooker is handy but not essential—a pot with a tight-fitting lid works just as well. A small squeeze bottle or piping bag can help drizzle sauces neatly, but a spoon works in a pinch.
FAQ
Can I use raw salmon or should it be cooked beforehand?
You can use raw, sushi-grade salmon if you want a more traditional sushi feel—but baking it is safer, especially if you’re serving kids or pregnant people. Either way, make sure your fish is fresh, handled properly, and cut into small cubes so it cooks evenly.
Is this recipe gluten-free?
Yes—this recipe can be made gluten-free. Just swap regular soy sauce for tamari or coconut aminos, and double-check that any condiments like sauces or seasoning blends don’t include hidden gluten.
Can I prepare the cups ahead of time?
Absolutely. You can cook the rice in advance and cut the nori squares ahead. Keep them covered and refrigerated. Just assemble and bake when you’re ready—this helps save time without sacrificing flavor.
What rice should I use if I don’t have sushi rice?
If you can’t get sushi rice, any short-grain rice will do, though the texture will be less sticky. Long-grain won’t cling as well, so you might have looser cups. You can also try brown short-grain for more fiber, though flavor and binding change slightly.
How do I prevent the nori from getting soggy or breaking?
To avoid soggy or cracked nori, assemble while the rice is still warm so it helps soften the sheet just enough. Also, don’t overfill with moisture, and bake at high enough temperature. A brief broil at the end can help crisp up edges.
Can I substitute the salmon with another protein?
Yes—if you prefer, you can swap salmon for cooked shrimp, tuna, tofu, or even cooked chicken. Just adjust cooking time and seasonings accordingly so you still get bold flavor and moisture.
How long will leftovers keep, and how should I reheat them?
Leftovers can be stored in an airtight container in the refrigerator for up to 2-3 days. To reheat, use the oven or toaster oven to help maintain crispness of the nori. Microwaving works in a pinch, but nori tends to become a bit soggy.
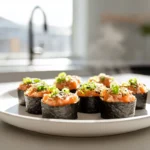
Baked Salmon Sushi Cups
- Total Time: 38 minutes
- Yield: 12 sushi cups (about 4 servings) 1x
Description
Crispy nori cups filled with seasoned sushi rice and creamy, spicy salmon, these baked salmon sushi cups deliver big sushi flavor without rolling—perfect for parties, dinners, or easy appetizers.
Ingredients
2 cups cooked sushi rice (short-grain, seasoned with rice vinegar, sugar, salt)
5–6 nori sheets (cut into quarters)
12 oz skinless salmon fillet (fresh or thawed, cubed)
3 tbsp soy sauce (use tamari for gluten-free)
¼ cup mayonnaise (Kewpie or regular)
1–2 tbsp sriracha (adjust to taste)
1 tsp sesame oil
2 tbsp sliced green onions (for garnish)
1 tbsp sesame seeds (for garnish)
1 tbsp furikake seasoning (optional, for garnish)
Instructions
Preheat oven to 375°F (190°C). Lightly grease a muffin tin.
Rinse and cook sushi rice according to package directions, then season with rice vinegar, sugar, and salt. Cool slightly.
Cut nori sheets into quarters. Line each muffin cup with a nori square.
Add 1–2 tablespoons of rice into each cup, pressing gently to form a sturdy base.
In a bowl, mix cubed salmon with soy sauce, mayonnaise, sriracha, and sesame oil until evenly coated.
Spoon salmon mixture over the rice in each cup, mounding slightly.
Bake for 15–18 minutes, or until salmon is cooked through and nori edges are crisp. Optionally, broil for 1 minute for extra char.
Rest briefly, then garnish with sesame seeds, furikake, and green onions. Serve warm.
Notes
Use tamari or coconut aminos for gluten-free.
Substitute salmon with shrimp, tuna, tofu, or tempeh for variety.
Reheat leftovers in the oven at 350°F for 5 minutes to keep nori crisp.
Avoid freezing—texture may degrade.
- Prep Time: 20 minutes
- Cook Time: 18 minutes
- Category: Appetizer
- Method: Baking
- Cuisine: Japanese Fusion
What Are Our Readers Saying?
There are no reviews yet. Be the first one to write one.


