How to Make Tamagoyaki — A Japanese Rolled Omelette for Your Home Kitchen
There are mornings when a plain scramble feels too ordinary, and you crave something a little more special but still simple enough to pull off before the coffee cools. That’s when I turn to tamagoyaki. The first time I tried it, I was in Tokyo and watched a street vendor deftly roll golden layers of egg into a perfect rectangle. It looked almost too pretty to eat, but once I had that first sweet-savory bite, I knew it was a dish worth mastering at home.
The beauty of tamagoyaki is that it’s both approachable and impressive. With just a handful of pantry staples and a good nonstick pan, you can bring this Japanese breakfast classic to your own table. It’s delicate, layered, and flavorful—an omelette that doubles as comfort food and artistry.
What Is Tamagoyaki? (Origins, Terminology & Types)
If you translate the name, “tamago” means egg, and “yaki” means grill or cook. Together, you get “grilled egg,” but it’s so much more than that. In Japan, tamagoyaki often shows up in bento boxes, at sushi counters, and on breakfast tables.
There are a couple of main styles you might encounter:
- Atsuyaki Tamago is the sweeter, firmer version often enjoyed on its own or atop sushi rice.
- Dashimaki Tamago uses a bit of dashi broth, which gives the omelette a softer bite and a rich, umami depth.
In modern kitchens, you’ll also find playful twists—some cooks slip in scallions, seaweed, or even a drizzle of maple syrup for a fusion spin. No matter the style, the layered technique remains the heart of the dish.
Print
Tamagoyaki
- Total Time: 20 minutes
- Yield: 2–3 servings 1x
Description
A classic Japanese rolled omelette made with seasoned eggs, cooked in thin layers and rolled into a golden log. Perfect for breakfast, sushi, or bento boxes.
Ingredients
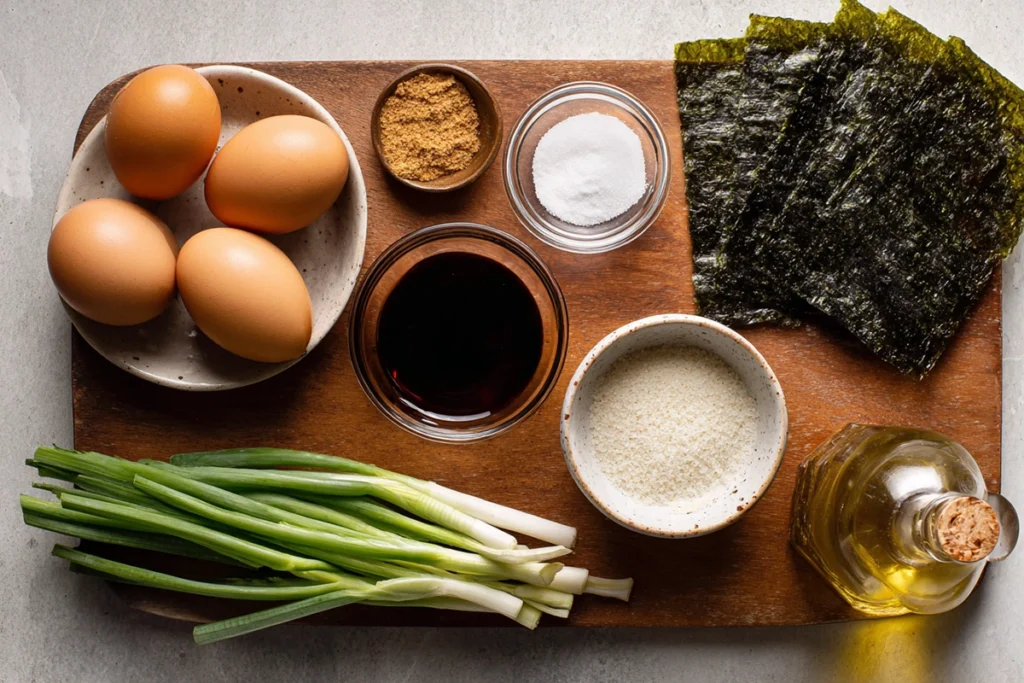
4 large eggs
1 tablespoon soy sauce (low-sodium works well)
1 tablespoon mirin (or a mix of sugar + water if avoiding alcohol)
1 teaspoon sugar
1 tablespoon dashi or ½ teaspoon instant dashi powder (optional)
Neutral oil for cooking
Optional: chopped scallions, shredded cheese, or nori strips
Instructions
Whisk eggs in a bowl until smooth. Stir in soy sauce, mirin, sugar, and dashi if using. Strain for a silkier texture.
Heat a tamagoyaki pan or small nonstick skillet over medium heat. Lightly oil the surface.
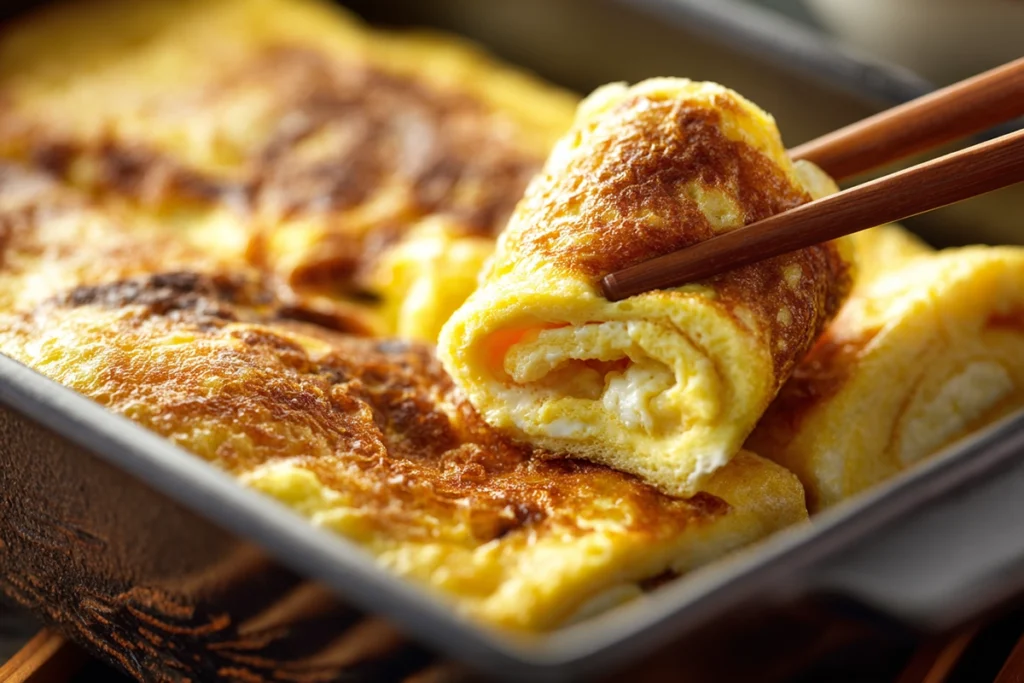
Pour a thin layer of the egg mixture, let it set slightly, then roll it toward one side with chopsticks or a spatula.
Push the rolled egg back to the starting side, oil the pan again, and pour in more egg. Roll each layer over the last.
Continue until all the mixture is used, then shape with a bamboo mat if desired.
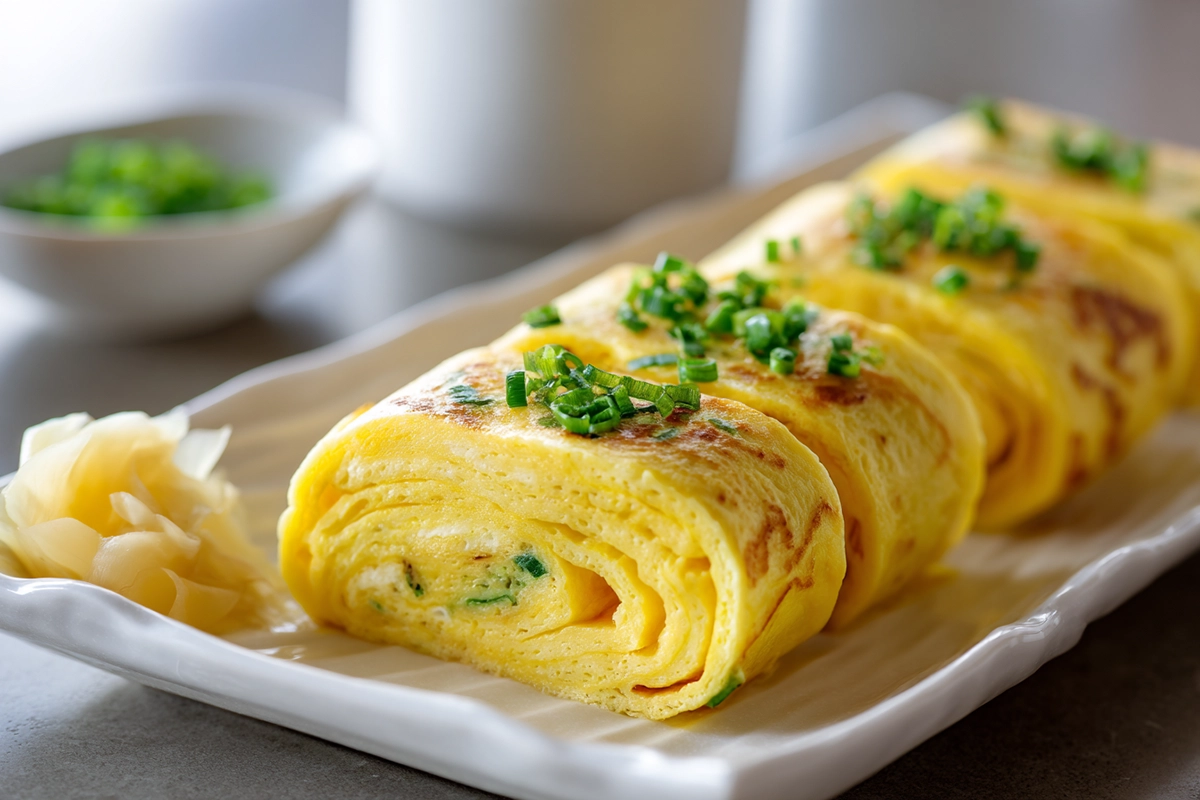
Slice into even pieces and serve warm or at room temperature.
Notes
For a sweeter version, increase the sugar slightly.
Use tamari for a gluten-free variation.
Wrap the finished roll in a bamboo mat for a tidier rectangle shape.
Best eaten fresh, but can be stored in the fridge for up to 2 days.
- Prep Time: 10 minutes
- Cook Time: 10 minutes
- Category: Breakfast, Side Dish
- Method: Stovetop, Pan-Frying
- Cuisine: Japanese
Nutrition
- Serving Size: 1 slice (approx. 1/6 of roll)
- Calories: 90 kcal
- Sugar: 2 g
- Sodium: 220 mg
- Fat: 6 g
- Saturated Fat: 2 g
- Unsaturated Fat: 3 g
- Trans Fat: 0 g
- Carbohydrates: 3 g
- Fiber: 0 g
- Protein: 6 g
- Cholesterol: 185 mg
Ingredients & Tools (U.S. Pantry Adaptations)
You don’t need a trip to a specialty market to start. Most ingredients are easy to find in American grocery stores.
Ingredients:
- 4 large eggs
- 1 tablespoon soy sauce (low-sodium works well)
- 1 tablespoon mirin (or a mix of sugar + water if avoiding alcohol)
- 1 teaspoon sugar
- 1 tablespoon dashi or ½ teaspoon instant dashi powder (optional, for dashimaki style)
- Neutral oil for cooking
Optional Fillings:
- Chopped scallions
- Shredded cheese
- Nori strips
Tools:
- A rectangular tamagoyaki pan is traditional, but a small round nonstick skillet will also do.
- A spatula or chopsticks for rolling.
- A bamboo sushi mat to shape the omelette neatly after cooking, though you can manage without it.

Step-by-Step Cooking Instructions
Prepare the Egg Mixture
Crack the eggs into a bowl and whisk until the yolks and whites blend smoothly. Stir in soy sauce, mirin, sugar, and dashi if using. For a silkier texture, strain the mixture through a fine sieve.

Heat the Pan
Place your pan over medium heat and lightly oil it. Use a paper towel to spread the oil thinly across the surface. A lightly oiled pan is key for rolling without sticking.
Cook in Layers
Pour in a thin layer of the egg mixture, just enough to cover the base. Let it set slightly, then begin rolling it toward one side with your spatula or chopsticks. Push the roll back to the starting side, oil the pan again, and add more egg mixture. Repeat the process, rolling each new layer over the last until all the mixture is used.
Shape and Slice
Once cooked, you can transfer the roll to a bamboo mat to shape it into a tidy rectangle. Let it rest for a minute, then slice it into even pieces. Serve warm or at room temperature, depending on your preference.

Dietary Variations & Ingredient Substitutions
One of the reasons tamagoyaki has found a global following is its flexibility. You can easily adapt it to fit different dietary needs without losing its essence.
Vegan Version
Instead of eggs, you can use a plant-based substitute like a mung bean–based egg replacer or a product such as JUST Egg. A pinch of black salt (kala namak) mimics the subtle egg flavor.
Gluten-Free
Most of the recipe is naturally gluten-free, but regular soy sauce contains wheat. Swap it for tamari or a certified gluten-free soy sauce.
Low-Calorie or Low-Sugar
Cut the sugar in half or leave it out entirely for a more savory profile. You can also skip mirin and use a splash of water with a touch of sweetener if desired.
Halal
Replace mirin with a simple sugar-water mixture. It provides the gentle sweetness without the alcohol content.
These substitutions won’t create identical results, but they’ll get you close while respecting dietary boundaries.
Serving, Pairings & Uses
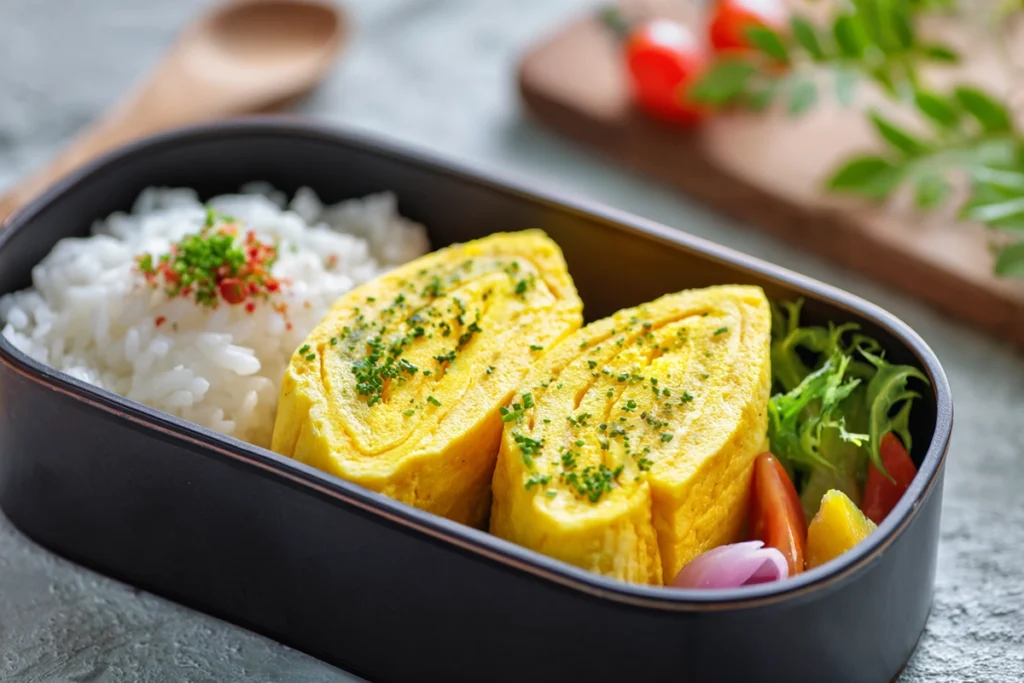
You’ll find that tamagoyaki fits into almost any meal. For breakfast, it pairs perfectly with steamed rice and miso soup. Packed into a lunch bento, it adds both protein and a touch of color. At dinner, you can serve it as part of a larger spread, alongside pickles and grilled fish.
If you’re feeling creative, try placing a slice over sushi rice and wrapping it with a strip of nori for tamago nigiri. Or tuck a slice into a sandwich for a fun twist on the classic egg salad vibe. Its versatility makes it a recipe you’ll come back to again and again.

Storage, Reheating & Shelf Life
Like most egg dishes, tamagoyaki is best enjoyed fresh. That said, you can store leftovers in an airtight container in the fridge for up to two days. To reheat, use a gentle method—either a quick microwave burst on low power or a covered pan on the stovetop. Avoid overcooking during reheating, or you’ll lose the tender layers that make it so appealing.
Freezing isn’t recommended, as the texture can turn rubbery, but for short-term storage, refrigeration works just fine.
Tips, Common Mistakes & Troubleshooting
Rolling the omelette takes a little practice, so don’t stress if your first attempt isn’t perfect. Here are a few quick tips:
- Keep your heat at medium to avoid browning the egg too much.
- If layers stick, lightly re-oil the pan before each pour.
- Roll gently and don’t worry about tightness; the bamboo mat will help shape it afterward.
- For a sweeter bite, increase sugar slightly. For more umami, add a little extra soy sauce or dashi.
With patience, you’ll find your rhythm, and soon those golden layers will feel second nature.
When you serve your homemade tamagoyaki, you’re bringing a small slice of Japan into your kitchen. It’s a recipe that balances technique with comfort, elegance with simplicity. And while it may look like a chef’s trick, once you try it, you’ll realize it’s a dish you can master, tweak, and enjoy anytime. This Japanese rolled omelette isn’t just food—it’s a conversation piece, a breakfast upgrade, and a reminder that even a humble egg can be transformed into something truly memorable.
FAQ
Do I need a special pan to make tamagoyaki?
A rectangular tamagoyaki pan makes rolling easier, but you can still use a small round nonstick skillet. Just trim the edges after rolling for a neater look.
What’s the difference between tamagoyaki and dashimaki?
Tamagoyaki is usually sweeter and firmer, while dashimaki includes dashi broth, making it softer and more savory. Both are delicious Japanese rolled omelette styles.
Can I make tamagoyaki ahead of time?
Yes, you can prepare it the night before and keep it in the fridge. It’s perfect for bento or quick breakfasts, though it tastes best within two days.
How do I keep the omelette from sticking?
Lightly oil the pan before each layer. A well-seasoned nonstick pan and medium heat go a long way in keeping the layers smooth.
What Are Our Readers Saying?
There are no reviews yet. Be the first one to write one.


