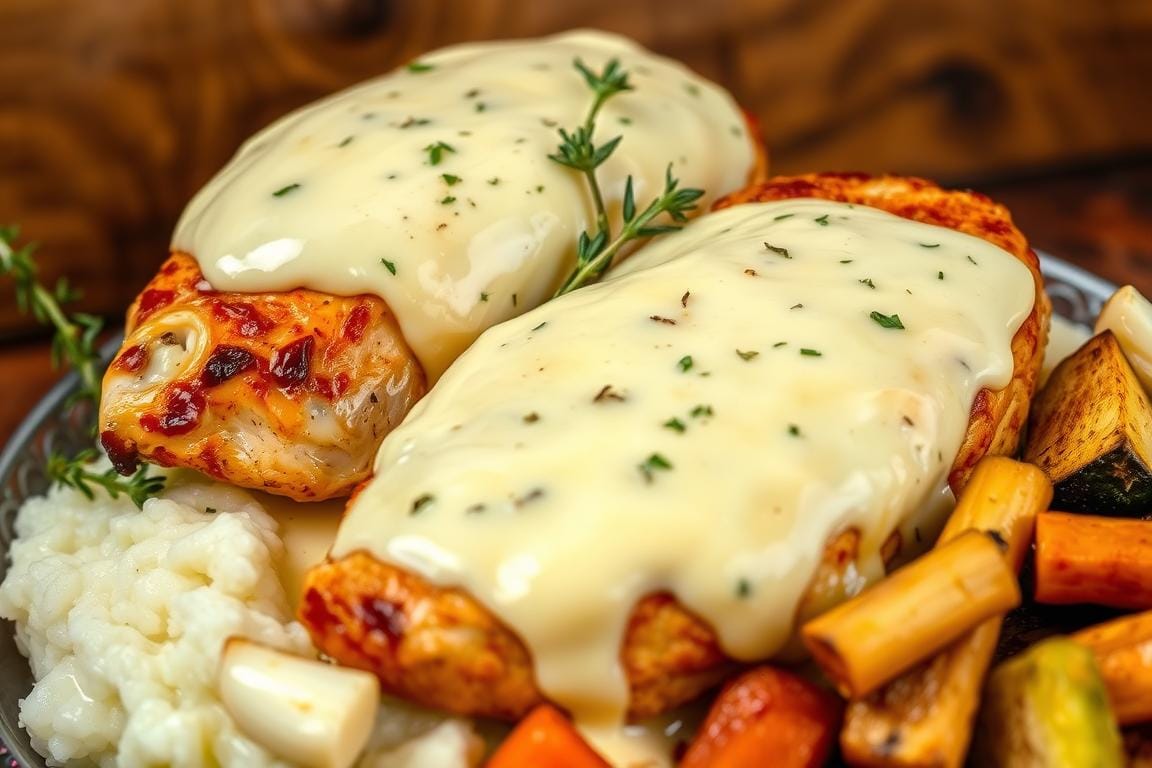
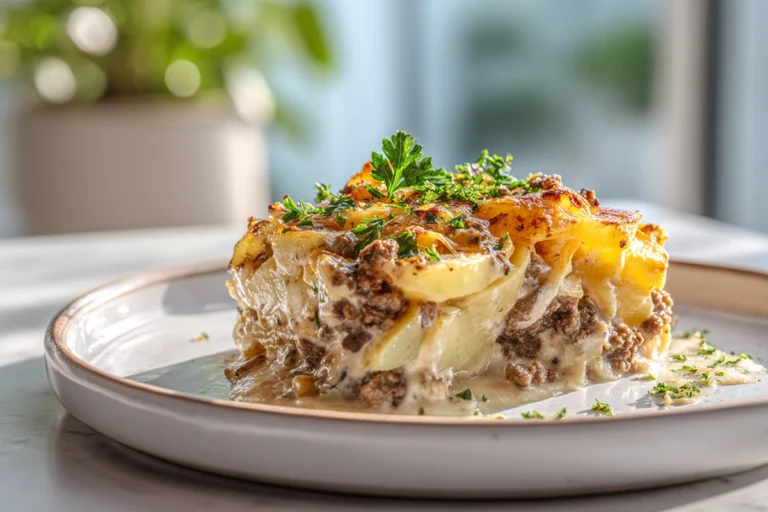
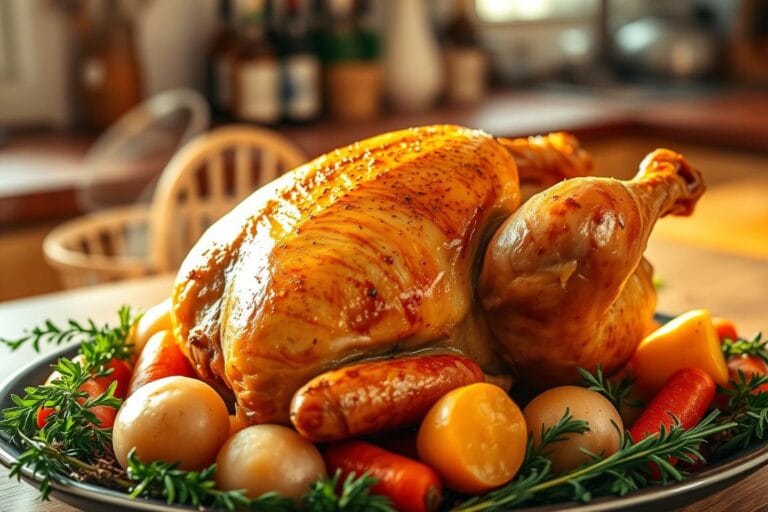
Baked Cream Cheese Chicken: A Tasty Delight
Imagine a dish that brings your family together, even on the busiest weeknights. Baked Cream Cheese Chicken does just that. It’s a meal that combines creamy textures with a crispy topping, creating a flavor everyone loves. Kids and adults alike can’t resist its comforting appeal.
What makes this dish stand out? It’s the perfect balance of moist and crunchy. The creamy layer keeps the meat tender, while the panko topping adds a satisfying crunch. Unlike plain baked chicken breasts, which can dry out, this recipe stays juicy and flavorful.
With just 421 calories per serving, it’s a nutritious option that doesn’t compromise on taste. Pair it with your favorite sides, like roasted potatoes, fresh salads, or steamed vegetables, for a complete meal. Whether it’s a quick dinner or a special occasion, this dish never disappoints.
Key Takeaways
- Perfect for busy weeknights and family dinners.
- Combines creamy textures with a crispy panko topping.
- Stays moist and flavorful, unlike plain baked chicken.
- Nutritious at 421 calories per serving.
- Versatile and pairs well with various sides.
Introduction to Baked Cream Cheese Chicken
Looking for a quick yet delicious meal that keeps your meat juicy? The secret lies in the mayo-cream cheese fusion. This combo locks in moisture, ensuring your boneless skinless chicken stays tender and flavorful. No more dry, bland dinners!
High-fat dairy, like cream cheese, plays a key role. It coats the meat, preventing it from drying out in the oven. Compared to olive oil-coated methods, this approach delivers a richer, creamier texture. As one satisfied cook shared,
“Even my husband, who doesn’t like white meat, loved it!”
Another advantage? It’s fast. Just 18-25 minutes at 425°F, and your dinner is ready. Whether you’re feeding a family or prepping for guests, this dish is a winner. Try it tonight and taste the difference!
Ingredients You’ll Need
To make this recipe shine, start with high-quality components. Each ingredient plays a crucial role in achieving the perfect balance of flavor and texture. Here’s what you’ll need to create this delightful dish.
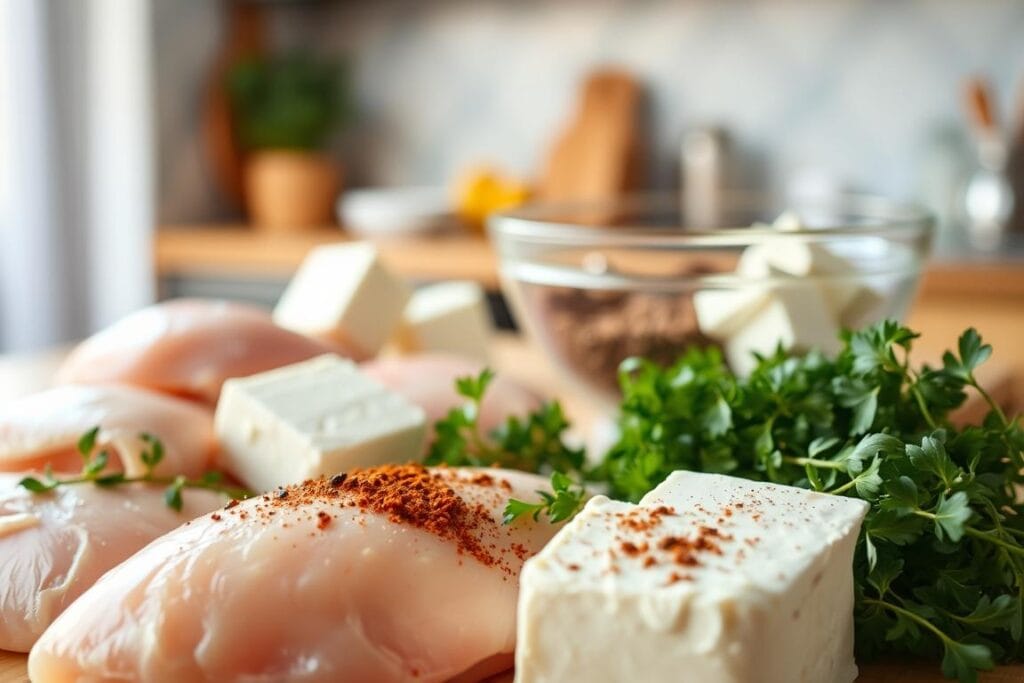
For the Chicken
Begin with boneless skinless chicken breasts. They’re lean, easy to prepare, and cook evenly. For the best results, choose fresh, high-quality cuts. This ensures your dish stays tender and juicy.
For the Cream Cheese Mixture
The cream cheese mixture is the heart of this recipe. Use room-temperature cream cheese for smooth blending. Add minced garlic for a savory kick and a pinch of paprika to enhance both flavor and color. Optional additions like cheddar or sun-dried tomatoes can elevate the dish further.
For the Topping
The topping adds the perfect crunch. Use Japanese panko breadcrumbs for a superior texture compared to regular breadcrumbs. Freshly grated Parmesan cheese adds a rich, nutty flavor. For a fresh finish, sprinkle chopped parsley over the top.
With these ingredients, you’re ready to create a dish that’s both flavorful and satisfying. Each component works together to deliver a meal that’s sure to impress.
Preparing the Chicken
Ready to create a dish that’s both simple and impressive? Follow these steps to ensure your meal turns out perfectly. From preheating the oven to seasoning the meat, each step is designed for success.
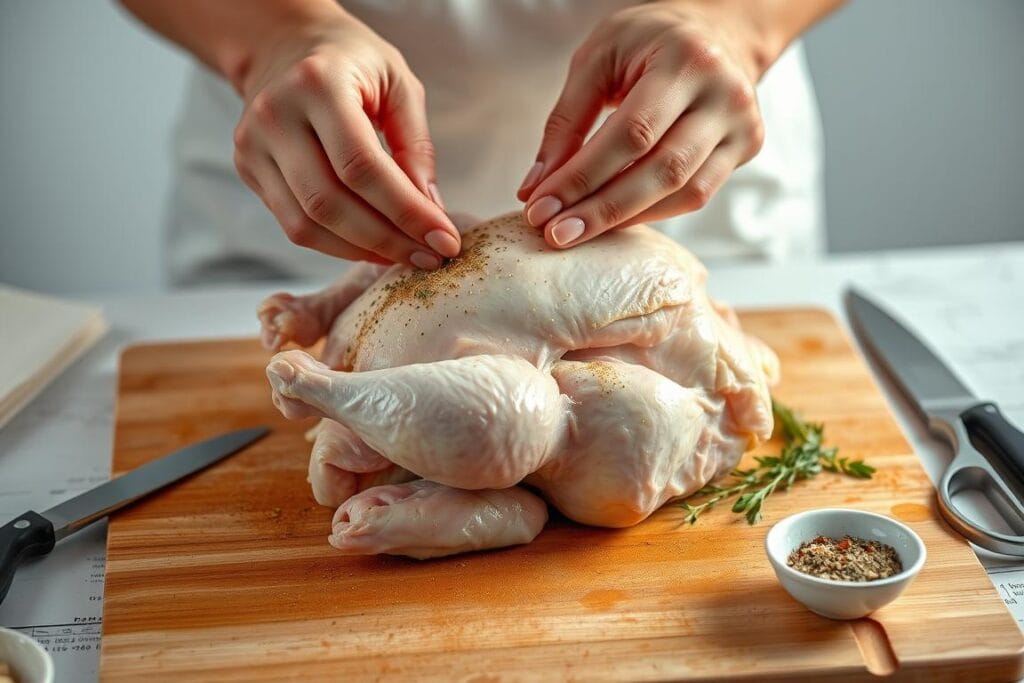
Step 1: Preheat the Oven
Start by preheating your oven to 425°F. Position the oven rack in the center for even cooking. This ensures the heat distributes evenly, giving your dish a consistent texture.
Step 2: Season the Chicken
Place the boneless, skinless chicken breasts on a cutting board. Cover them with plastic wrap and gently pound them to an even thickness. This helps them cook uniformly. Season both sides with salt, pepper, and a pinch of garlic powder. Remember, the Parmesan topping adds saltiness, so go easy on the salt.
Step 3: Prepare the Cream Cheese Mixture
In a bowl, mix together softened cream cheese, minced garlic, and a dash of paprika. The cream cheese should be at room temperature for smooth blending. Pro tip: You can prepare this mixture up to two days ahead and store it in the fridge.
With these steps, you’re well on your way to creating a dish that’s flavorful, tender, and sure to impress. Now, let’s move on to assembling and baking!
Baking the Chicken
The final step in creating this mouthwatering dish is baking it to perfection. This is where the magic happens, transforming simple ingredients into a golden, flavorful masterpiece. Follow these steps to ensure your meal turns out just right.
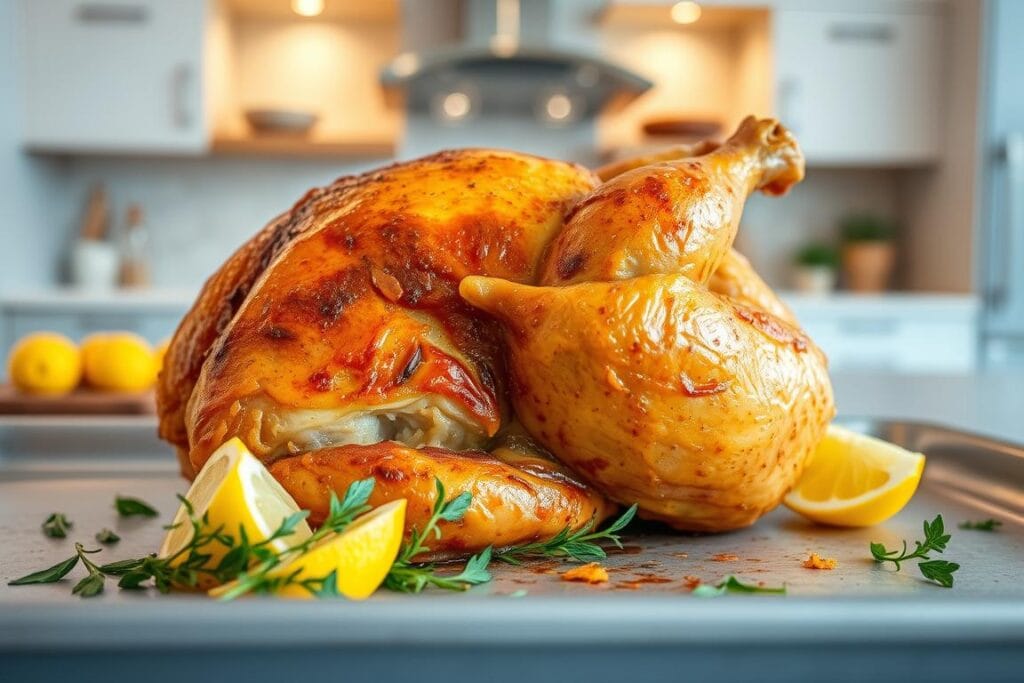
Step 1: Assemble the Dish
Start by placing the seasoned chicken breasts in a baking dish. Spread the creamy mixture evenly over the top, ensuring full coverage. Sprinkle the panko and Parmesan topping generously for that crispy texture everyone loves. Bake uncovered to allow the topping to brown and crisp up beautifully.
Step 2: Bake
Preheat your oven to 425°F. Bake the dish for 18-25 minutes, depending on the thickness of the meat. Thicker cuts may require a few extra minutes. Use a meat thermometer to check the internal temperature, which should reach 165°F for safe consumption. Look for visual cues like a golden crust and bubbling edges to confirm doneness.
Once baked, let the dish stand for 5 minutes before serving. This resting time allows the juices to redistribute, ensuring every bite is moist and flavorful.
| Chicken Thickness | Baking Time |
|---|---|
| 1/2 inch | 18-20 minutes |
| 3/4 inch | 20-22 minutes |
| 1 inch | 23-25 minutes |
Baking uncovered is crucial for achieving that perfect crunch. It also ensures the topping doesn’t become soggy. Pair this dish with your favorite sides for a complete meal that’s sure to impress.
Serving Suggestions
Transform your meal into a feast with these serving ideas. Whether you’re enjoying a quiet dinner or hosting a gathering, the right pairings can elevate your dish to the next level. Here’s how to make the most of this versatile recipe.
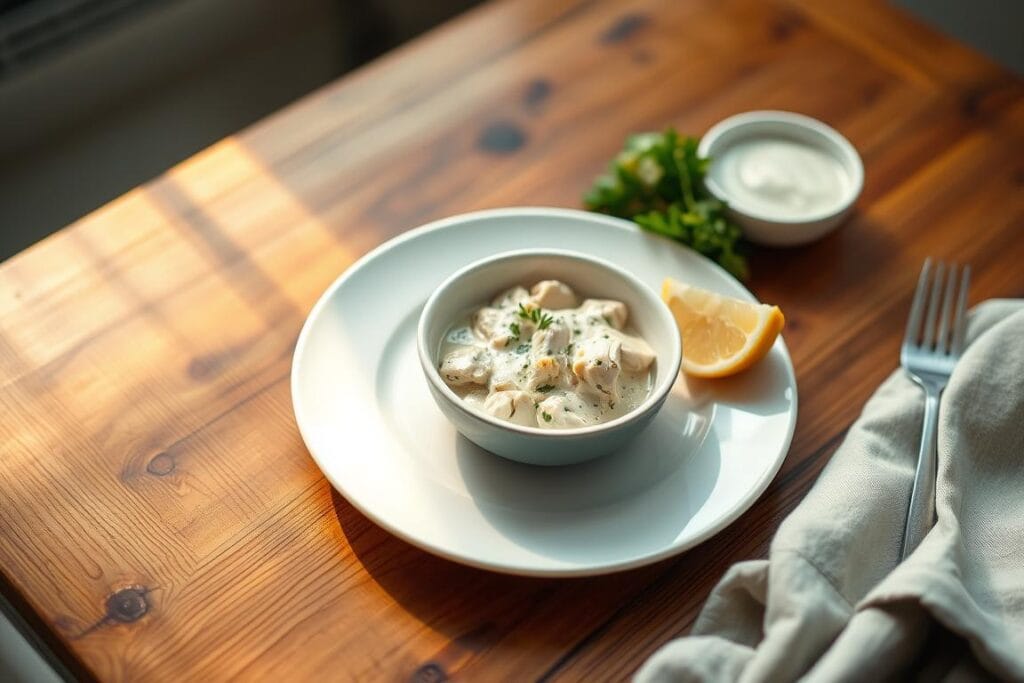
Perfect Pairings with Sides
Pair this dish with garlic mashed potatoes or a wild rice pilaf for a hearty meal. These starchy sides complement the creamy texture perfectly. For a lighter option, try roasted asparagus or honey-glazed carrots. They add a fresh, vibrant touch to your plate.
If you’re in the mood for something simple, a fresh green salad or warm garlic bread works wonders. These options are quick to prepare and balance the richness of the main dish.
Entertaining a Crowd
Hosting a dinner party? Double the recipe and use a 15×10-inch baking pan. This ensures there’s plenty to go around. Add a decorative parsley garnish for a professional touch. Your guests will be impressed by both the flavor and presentation.
For a creative twist, try the sun-dried tomato version served with buttered noodles. It’s a crowd-pleaser that adds a unique twist to the classic recipe.
Leftovers Made Easy
Don’t let leftovers go to waste. Shred the remaining meat and toss it over a spinach salad for a quick lunch. You can also create meal prep bowls by pairing it with rice and steamed vegetables. It’s a convenient way to enjoy this dish throughout the week.
| Occasion | Serving Suggestions |
|---|---|
| Family Dinner | Garlic mashed potatoes, roasted asparagus |
| Dinner Party | Double recipe, parsley garnish, buttered noodles |
| Meal Prep | Spinach salad, rice bowls |
Tips for the Perfect Baked Cream Cheese Chicken
Discover how to prep and store this dish for maximum convenience. With a little planning, you can enjoy this meal anytime without sacrificing flavor or texture. Here’s how to make it work for your busy schedule.
Make Ahead
Save time by prepping parts of the recipe in advance. The creamy mixture can be made up to 48 hours ahead and stored in the fridge. Simply cover it tightly to maintain freshness. When you’re ready to cook, spread it over the meat and bake as usual.
For even more flexibility, assemble the entire dish and freeze it before baking. This method locks in the creamy texture and ensures the topping stays crisp. Just thaw it in the fridge overnight and bake when needed.
Storage
Leftovers can be stored in the fridge for 3-4 days. Keep them in an airtight container to preserve moisture and flavor. Avoid freezing after baking, as it can affect the texture of the topping.
To reheat, skip the microwave—it can make the dish soggy. Instead, use an air fryer for 5 minutes to restore the crispy crust. This method keeps the meat tender and the topping crunchy.
- Prep the creamy mixture up to 48 hours ahead for quick assembly.
- Freeze the dish before baking for best results.
- Reheat in an air fryer to maintain crispiness.
- Avoid microwaving to prevent a soggy texture.
- Repurpose leftovers into quesadillas or casseroles for variety.
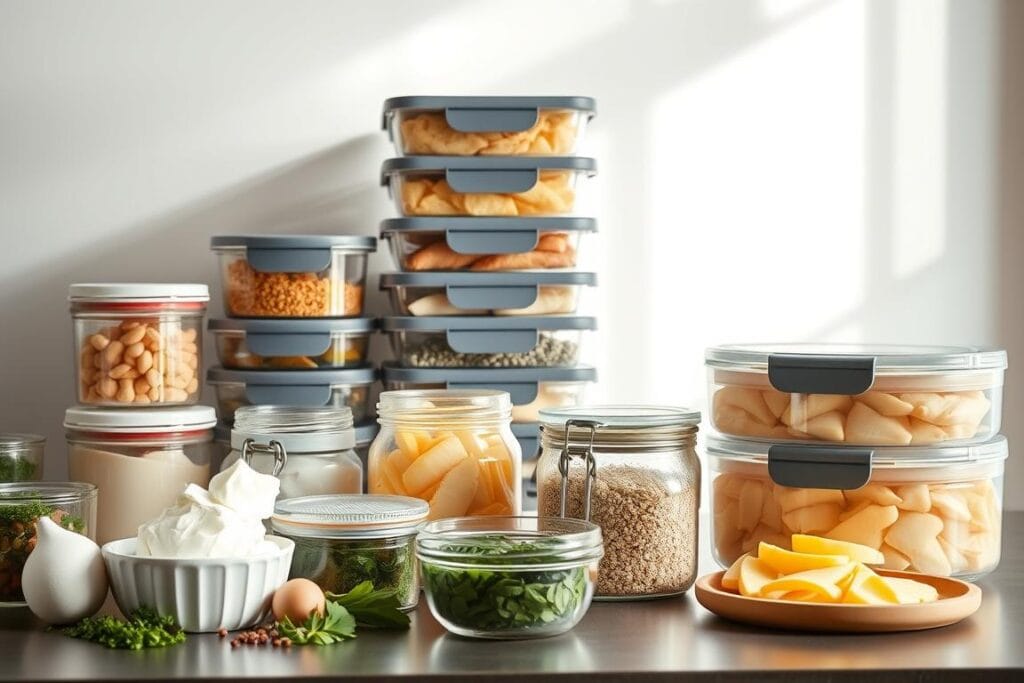
With these tips, you can enjoy this dish anytime without compromising on quality. Whether you’re meal prepping or saving leftovers, these strategies ensure every bite is as good as the first.
Conclusion
This dish is a perfect blend of simplicity and flavor, making it a go-to for any occasion. With just four steps from prep to plate, it’s an easy dinner idea that fits even the busiest schedules. Each serving packs 37g of protein, making it a nutritious and satisfying choice for a low-carb lifestyle.
Feel free to customize it to your taste. Swap paprika for smoked chili powder to add a smoky kick. Whether it’s a weeknight meal or a potluck, this delicious recipe is a guaranteed crowd-pleaser.
Share your creations with us! Tag us on Instagram with your take on this family meal. We’d love to see how you make it your own.
FAQ
What type of chicken works best for this recipe?
Boneless, skinless breasts are ideal. They cook evenly and absorb the flavors well.
Can I use other cheeses instead of cream cheese?
Yes, you can substitute with ricotta or mascarpone, but the texture and taste will vary slightly.
How long should I bake the dish?
Typically, it takes about 25-30 minutes in a preheated oven at 375°F (190°C).
What sides pair well with this dish?
Roasted potatoes, steamed vegetables, or a fresh salad complement the creamy flavors perfectly.
Can I prepare this ahead of time?
Yes, you can assemble the dish, cover it, and refrigerate for up to 24 hours before baking.
How do I store leftovers?
Keep them in an airtight container in the fridge for up to 3 days. Reheat in the oven for best results.
Is this recipe freezer-friendly?
Yes, you can freeze it before baking. Thaw in the fridge overnight and bake as directed.
Can I add extra garlic to the mixture?
Absolutely! Adjust the garlic to suit your taste preferences for a more robust flavor.
What’s the best way to season the chicken?
A simple mix of salt, pepper, and garlic powder works wonders to enhance the natural flavors.
Can I use chicken thighs instead of breasts?
Yes, thighs are a great alternative. Just adjust the baking time slightly as they may take longer to cook.

Baked Cream Cheese Chicken: A Tasty Delight
- Total Time: 35 minutes
- Yield: 4 servings 1x
Description
Baked Cream Cheese Chicken is a family-friendly dinner that combines juicy boneless chicken breasts with a creamy garlic-infused cheese spread and a crispy Parmesan-panko topping. It’s a comforting, oven-baked dish that stays moist and flavorful, making it perfect for busy weeknights or special occasions. Each bite delivers a creamy, crunchy contrast that’s both satisfying and low-effort.
Ingredients
For the Chicken:
4 boneless, skinless chicken breasts
Salt, to taste
Pepper, to taste
Garlic powder, to taste
For the Cream Cheese Mixture:
8 oz cream cheese, softened
2 cloves garlic, minced
½ tsp paprika
Optional Add-ins:
½ cup shredded cheddar cheese
2 tbsp chopped sun-dried tomatoes
For the Topping:
½ cup panko breadcrumbs
¼ cup freshly grated Parmesan cheese
2 tbsp chopped fresh parsley
Instructions
Preheat the Oven
Preheat oven to 425°F (220°C). Place the rack in the center position.Prepare Chicken
Pound the chicken breasts to an even thickness. Season with salt, pepper, and garlic powder on both sides.Make the Cream Cheese Spread
In a bowl, mix softened cream cheese with minced garlic and paprika until smooth.Assemble the Dish
Place seasoned chicken in a baking dish. Spread the cream cheese mixture evenly over each piece. Top with a mix of panko and Parmesan.Bake
Bake uncovered for 18–25 minutes, depending on thickness. Use a thermometer to ensure the internal temp reaches 165°F (74°C).Rest and Garnish
Let rest for 5 minutes. Sprinkle with chopped parsley before serving.
Notes
For extra crunch, broil the dish for the final 2–3 minutes.
Prepare the cream cheese mix up to 2 days ahead.
Leftovers make great sandwich filling or can be shredded into pasta.
Use an air fryer to reheat leftovers for a crispy texture.
- Prep Time: 10 minutes
- Cook Time: 25 minutes
- Category: Dinner
- Method: Baking
- Cuisine: American
What Are Our Readers Saying?
There are no reviews yet. Be the first one to write one.

